Your makeup can start out looking as flawless as can be, and suddenly, some time around lunch, your makeup starts settling into lines you didn’t know you had and appears thick and cakey. Sound familiar? It’s happened to the best of us. Thankfully achieving that coveted second skin look and making it last isn’t an impossible feat. Here, I will be walking everyone through my tips for avoiding and fixing cakey makeup.
Step #1: Prep Your Skin and Products
Cakey makeup is most often caused by one or both of the following: not prepping the skin properly and using dirty brushes or sponges. This is why the prep you do before applying your makeup is so important. Start by cleansing your skin. Every few days, follow with an exfoliator to remove any dead skin cells or surface debris, and then finish with a moisturizer and lightweight sunscreen. A solid skincare routine will give you a fresh, smooth canvas to work with.
Also recommend cleansing your makeup brushes or sponges at least once every two weeks. Clean brushes and sponges apply makeup much better.
Step #2: Apply
A third common cause of cakey makeup? Applying too much product. Try applying foundation and lip products in thin layers so that it all sets properly without looking cakey. Another tip for a flawless application is to use liquid foundation and concealer that contain hydrating ingredients like hyaluronic acid. If using a cream formula, I’ll let it melt down a bit to a more liquid consistency before applying.
Step #3: Refresh
If you follow the steps above and your makeup still turns cakey mid-day, a quick refresh is all you need. My suggestion is spraying a beauty sponge with a hydrating face mist or setting spray (try the Urban Decay Quick Fix Hydra-Charged Complexion Prep Priming Spray) and gently dabbing it over any cakey areas. This will absorb any excess product and re-blend your makeup. If the cakey-ness is primarily in the under-eye area, try removing the makeup in that area, re-hydrating, then reapplying under-eye concealer.
Falsies are a girl’s best friend — bring on the volume and length. But if sticky eyelash glue gets stuck to your real lashes, it’s game over. The buildup and tackiness can make reapplication nearly impossible and cause unwanted irritation. To ensure that our false lashes can be used more than once and our real lashes stay healthy, it’s important to keep ’em clean. For some advice on the best way to do so, scroll down and enjoy!
Tip #1: Use Less Glue From the Start
To prevent a buildup of gunk and glue on your lashes at the end of the day, try to use as little glue as possible during application. My best tip is not to apply too much glue on the false lash to begin with. Think you may have gone too heavy with your glue? Recommended wiping it off and starting from scratch. Not only will this make it easier for you to take off your falsies at the end of the day, but it’s also a way to ensure that too much glue doesn’t get on or around your eyes.
PRIMP TIP: Apply Lash Couture Strip Lash Adhesive on the eyelids like an eyeliner then apply your favorite pair of lashes. Its easier and quicker to apply the lashes plus it is just less messier overall. Lee wished she came up with this brilliant beauty trick but she actually received it from Raye Boyce.
Tip #2: Don’t Pull Them Off
Time to take off your lashes for the day? Don’t start pulling them off, tugging or scrubbing. You won’t get all the glue off your lashes, and you risk getting glue in your eyes. What’s worse? You’re going to end up ripping your own lashes.
Tip #3: Use a Gentle Eye Makeup Cleanser
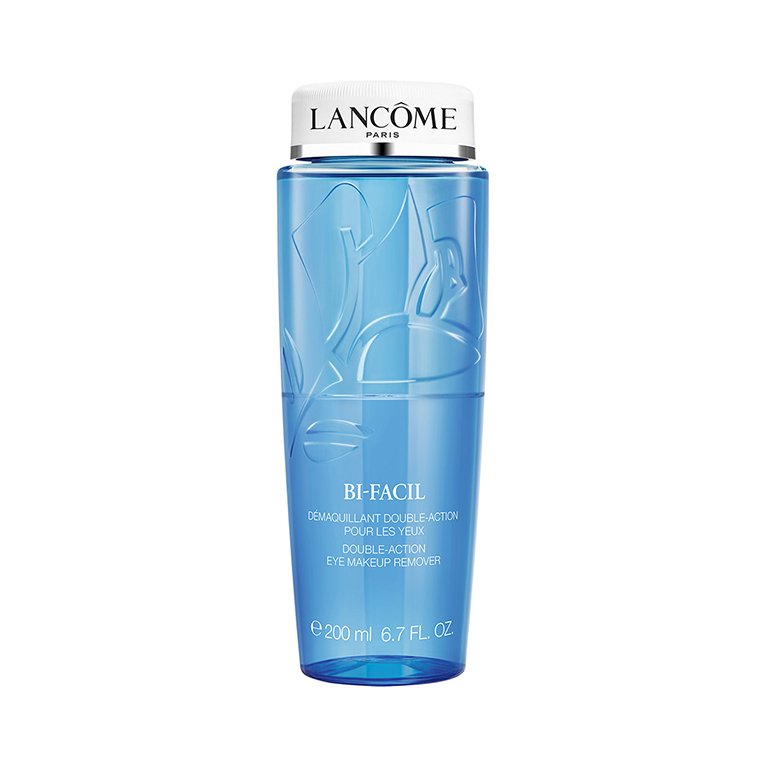
Instead, to get your fake lashes and glue off cleanly, Lee recommends using a soft and gentle eye makeup remover. For years I’ve been using the Lancôme Bi Facil Double Action Eye Makeup Remover; it’s the best for getting rid of lash glue. Just pour some onto a cotton pad and dab it over your lashes until the strip falls off cleanly. Plus, you can also use the product to clean glue off your falsies so they’re good as new for reapplication.
The no-makeup makeup trend is going nowhere in 2020. If you don’t believe us, check your social media feed… Ours is inundated with dewy skin goals, glossy lips, rosy cheeks, and feathered brows. Next, check Trendmood, and you’ll notice that all of the latest beauty releases have been created with no-makeup makeup goals in mind. Plus, the minimal makeup vibe was all over the runway this season; from Hugo Boss to Armani.
To help you live out your best no-makeup makeup life (flawlessly), we’ve curated an entire makeup routine using only Fenty Beauty products. Not only am I a fan of Rihanna but I love her products. Each product glides on the skin smoothly and little does go a long way. When spending my money, I expect to get what I am paying for which is quality and quantity! Fenty Beauty definitely delivers.
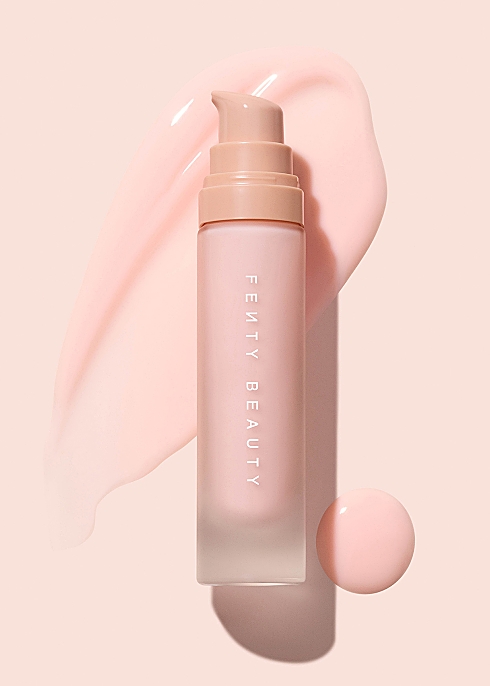
Step 1: Primer
Applying a primer is one of the most important steps when it comes to no-makeup makeup as it’ll help you achieve that stunning, dewy finish. Our current fave is the Fenty Beauty PRO FILT’R HYDRATING PRIMER, $32. The liquid primer blends seamlessly into the skin, smoothing out the appearance of pores and imperfections while leaving your skin looking hella-radiant. Simply apply two drops to prepped skin, and blend out with your fingers.
Step 2: Concealer
Okay okay okay…. I know what you are thinking. What about foundation??? Well, I personally ( Crystal Lee) don’t use foundation anymore because foundation has more bad chemical ingredients than concealer and skin feels more breathable without it. PRO FILT’R INSTANT RETOUCH CONCEALER, $26 is a amazing substitute for foundation. This creamy, light-as-air, soft matte concealer easily builds to full coverage, instantly brightening under eyes, concealing blemishes and dark spots, and reducing redness.
TOO FACEDBorn This Way Super Coverage Multi-Use Sculpting Concealer, $29 is the go-to for the eyes, eyebrows and etc. This hydrating, buildable, multitasking concealer masks imperfections, smooths, and sculpts skin for natural-looking coverage. It’s infused with coconut water, alpine rose, and hyaluronic acid—skin-loving ingredients that come together for crease-free, weightless wear that’s so naturally flawless they’ll think you were born this way.
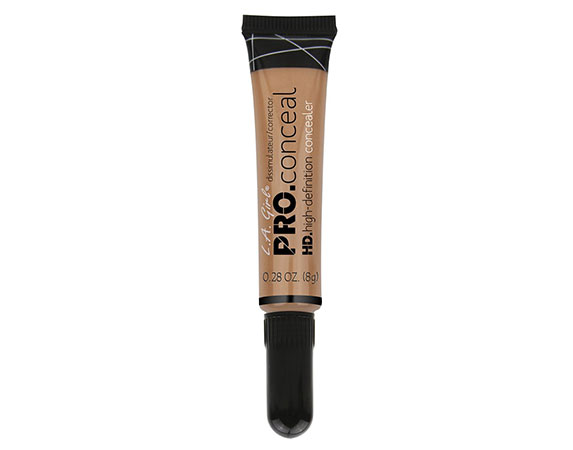
Another great concealer that we couldn’t live without, is the LA Girl HD Pro Concealer, $5, to instantly transform our tired eyes. The creamy formula offers up intense coverage, so you don’t need to use a lot, which helps to give that no-makeup look. Once again, blend it out with a damp beauty blender to maintain that no-makeup makeup, airbrushed finish.
Pro tip: To achieve that wet skin finish, apply your foundation with a damp beauty blender. Or if you’re looking for more coverage, apply your foundation with a brush and then press a damp beauty blender into your skin for a seamless finish.
Step 3: Powder
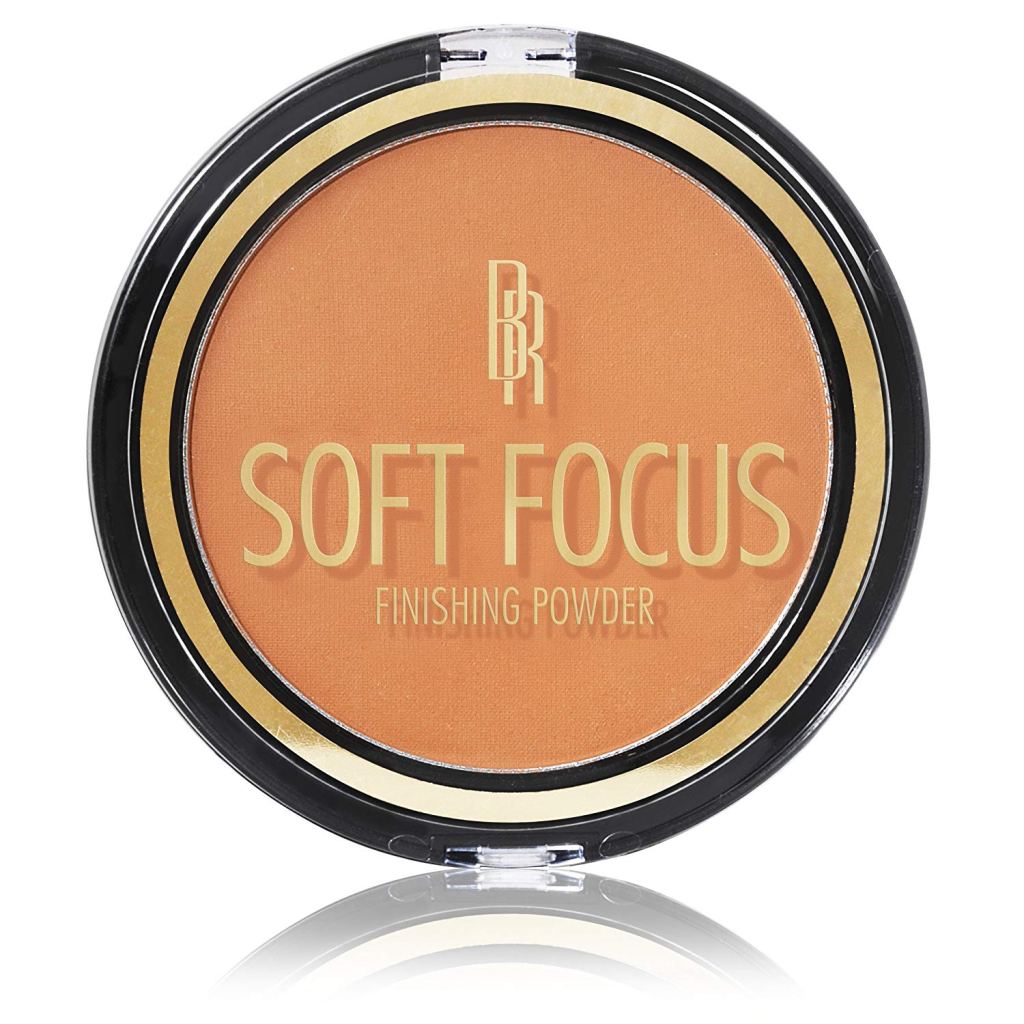
If you have normal to dry skin, you can always skip powder or just apply on your T-zone, as this look is all about dewiness. However, if you have you have oily skin or want to lock your look in for extra long wear, powder your T-zone lightly to prevent any midday shine using the PRO FILT’R SETTING POWDER, $32 and TRUE COMPLEXION™ SOFT FOCUS FINISHING POWDER, $7.49. The superfine powder sets makeup effortlessly for extra-long wear.
The best part? Rihanna was obsessed with creating a setting powder for everyone that wouldn’t flash back, so Pro Filt’r was born in 8 versatile shades to melt into your unique skin tone, letting you set, perfect, and brighten without a trace. And with its light-as-air blend of mattifying powders that won’t cake or settle, Pro Filt’r minimizes shine while letting skin look like skin. So you can—for once—get matte, get even, and keep your photo-ready finish on lock.
True Complexion™ Soft Focus Finishing Powder is a micro-fine powder with skincare benefits exclusively formulated to give women of color a camera ready complexion that looks flawless from any angle.
Step 4: Bronzer
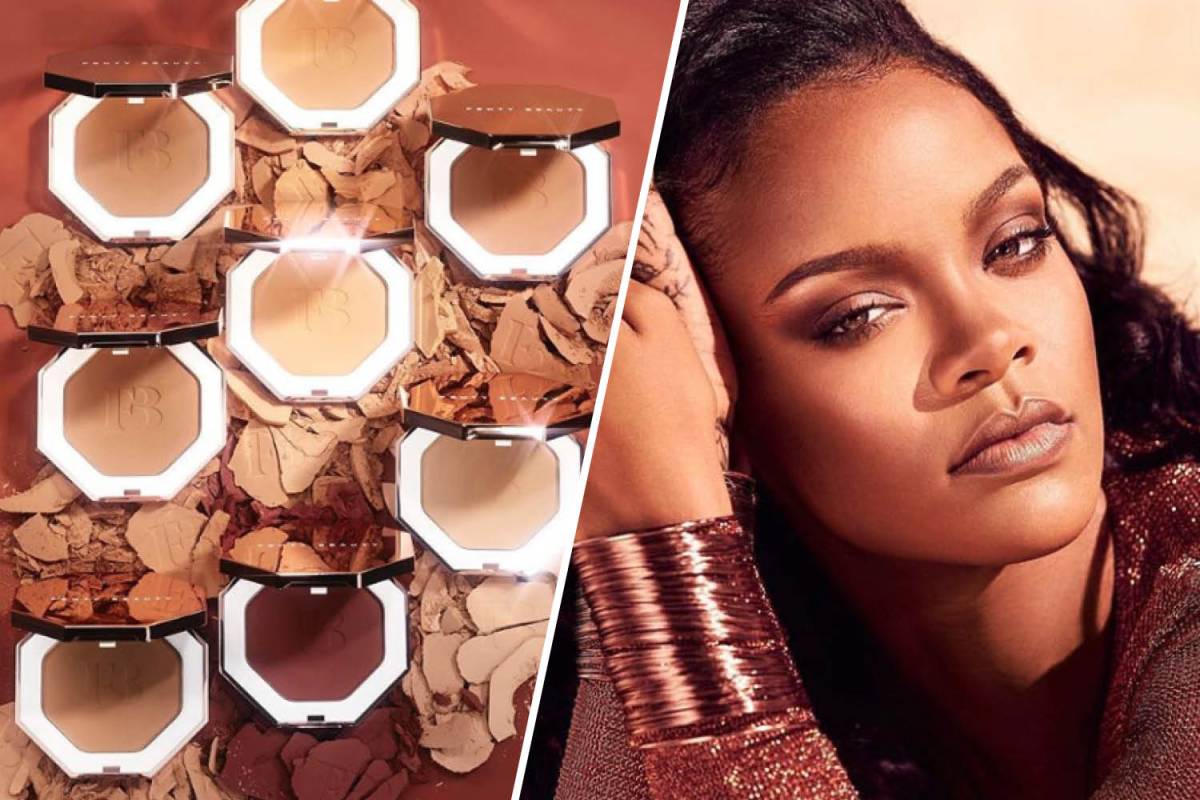
Next, add some definition to your cheekbones by warming up your face with a bronzer like the MOCHA MAMI, $30. The shimmer finish works perfectly for the look, leaving you with a soft, luminous glow.
Bask in that post-vacay bronze year-round with Sun Stalk’r Instant Warmth Bronzer. Rihanna dreamt of an easy-to-use powder bronzer that truly works for everyone, so she created Sun Stalk’r in 8 versatile shades that bring out the warmth in all skin tones, from the fairest to the deepest!
Super smooth, creamy, and easy to blend, this light-as-air bronzing powder builds like a dream yet is hard to overdo, giving you a believable sun-soaked glow that stays put all day without transferring. Whether you’re looking for all-over warmth or the ultimate contour, Sun Stalk’r does it all with the perfect soft matte finish that lets skin look like skin. Plus, it’s backed by mango and papaya fruit extracts to help give skin a natural, healthy-looking glow with every swipe.
Pro Tip: Not a eyeshadow fantatic then use your bronzer as a shadow. Been doing this lately and love the outcome. Also, I don’t really contour like y’all faves but when I do, I use this same bronzer on my nose instead of using cream.
Step 5: Blush
A no-makeup makeup look is lost without a rosy glow. One of our go-to blushes is the e.l.f Jelly Pop Flush Blush, $6, as it has a unique jelly texture that melts effortlessly into the skin. The glow-enhancing formula also boasts a rich blend of argon oil, vitamin E, and castor oil to hydrate the skin.
MATCH STIX SHIMMER SKINSTICK, $25, is a magnetized makeup stick in a longwear, light-as-air shimmer formula to highlight, blush, and enhance in 15 colorful shades that let you play.
Pro tip: For a youthful look, apply your blush to the apples of your cheeks and blend it out using small circular motions. Avoid stretching it out along your cheekbones too much.
Step 6: Highlighter
If you weren’t #blessed with naturally dewy skin (newsflash: very few people are), highlighter is the easiest way to fake it! A liquid highlighter is perfect for a more natural skin finish: The L’Oréal True Match Lumi Glow Amour Glow Boosting Drops, $15, has been a staple in our kit forever! The ultra-lightweight formula blends seamlessly and is easily buildable so it can take you from no-makeup makeup to full glam. The formula’s also infused with shea butter, providing rich hydration leaving your cheeks plump, and most importantly, glowy AF.
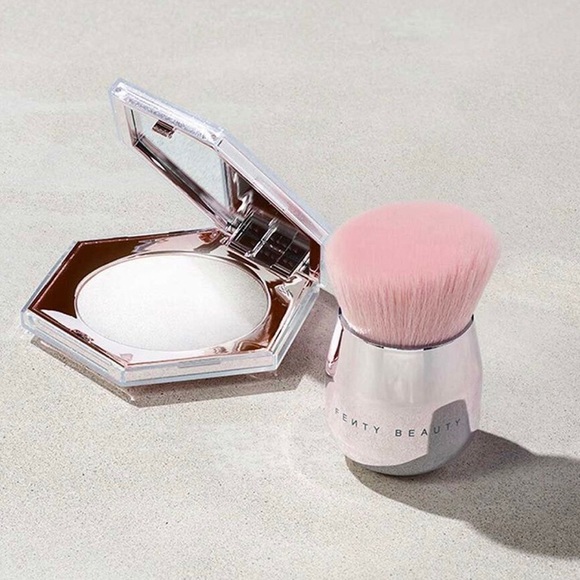
Diamond Bomb, $39, features a unique jelly-powder formula that’s bouncy, cool to the touch, and melts into skin like butter. This diamond dust highlighter is loaded with 100% pure brilliance to create an all-glitz-no-grit finish that decks out every skin tone. Plus, all of this glittery goodness comes in a faceted jewel-like compact you’ll never want to put down.
FAIRY BOMB SHIMMER POWDER, $28 is also another great highlight if applied right because the goal is still for a natural makeup look. Available online only, these loose highlighting powders coat all skin tones in the ultimate bejeweled finish that catches light with every movement. Plus, it’s softly scented with the same irresistible vanilla coconut for a full-on sensorial experience you can’t get enough of.
Step 7: Brows
Feathery brows are one of our fave brow trends RN, and the quickest way to get the look is with a brow mascara. Work with your natural brow and comb the hairs upwards with the BROW MVP ULTRA FINE BROW PENCIL & STYLER, $20. It’ll instantly add definition by adding a hint of color while shaping and adding volume to the brows.
Rihanna knows how personal brows are, so she made it easy to get instantly defined, natural-looking brows that are true to you. This super fine-tipped pencil is the ultimate pro at precision, letting you outline and fill-in brows with smooth, hair-like strokes that’s not too creamy, not too dry, but just right—giving you the exact payoff you need, every time. We’re talking serious stamina, too, with a waterproof formula that resists smudging, fading, and transferring. Plus, Brow MVP’s smart triangle shape makes it easy to hold, with a built-in paddle brush to comb through and shape up brows while blending out excess color.
Step 8: Mascara
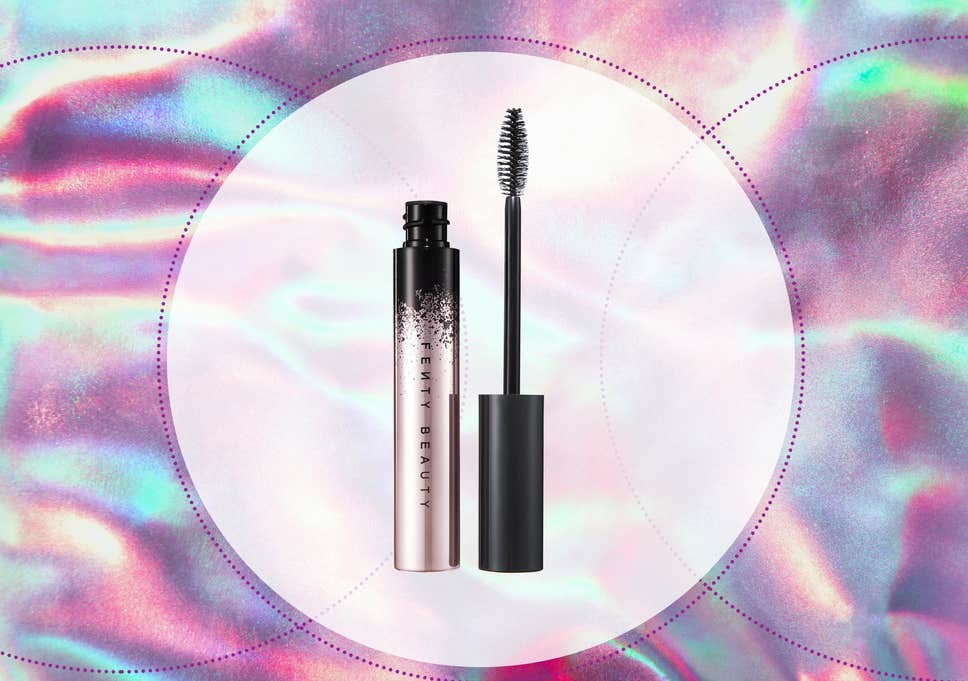
While we usually advocate for lashings of mascara, for this makeup look, you want to enhance your lashes without looking overdone. The FULL FRONTAL VOLUME LIFT & CURL MASCARA, $24, is ideal, as it defines each lash without being too intense. Full Frontal builds easily, too, giving you plenty of playtime to layer, define, separate—whatever it is you need to do to create the look you want. And thanks to the long-wear, water-resistant formula life-tested by Rihanna to stand up to smudging, sweat and tears, this mascara keeps up while you turn up, keeping lashes fully exposed from root to tip until you’re ready to wash it off.
Step 9: Lip Gloss
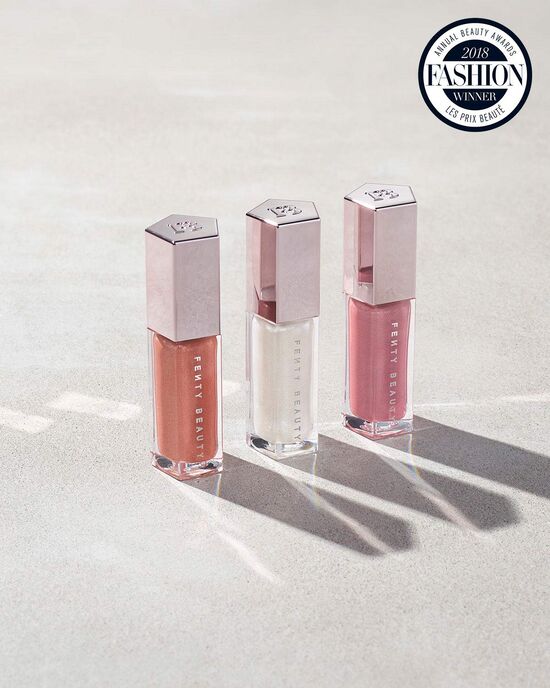
No look is complete without a lip! For daytime, we like to keep our lips hydrated with a tinted lip balm in a similar rosy hue to our blush shade, which helps create a cohesive and harmonious look. We (like so many others) are devoted to the Burt’s Bees Lip balms, our fave is the Pomegranate Lip Balm, $3, as it leaves your lips looking rosy and soft. For a sexier look, opt for a high shine gloss like FENTY BEAUTY BY RIHANNAGlossy Posse Mini Gloss Bomb Set $42, which makes your lips look so full and juicy.
Do you guys like the no-makeup makeup vibe? Let us know in the comments below.
Your eyes are arguably one of your strongest assets. They are the so-called windows to your soul after all, which is all the more reason to brush up on your eyeshadow skills. But applying eyeshadow like a pro can be tricky. What are all those different sections of a palette for? What type of brush should you use? Let’s go back to the basics. Ahead, find our ten golden rules for applying eyeshadow and you’ll be golden, too.
STEP #1: Always Use Primer
An eyeshadow primer creates a clean canvas for you to work with, and it acts as a barrier between your eyeshadow and the natural oils in your skin. That way, your makeup stays put so you can keep touch-ups to a minimum. Try a formula like Urban Decay Eyeshadow Potion Primer.
STEP #2: Enhance Your Natural Eye Color
You want to choose an eyeshadow shade that accentuates your natural eye color. Finding colors that best complement your eyes takes some experimenting, but here’s a good place to start:
Blue Eyes: Shadows with bronze or peachy tones help blue eyes pop. Slate gray is another great option.
Green Eyes:A plum-colored shadow looks very flattering if you have green or hazel eyes. Rusty shades are also gorgeous.
Brown Eyes:If you’re a brown-eyed girl like me, we’re lucky because most shades look great on us. But gold or purple hues are especially flattering
STEP #3: Know Your Eye Shape
Do you have deep-set eyes? Close-set? Hooded? Determining the shape of your eye helps you decide which shading technique is right for your specific features and plays up your natural beauty.
STEP #4: Decode Your Palette
You might be tempted to open an eyeshadow palette and just have at it, but it’s important to know which sections correspond to each part of your eye. Trust us, there’s a method to all this palette madness! There’s a variety of palettes out there, but here’s a general breakdown of your basic eyeshadow quad palette (the NYX Professional Makeup Ultimate Eyeshadow Palette in Warm Neutrals is a great one to start with).
Lightest color: This is your base color. Apply this shade from your upper lash line all the way up to right beneath your brow. You can also use this color in the inner corner of your eye to add a bit of brightness.
Second lightest: This is your lid color, as it’s slightly darker than the base. Brush this over your lid from your upper lash line to your crease.
Second darkest: This is applied to the crease for a contouring effect. This should go over the area where your brow bone meets your lid to create definition.
Darkest color: Finally, the liner. Using an angled brush, apply it to your upper lash line (and lower lash line if you want a bold boost), making sure to brush where the root of your lashes meets your lid so there’s no visible gap.
STEP #5: Blend, Blend, Blend
We can’t stress this one enough! Blending your edges can be the difference between your eyeshadow looking flawless and looking like … well, a hot mess. Don’t smear. Use a light touch and gently sweep your brush along your lid, blending harsh lines. To blend like a pro, you need the right brushes, which brings us to step #6.
STEP #6: Invest in the Right Brushes
There are so many eyeshadow brushes out there in every shape and size, it can get confusing. Here are the three most important ones you should own:
Basic eyeshadow brush:The bristles are flat and stiff, and you use this for all-over color.
Blending brush:The bristles are soft and fluffier for seamless blending.
Angled eyeshadow brush:This is a precision brush that is perfect for lining your eyes.
STEP #7: Take Care of Your Tools
Cleaning your eyeshadow brushes is probably at the bottom of your to-do list, but it’s really important. We’re talking about your eyes here, so cleanliness is key. Run your brush under lukewarm water and then pour a nickel-sized amount of baby shampoo into your hand. Swirl the brush in the shampoo, rinse well and pat dry with a clean cloth.
STEP #8: Choose Your Formula Wisely
Pressed eyeshadows are your basic, most common formula. They’re a great, mess-free option. Cream shadows are perfect if you want a dewy sheen, but they can crease easily — especially if you have oily lids. Loose shadows usually come in a small pot, and while you’ll feel like a professional makeup artist using them, they are definitely the messiest of the three.
STEP # 9: Let a Bold Eye Shine
A smoky eyeshadow looks gorgeous on its own, but once you add a dramatic lip into the mix, the two can overwhelm each other. Don’t be afraid to go bold, but just make sure your overall look has balance.
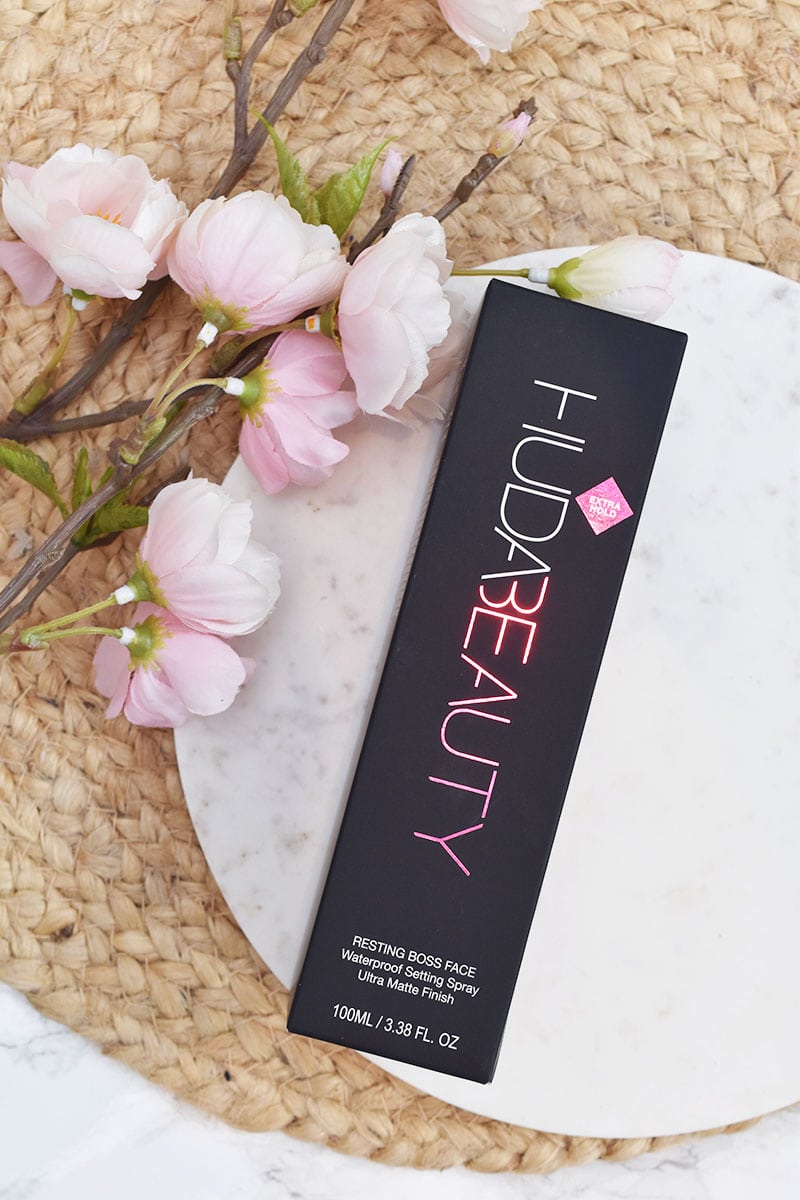
STEP 10: Keep it All in Place With a Setting Spray
Get the most mileage out of your makeup by using a setting spray as your final step. Hold the bottle at arm’s length from your face and spritz away. We love the Urban Decay All Nighter Ultra Matte Setting Spray.