How to Fix Cakey Makeup Like a Pro

Your makeup can start outΒ looking as flawless as can be, and suddenly, some time around lunch, your makeup startsΒ settling into linesΒ you didn’t know you had and appears thick and cakey. Sound familiar? It’s happened to the best of us. Thankfully achieving that covetedΒ second skin lookΒ and making it last isn’t an impossible feat. Here, I will be walkingΒ everyone through my tips for avoiding and fixing cakey makeup.Β 

Step #1: Prep Your Skin and Products

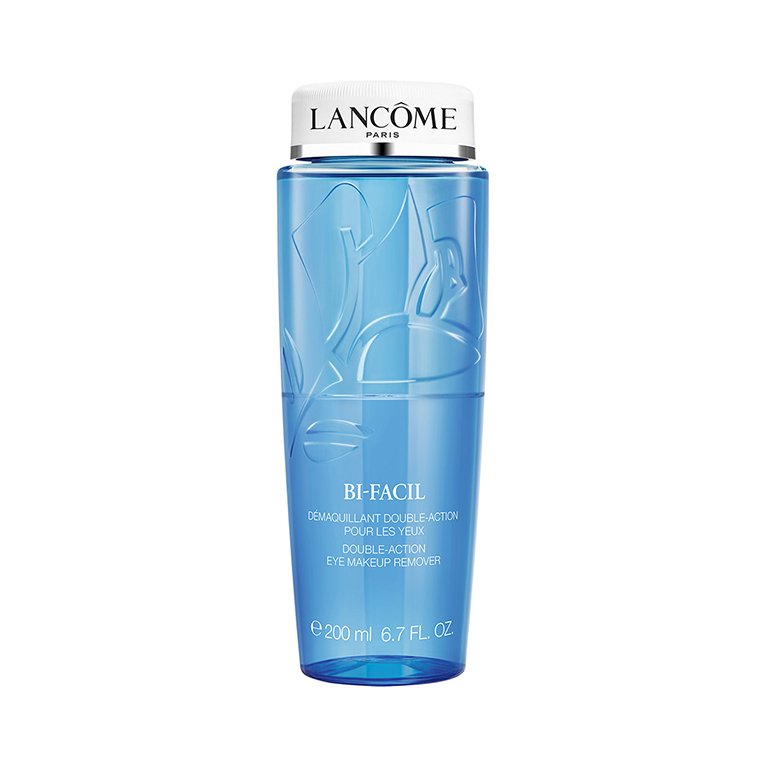
Cakey makeup is most often caused by one or both of the following: not prepping the skin properly and using dirty brushes or sponges. This is why the prep you do before applying your makeup is so important. Start by cleansing your skin. Every few days, follow with an exfoliator to remove any dead skin cells or surface debris, and then finish with a moisturizer and lightweight sunscreen. A solid skincare routine will give you a fresh, smooth canvas to work with.Β 

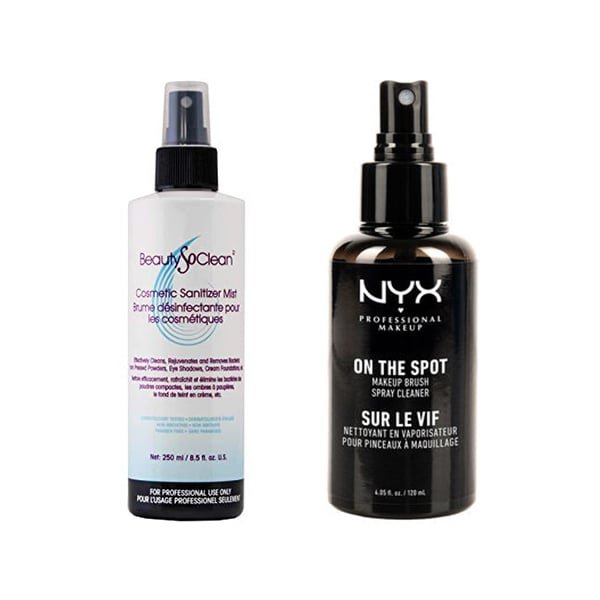
Also recommend cleansing your makeup brushes or sponges at least once every two weeks. Clean brushes and sponges apply makeup much better.

Step #2: Apply 

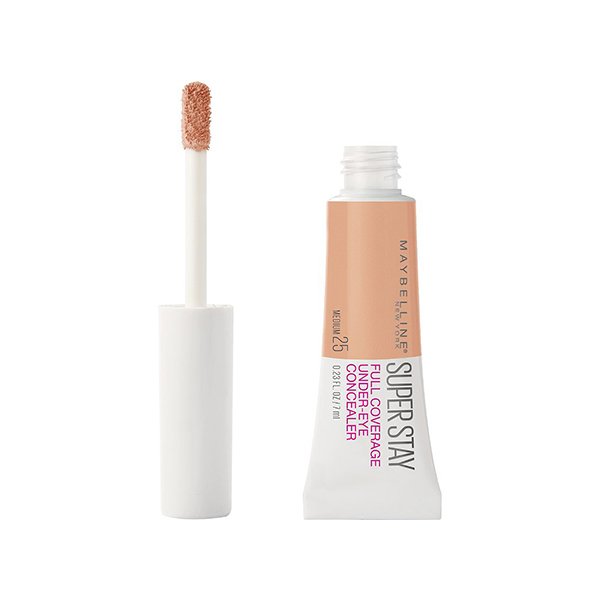
A third common cause of cakey makeup? Applying too much product. Try applying foundation and lip products in thin layers so that it all sets properly without looking cakey. Another tip for a flawless application is to use liquid foundation and concealer that contain hydrating ingredients like hyaluronic acid. If using a cream formula, I’ll let it melt down a bit to a more liquid consistency before applying.

Step #3: Refresh

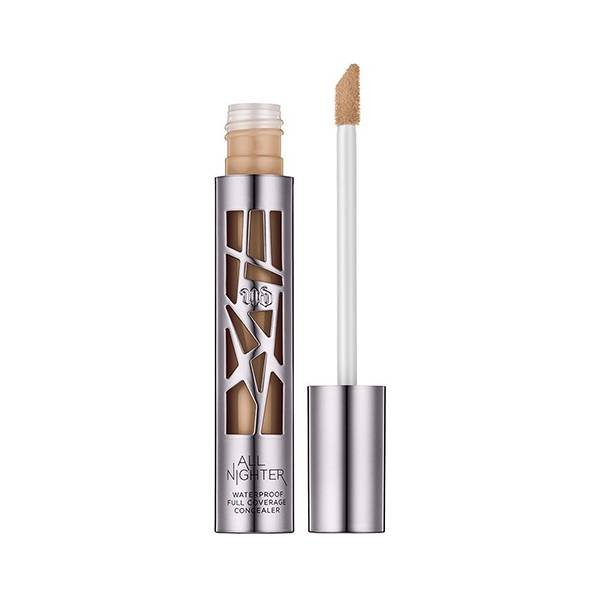
If you follow the steps above and your makeup still turns cakey mid-day, a quick refresh is all you need. My suggestion is spraying a beauty sponge with a hydrating face mist or setting spray (try theΒ Urban Decay Quick Fix Hydra-Charged Complexion Prep Priming Spray) and gently dabbing it over any cakey areas. This will absorb any excess product and re-blend your makeup. If the cakey-ness is primarily in the under-eye area, try removing the makeup in that area, re-hydrating, then reapplying under-eye concealer.

POSTS YOU’LL LOVE:

Help! How Do I Remove Eyelash Glue From My Lashes?

Falsies are a girl’s best friend β€” bring on the volume and length. But if sticky eyelash glue gets stuck to your real lashes, it’s game over. The buildup and tackiness can make reapplication nearly impossible and cause unwanted irritation. To ensure that our false lashes can be used more than once and our real lashes stay healthy, it’s important to keep ’em clean. For some advice on the best way to do so, scroll down and enjoy!

Tip #1: Use Less Glue From the Start

To prevent a buildup of gunk and glue on your lashes at the end of the day, try to use as little glue as possible during application. My best tip is not to apply too much glue on the false lash to begin with. Think you may have gone too heavy with your glue? Recommended wiping it off and starting from scratch. Not only will this make it easier for you to take off your falsies at the end of the day, but it’s also a way to ensure that too much glue doesn’t get on or around your eyes.

PRIMP TIP: Apply Lash Couture Strip Lash Adhesive on the eyelids like an eyeliner then apply your favorite pair of lashes. Its easier and quicker to apply the lashes plus it is just less messier overall. Lee wished she came up with this brilliant beauty trick but she actually received it from Raye Boyce.

Tip #2: Don’t Pull Them Off 

Time to take off your lashes for the day? Don’t start pulling them off, tugging or scrubbing. You won’t get all the glue off your lashes, and you risk getting glue in your eyes. What’s worse? You’re going to end up ripping your own lashes. 

Tip #3: Use a Gentle Eye Makeup Cleanser

eyelash glue

Instead, to get your fake lashes and glue off cleanly, Lee recommends using a soft and gentle eye makeup remover. For years I’ve been using the LancΓ΄me Bi Facil Double Action Eye Makeup Remover; it’s the best for getting rid of lash glue. Just pour some onto a cotton pad and dab it over your lashes until the strip falls off cleanly. Plus, you can also use the product to clean glue off your falsies so they’re good as new for reapplication. 

POSTS YOU’LL LOVE:

6 Places You Never Thought to Apply Concealer

Here at Makeup.com, we have a very special bond with our concealer stash. It’s one of our most trusted makeup products that’s always there for us, even when it seems like our skin isn’t. Whether that means dark under-eye circles or a spontaneous blemishconcealer can help make our skin woes disappear with each swipe from its magical wand. That’s not all it does, though. In fact, your concealer can do so much more than simply camouflage imperfections, depending on where it’s placed. Find out six places to apply concealer, ahead.

Above and Below the Brow

Blend a thin line of concealer on top of and underneath the brows to make eyebrows pop and open up the eyes. This also helps with reshaping your brows or defining your arches. Be sure to use a full-coverage formula like the Maybelline New York Superstay Concealer to really clean up those edges and give you precise-looking brows. 

maybelline-super-stay-concealer

The Inner Corners and Under the Eyes

To get rid of dark circles, conceal only the blue or purple tint beneath your eyes. To brighten up the eyes even more, tap a little concealer in the inner corners of your eye to really disguise any late nights with no sleep. We love using the Maybelline New York Age Rewind Dark Circle Eraser for this area. The sponge tip applicator makes it extremely easy to tap on just the right amount of product you need.

Across the Bridge and Down the Center of the Nose

Apply concealer on the bridge and down the center of your nose to bring light to the center of your face and help make the nose appear slender. This is also a great contouring trick, making your face catch more light on the high points.

Around Each Nostril

This area is commonly plagued by redness and broken capillaries. Brightening around the nose will help skin tone appear more even all over β€” and we love the Urban Decay Full Coverage All Nighter Concealer because it’s incredible at canceling out that excess discoloration.

Corners of the Mouth

Unfortunately, as we age, the more our skin begins to lose elasticity, which results in loose skin. Conceal the outer corners of the mouth to lift up downturned lips and show off your smile.

Center of the Chin

Combat redness or darkness by blending a small semicircle of concealer right at the crease in the chin. This is also a great spot to place concealer because not only will it catch light to bring more attention to the center of your face, but it’ll also help to further accentuate a great lip color β€” thank us later. 

READ MORE:

Beauty Q&A: Should I Sanitize My Makeup?

OK, so you’ve probably cleaned and sanitized every square inch of your living space lately in an effort to keep your home germ free, but have you thought about your makeup products? We’ve all read about how important it is toΒ clean makeup brushesΒ andΒ sponges on a regular basis, but your eyeliner pencils, powder compacts and palettes need love, too. Ahead, we chatted withΒ makeup artist Frankie PadronΒ about the best methods forΒ sanitizing your productsΒ and how to do so at home.

Why Sanitize Your Makeup Products?

There are plenty of reasons why you should sanitize your makeup products in addition to your brushes, says Padron. For one, if you are sharing products in your collection with others, you want to make sure they’re clean. β€œI sanitize after every person because I’m using makeup on different people daily,” she says. Another reason to sanitize your products is if you’re prone to acne and breakouts. β€œIf you have a breakout, I recommend cleaning your tools after every use so you avoid spreading bacteria.” 

How to Sanitize Makeup Products

According to Padron, a cosmetic sanitizer mist is a must-have for cleaning your makeup powder and cream products like eyeshadows and face palettes. She recommends using theΒ Beauty So Clean Cosmetic Sanitizer MistΒ which comes in a no-mess spray bottle that can be distributed on any product.

β€œI would avoid using any products that have a high concentration of alcohol in them, as this may dry out your makeup.Frankie Padron, MUA

As far as pencil products are concerned, Padron takes a slightly different approach. β€œFor eyeliner and lip pencils, I sharpen them before it touches anyone, making sure I shaved off the area I used on someone previously,” she says. This works the same for any lip liners or eyeliners you use on yourself if you feel like you need a fresh tip before application. 

For brushes that need a quick clean during application, try theΒ NYX Professional Makeup On the Spot Makeup Brush Cleaner Spray. The formula keeps bristles soft and is perfect for when you don’t have time to do a full-on brush wash.Β 

What to Avoid When Sanitizing Your Makeup

Padron notes that when picking your makeup sanitizing products, make sure to read the label. β€œI would avoid using any products that have a high concentration of alcohol in them, as this may dry out your makeup.” While brushes and sponges have a reputation for holding and spreading bacteria, it is important to give your powders, palettes and creams a little cleaning, too.

READ MORE: