Exactly How to Bake Your Makeup

You’ve likely tried contouring, tightlining and even strobing. Next on your list should be baking. This technique (which honestly makes us crave cookies and not mad about it) essentially consists of using your body heat to “cook” and set your makeup on areas like the under-eyes, the T-zone and chin, resulting in a more flawless, creaseless finish. Say goodbye to cracked, cakey makeup! And though it adds some time to your routine, it couldn’t be easier to do. Just follow the four steps below and thank us after.

STEP 1: Apply eye cream first then concealer to the under-eye area, the chin, the T-zone — anywhere you need it. Make sure the regions you choose are completely covered in the formula. Use a brush to lightly blend out the makeup.

STEP 2: Take a loose powder foundation (try the Maybelline New York Fit Me Loose Finishing Powder) and dust it over the concealer. Again, make sure you cover the entire area as the powder is meant to seal your concealer. For more heavy-duty coverage, apply a second coat of powder, but this time, lightly dampen the brush prior to dipping it in the powder. 

STEP 3: Now it’s time to bake! Allow five to ten minutes for the makeup to set.

STEP 4: Using a fluffy foundation brush, dust away any loose powder on top and gently blend it out so there’s no discoloration or makeup lines. 

Is Baking For You? COMMENT BELOW!

POSTS YOU’LL LOVE:

5 Budget Makeup Sponges That Will Save You So Much Money

We make a pretty compelling argument that the basic makeup sponge is THE most versatile and important makeup tool in your kit. A makeup sponge does everything from airbrush your foundation, seamlessly blend your cream products, and it’s even great for applying a myriad of powder products too.

The beautyblender elevated the basic makeup sponge to icon status, but the multiple drugstore versions that emerged afterward made it a staple in everyone’s makeup bag – and are proof that a great makeup sponge doesn’t need to cost $20. For a tool with a lifespan of just a few months, we prefer to stick to these amazing drugstore makeup sponges that do the same job for less than half the price.

(Oh, and if makeup sponges aren’t for you, check out our top foundation brushes instead.) Here are our tried and tested favorites:

1. Real Techniques Miracle Complexion Sponge, $4.90 for one/ $18 for four

budget makeup sponges

This bright orange sponge is our go-to and not just because of the great price. The latex-free sponge is firm when dry, but when damp it becomes a super soft, flexible sponge that gives the most seamless, airbrushed finish. When it’s damp it makes blending-out foundations extra quick thanks to the large surface. The flat side is great for applying powder products and the pointed tip is great for precision. It also lasts a lot longer than many other makeup sponges.

2. EcoTools Perfecting Blender Duo, $10 for two

budget makeup sponges

Made with EcoFoam® Technology that’s made with 70% plant-based material, these little and large makeup sponges have different densities so you can easily create your ultimate makeup look. The Large Base Blender is soft and flexible to create light, buildable makeup application while the Mini Detail Blender is firmer for more precise and detailed coverage. The little one is also a great size for on-the-go.

3. Morphe Highlight & Contour Beauty Sponge, $8

budget makeup sponges

Morphe tools are iconic for a reason and we love this soft sponge with a chiseled edge that makes it the perfect contouring tool for those that love precision contouring. Use it with liquid, cream or powder formulas and use it damp for the most flawless finish with any formula.

Posts You’ll Love:

4. e.l.f. Cosmetics Camo Concealer Sponge, $5

cheap makeup sponges

This uniquely-shaped sponge was specifically designed to work with e.l.f.’s Camo Concealer but it works amazingly with any concealer or foundation formula. The unique shape means it’s great for the undereye area and for blending concealer into any tricky spots with precision.

5. Dear Dahlia Marble Multi Blender Pear, $12.50

cheap makeup sponges

This unique pear-shaped blender has a super fine material that makes it great for creating a flawless, full-coverage base. With 13 different facets, the soft yet dense sponge is great for getting into every space.

Check out these hacks for the most flawless makeup finish.

3 Setting Spray Hacks That Will Revolutionize Your Makeup Game

Cosmetic company Skindinavia released a consumer-facing setting spray to the market, credited as being the first to do so. Ever since then, setting spray has become one of the greatest beauty inventions of all time and an integral step in every beauty guru makeup routine. Although not everyone feels this way, trust me, it’s the secret to long-lasting makeup with zero touch-ups! You just need to know how to use setting spray to its full potential, and you’ll be converted. Here are three setting spray hacks I swear by for flawless, long-lasting makeup.

Setting Spray Hack #1: For Creaseless Eyeshadow

It can be hella-frustrating when you spend what feels like forever, blending and buffing your eyeshadow for it to crease a few hours later. This setting spray hack will ensure your eyeshadow lasts all day long. Dip your eyeshadow brush into your eyeshadow of choice, then mist the brush a few times with setting spray, then apply as usual. This helps not only make the pigment pop, but it keeps it in place all day long. This also works amazingly for shimmers, as it helps to intensify them. Try spritzing the brush first, then dipping into a shimmer before applying for ultimate shine.

Note: If you’re working with glitter eyeshadow, it is advisable to use a setting spray before picking the pigment from the shadow as well as after.

Setting Spray Hack #2: For A Long-Lasting Glow

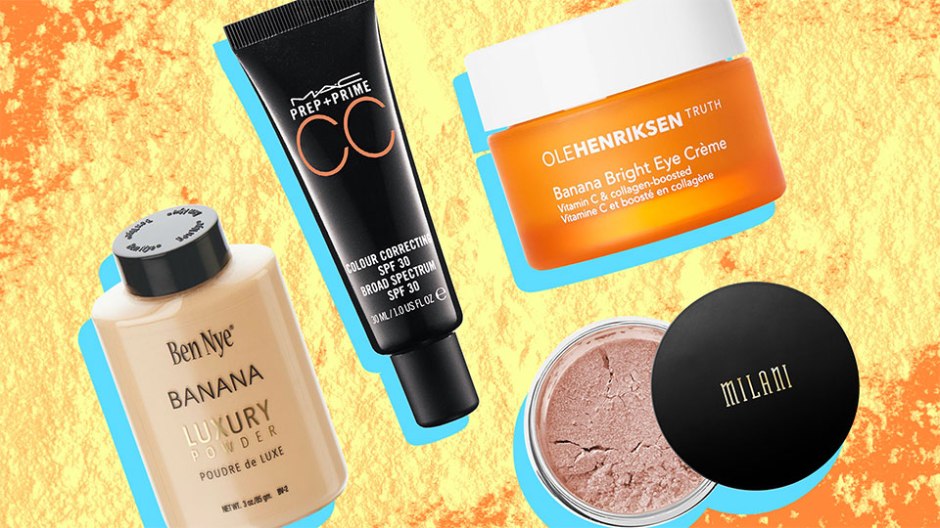
Discovered this hack when I was experimenting with Huda Beauty setting spray, Resting Boss Face. Now, I can’t imagine doing mine or anyone’s makeup without it, as it not only locks the makeup in place, but it gives skin a stunning luminosity. All you need is setting spray, a beauty blender, and a cream highlighter. A great drugstore product is the L’Oreal True Match Lumi Glow Amour Glow-Boosting Drops, $15; the shimmer is SO pretty, and the liquid formula will work perfectly for this hack.

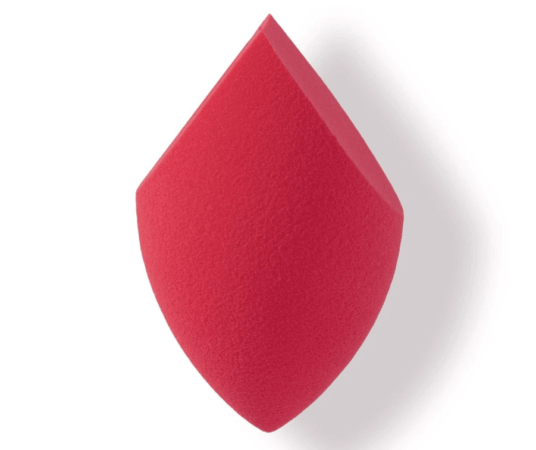
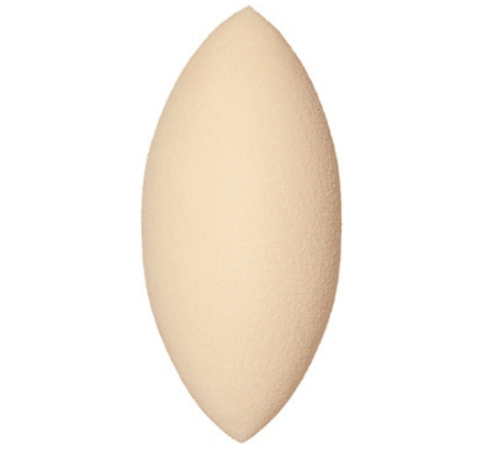
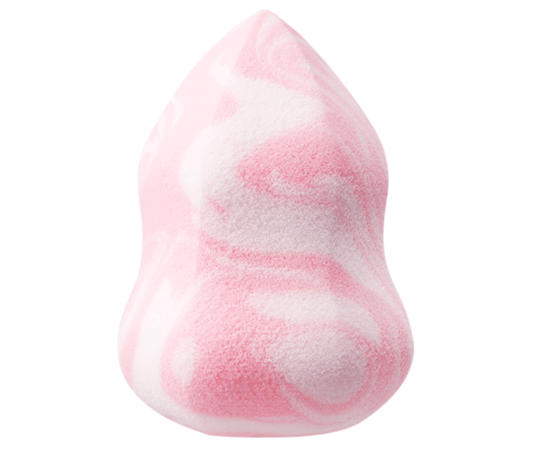
Start by spraying a damp makeup sponge with setting spray, then dip it in your fave cream highlighter. Next dab it along your cheekbones, the bridge of your nose, and the Cupid’s bow, then bounce the remaining product over the rest of your face to set and add a soft glow. You’ll be left with a radiant skin that stays all day. Get ready for the compliments!

Setting Spray Hack #3: For Groomed Brows

Laminated brows are one of the biggest beauty trends right now, and the easiest way to get the look is using a spoolie and a little setting spray. Just douse a spoolie in setting spray, Huda Beauty Resting Boss Face Setting Spray, is bomb for this hack, then comb the spoolie through your brows in an upward direction. It will instantly add shape and definition, and it keeps your brows locked in! Use this on bare brows, or use it once you’ve applied your brow powder or pomade, and it’ll majorly enhance the look. This hack will give your brows that beautiful, editorial feathered finish without any effort.

For more hacks, check out 10 EYESHADOW TIPS EVERYONE SHOULD KNOW.

Posts You’ll Love:

Hello Beauties NewsLetter:

Processing…
Success! You're on the list.

Join The Fam:

Beauty Debate: Should I Use Setting Powder or Setting Spray?

It seems like there’s a setting product for everything — whether it’s to quickly dry our nail polish, perfect our eyebrows or lock-in our makeup. And while the product options for setting our look are very straightforward when it comes to nails and brows, when we’re talking about the rest of our makeup, it’s just not as easy. How do we choose between different setting powders and setting sprays, and is there even a difference between the two? Tap in to find out.

The Case for Setting Powder

According to the web, setting powders are designed to absorb excess oil and moisture from your face. “Because skin is a porous surface and produces oil, you want to set your face makeup with powder to help it last longer without melting away.

Because of this, setting powder is applied during your makeup routine to set foundation, concealer and any liquid or creamy products you’ve applied. Setting powder often leaves the skin with an ‘airbrushed’ finish and can help to blend as well because it diffuses what’s under it. This is not to be confused with finishing powder, which is used after setting powder and adds even more of a blurred look to imperfections of the skin (lines under the eyes, pores, etc.) and control shine. Thus, setting powders are a great option if you have issues with creasing, cracking or excess oil throughout the day. 

The Case for Setting Spray

As far as setting sprays go, they’re designed to be applied after your whole makeup routine is complete. Setting spray is a fine mist which is applied after finishing the makeup routine. The setting spray can have different finishes such as matte or dewy, and it elongates the amount of time the makeup will last. It can also be used to amplify highlight or to apply a shadow damp — simply dust some product onto the brush and spritz the brush after.

Setting spray leaves behind a lightweight, skin-like finish but can not be absorbed into your pores like a powder can. Even mattifying sprays don’t mattify your face the way a setting powder can, in which making it a better option for those who have drier skin and need a boost of hydration.

urban decay all nighter ultra matte, dermablend loose setting powder

So, Which One Should You Use?

While powders tend to work better for oily skin and setting sprays for dry skin, if you really want to set your makeup and extend the life of your makeup, I recommend using both a loose powder and a setting spray. 
Pack on a setting powder like the Dermablend Loose Setting Powder to smooth your skin and finish it with a setting spray of your choice, like the Urban Decay All Nighter Ultra Matte.