BB Cream vs. Foundation: What’s the Difference?

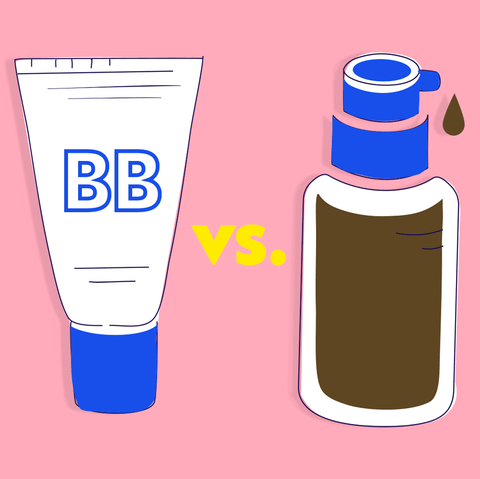
If you take a walk down any makeup aisle, it’s clear there are so many complexion products to choose from. There’s something for every skin type (read: oily, dry, mature) and an endless amount of finishes (think: dewy, matte, velvet). The sheer number of BB creams, CC creams and foundations can be overwhelming. To help you find your perfect match, we gathered all the tips and tricks we have learned over the years. Below, we share the difference between BB cream, CC cream and foundation — and tips for applying each. 

What Is BB Cream?

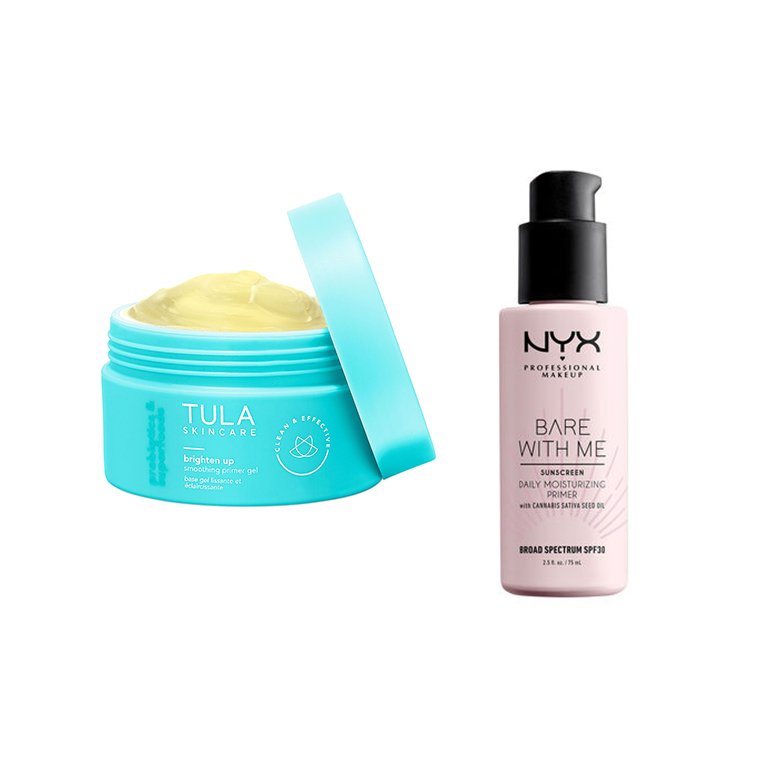
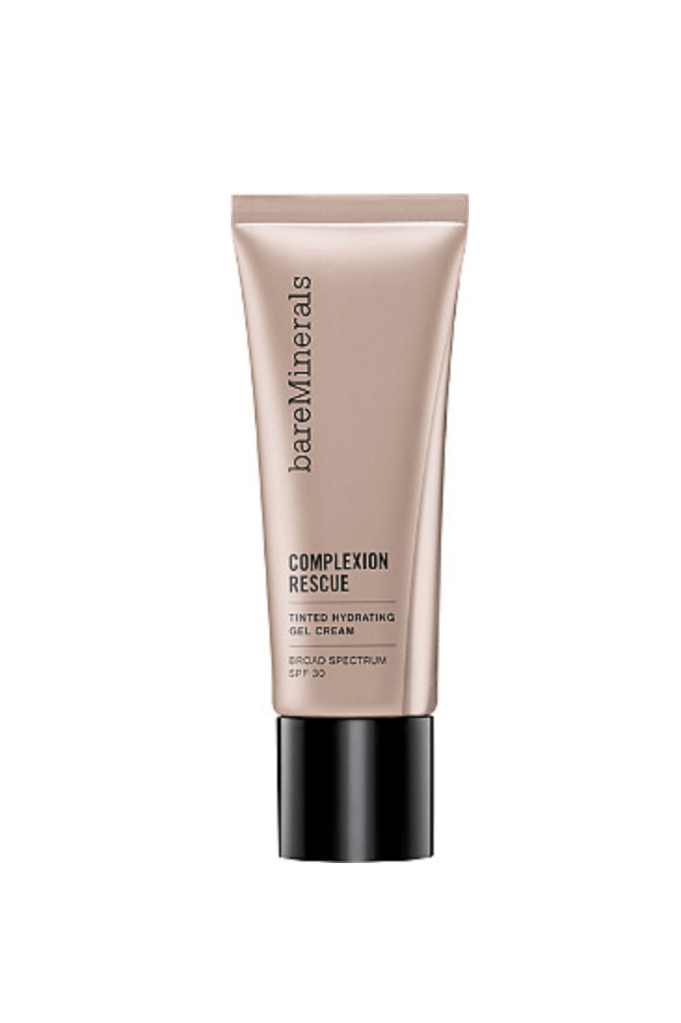
BB cream is an all-in-one makeup product. It traditionally has good-for-your-skin ingredients like SPF and sufficient coverage to still even out redness and smooth rough texture. BB creams range anywhere from a barely-there tint to medium coverage. What’s more, BB creams also have the added benefit of helping breakout-prone skin. “If you’re acne-prone, using a BB cream that’s oil-free is a good way to go. We recommend the Complexion Rescue BareMinerals, which is formulated with salicylic acid to address acne. This BB cream moisturizes, tints, and provides SPF protection. It’s a great choice for darker skin tones. 

What Is Foundation?

Foundation is a classic go-to option for makeup artists and beauty lovers who want to create a flawless canvas and have superior skin coverage. If you want something that’s going to last all day and give you airbrushed-looking skin, foundation is the right choice. Foundations are also available in a wide range of coverage options. While the coverage is buildable, we love the Nars Natural Radiant Longwear Foundation and Estée Lauder Double Wear Stay-in-Place Makeup for a lightweight, sheer option. For medium to full coverage, we like the Giorgio Armani Luminous Silk Foundation, Too Faced Born This Way Foundation and Pro Filt’r Soft Matte Longwear Foundation FENTY BEAUTY by Rihanna and the Lancôme Rénergie Lift Makeup Foundation. 

What Is CC Cream?

Cut from the same cloth as a BB cream, a CC cream, or color correcting cream, is an all-in-one product intended to address redness, darkness and sallowness. It blends skin care with light-diffusing properties to give you a smoother complexion, but it doesn’t give the same amount of coverage as a BB cream.

How to Apply BB Cream and CC Cream

BB creams and CC creams are a true time-saver in the morning and impossible to mess up. “Anything that combines sunscreen, skin-care ingredients, antioxidants and light coverage is ideal for the busy woman who doesn’t have time for a more in-depth regimen. Just rub a pea-sized or dime-size amount between your hands to warm it up and apply to bare, freshly cleansed skin. You can use a sponge or brush for application, too. Just note, if you have extra dry skin, you can benefit from applying a moisturizer underneath your BB or CC to give your skin an added boost of hydration.  

How to Apply Foundation

Considering most women use foundation to cover up things like under-eye circles, pimples, uneven skin tone and other imperfections, the application needs to be a bit more precise. You can use your hands, however, you’ll get the most even coverage using a sponge or brush.

Sponges tend to be a bit more intuitive than brushes, and you’ll achieve a more airbrushed finish, while makeup artists swear by a brush for its ability to effortlessly blend and smooth product evenly. Depending on your preference, try IT Brushes For ULTA Airbrush Dual-Ended Flawless Complexion Concealer & Foundation Brush #132 or Tarte Double Duty Beauty Powder Foundation Brush & Removable Sponge.

Start by dabbing dots of foundation down the center of your face — forehead, nose, upper lip and chin — and blend your foundation outwards using your tool of choice. Be sure to pay extra attention to your hairline and chin as you want to blend those areas out the most for a seamless and invisible foundation line. 

Beauty Q and A: Why Is My Foundation Patchy?

Patchy foundation is a makeup lover’s worst nightmare — especially if you’ve spent a significant amount of time perfecting your beat. As it turns out, there are ways to completely avoid patchy makeup and foundation, and all it takes is hydration and the right makeup base. Ahead, we broke down how to keep patchy foundation at bay, plus how to fix it if it happens to you.

What Causes Patchy Foundation?

There are many reasons why your foundation might be patchy. The wrong formula of foundation, mixing products with ingredients that don’t match or dehydrated skin are all culprits. For example, mixing a silicone-based primer with a water-based foundation is going to separate on the skin because the ingredients don’t mesh well. How to know if your foundation or primer is silicone based? It can be tricky, but the most commonly listed silicones (you’ll nearly always find them at the top of the ingredients list) include cyclopentasiloxane, siloxane and dimethicone. Also, most people are not as oily as they think they are, and using ultra matte foundation on already dry skin is another recipe for a patchy face.

How to Avoid Patchy Foundation

When it comes to avoiding the patchy foundation phenomena, we suggest that you want to pay extra attention to the products you use, and make sure your skin is well hydrated and prepped for makeup. A good moisturizer, a primer that mixes well with foundation and setting the foundation will all help to make sure your makeup stays where you want it.

For this, we recommend beginning your routine with a hydrating moisturizer like the NYX Professional Makeup Bare With Me Cannabis Sativa Seed Oil Moisturizing Primer SPF 30. Next, apply a hydrating, gripping primer like the Tula Brighten Up Smoothing Gel Primer that will not only moisturize your skin, but it will also lock in foundation. Apply a water-based foundation on top, like the Urban Decay Stay Naked Lightweight Liquid Foundation

How to Fix Patchy Foundation

If the skin isn’t properly hydrated, it will draw the moisture from any product you apply on top of it; hence, your poor dehydrated skin will suck up all the water and emollients from your foundation, leaving you with small and unevenly dispersed splodges of color pigment. The moral of the story? Always make sure to apply an even layer of moisturizer over the skin before reaching for the foundation bottle.

Prepping the skin correctly before foundation is the true way to eradicate patchiness before it starts, but if your foundation is already patchy, here is another trick that can help, take a damp sponge and blend out the patchy spots.

More Primp Tips

If we neglect the exfoliation step within our skincare routines, it will likely result in our foundation applying unevenly, and gripping on to (and exaggerating) our dry patches and textural issues. Using a mild liquid exfoliator will help to keep dry patches at bay, and will keep the skin looking even and smooth.

Will you be taking any of these tips on board, or do you have any methods or tricks you’ve found helpful? Let us know!

Exactly How to Bake Your Makeup

You’ve likely tried contouring, tightlining and even strobing. Next on your list should be baking. This technique (which honestly makes us crave cookies and not mad about it) essentially consists of using your body heat to “cook” and set your makeup on areas like the under-eyes, the T-zone and chin, resulting in a more flawless, creaseless finish. Say goodbye to cracked, cakey makeup! And though it adds some time to your routine, it couldn’t be easier to do. Just follow the four steps below and thank us after.

STEP 1: Apply eye cream first then concealer to the under-eye area, the chin, the T-zone — anywhere you need it. Make sure the regions you choose are completely covered in the formula. Use a brush to lightly blend out the makeup.

STEP 2: Take a loose powder foundation (try the Maybelline New York Fit Me Loose Finishing Powder) and dust it over the concealer. Again, make sure you cover the entire area as the powder is meant to seal your concealer. For more heavy-duty coverage, apply a second coat of powder, but this time, lightly dampen the brush prior to dipping it in the powder. 

STEP 3: Now it’s time to bake! Allow five to ten minutes for the makeup to set.

STEP 4: Using a fluffy foundation brush, dust away any loose powder on top and gently blend it out so there’s no discoloration or makeup lines. 

Is Baking For You? COMMENT BELOW!

POSTS YOU’LL LOVE:

3 Setting Spray Hacks That Will Revolutionize Your Makeup Game

Cosmetic company Skindinavia released a consumer-facing setting spray to the market, credited as being the first to do so. Ever since then, setting spray has become one of the greatest beauty inventions of all time and an integral step in every beauty guru makeup routine. Although not everyone feels this way, trust me, it’s the secret to long-lasting makeup with zero touch-ups! You just need to know how to use setting spray to its full potential, and you’ll be converted. Here are three setting spray hacks I swear by for flawless, long-lasting makeup.

Setting Spray Hack #1: For Creaseless Eyeshadow

It can be hella-frustrating when you spend what feels like forever, blending and buffing your eyeshadow for it to crease a few hours later. This setting spray hack will ensure your eyeshadow lasts all day long. Dip your eyeshadow brush into your eyeshadow of choice, then mist the brush a few times with setting spray, then apply as usual. This helps not only make the pigment pop, but it keeps it in place all day long. This also works amazingly for shimmers, as it helps to intensify them. Try spritzing the brush first, then dipping into a shimmer before applying for ultimate shine.

Note: If you’re working with glitter eyeshadow, it is advisable to use a setting spray before picking the pigment from the shadow as well as after.

Setting Spray Hack #2: For A Long-Lasting Glow

Discovered this hack when I was experimenting with Huda Beauty setting spray, Resting Boss Face. Now, I can’t imagine doing mine or anyone’s makeup without it, as it not only locks the makeup in place, but it gives skin a stunning luminosity. All you need is setting spray, a beauty blender, and a cream highlighter. A great drugstore product is the L’Oreal True Match Lumi Glow Amour Glow-Boosting Drops, $15; the shimmer is SO pretty, and the liquid formula will work perfectly for this hack.

Start by spraying a damp makeup sponge with setting spray, then dip it in your fave cream highlighter. Next dab it along your cheekbones, the bridge of your nose, and the Cupid’s bow, then bounce the remaining product over the rest of your face to set and add a soft glow. You’ll be left with a radiant skin that stays all day. Get ready for the compliments!

Setting Spray Hack #3: For Groomed Brows

Laminated brows are one of the biggest beauty trends right now, and the easiest way to get the look is using a spoolie and a little setting spray. Just douse a spoolie in setting spray, Huda Beauty Resting Boss Face Setting Spray, is bomb for this hack, then comb the spoolie through your brows in an upward direction. It will instantly add shape and definition, and it keeps your brows locked in! Use this on bare brows, or use it once you’ve applied your brow powder or pomade, and it’ll majorly enhance the look. This hack will give your brows that beautiful, editorial feathered finish without any effort.

For more hacks, check out 10 EYESHADOW TIPS EVERYONE SHOULD KNOW.

Posts You’ll Love:

Hello Beauties NewsLetter:

Processing…
Success! You're on the list.

Join The Fam: