Huda Beauty Resting Boss Face Setting Spray Review

When it comes to wearing makeup, we’re all weary of having it smear or disappearing and having to touch up. I almost never touch up because the thought of having to reapply makeup on dirty skin grosses me out. So, the idea that setting sprays can keep our makeup in place all day is extremely attractive. When Huda Beauty released her waterproof setting spray and I saw what it could do I ordered it immediately. I tested this out over the last week and here’s what happened.

𝓒𝓵𝓪𝓲𝓶𝓼

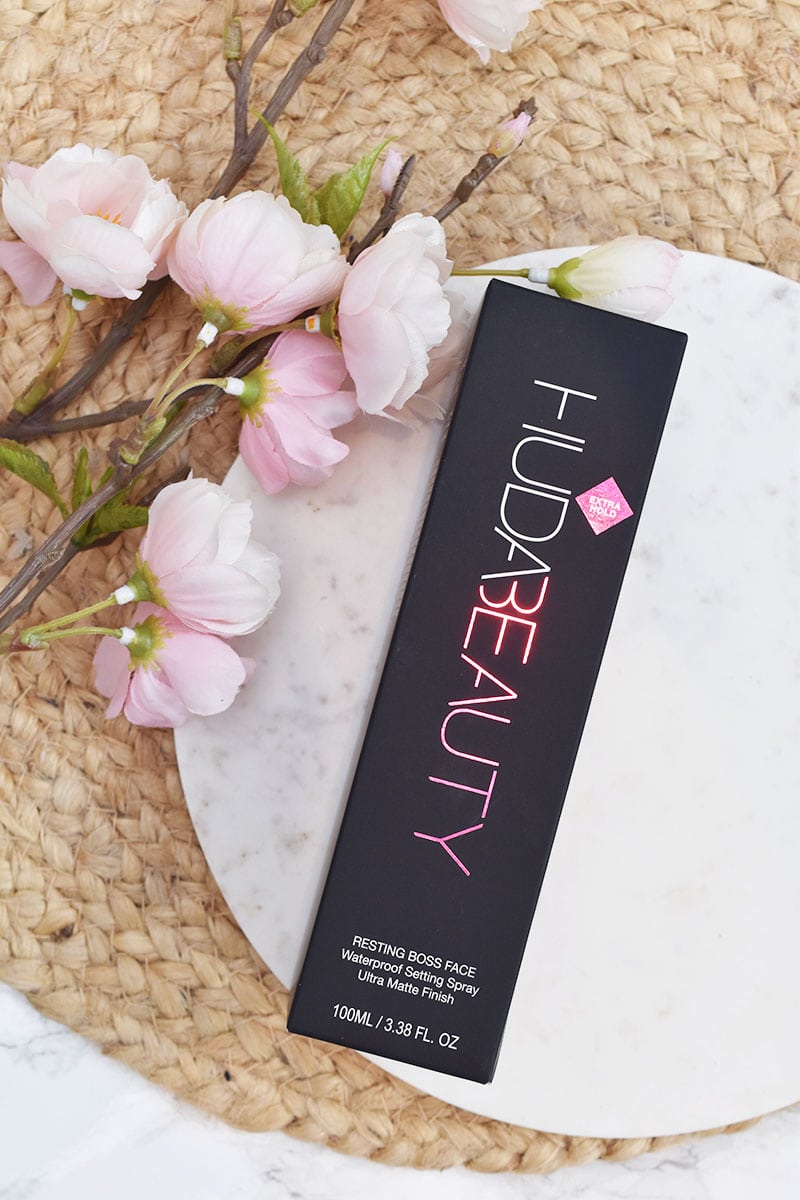
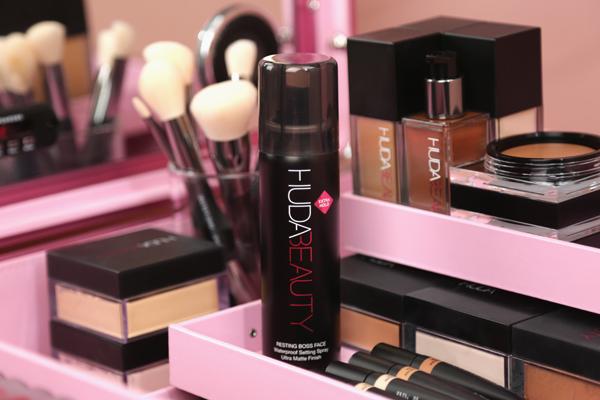
Huda Beauty’s Setting Spray offers “extra-hold” with a waterproof matte finish. This is a non-aerosol spray. You get 100ml of product for $33.

𝓘𝓷𝓰𝓻𝓮𝓭𝓲𝓮𝓷𝓽𝓼

Well, this is like looking at a not so good report card. There are quite a few hazardous ingredients-Benzyl Salicylate, Coumarin, Hydroxycitronellal, and Isoeugenol. Alcohol is the first ingredient listed and alcohol tends to dry out your skin which is a no-no. The last three are all fragrances and I think everyone has heard just how bad the fragrance is in this spray. Benzyl Salicylate is associated with allergies and contact dermatitis and also works as an ultraviolet light absorber. Actually, almost half of the ingredients in this list function as fragrances!

To be fair, this never claimed to have any sort of skin care benefit. I mean, what do you expect from something that claims to be waterproof and was inspired by extra hold hair spray? If you’re particular about the ingredients in your cosmetics, then run far, far away from this!

𝓡𝓮𝓼𝓾𝓵𝓽𝓼

First time using this, I sprayed directly to my face then on my makeup sponge and applied my foundation with it. In hindsight that isn’t what the directions said to do, but oh well! When applied directly on face, I did find the fragrance to be a bit much. My friend also tried it before we went out and she said the Resting Boss Spray irritated her skin. She felt this burning sensation and was kinda sticky to her. But, after a while that feeling went away.

This spray smells like perfume which normally wouldn’t bother me but it can be overwhelming. The spray does control oil pretty well. Normally, my T-Zone would start to get greasy after 3 or 4 hours, but the Huda spray kept it in check. Side note- It did cause me to have a migraine and I did feel sick. The setting spray was applied at 10pm and lasted throughout the night until 6am, when I finally came home to go to work. You know what was amazing though? I had gotten some of the spray on my eyelids and my eye makeup was creaseless. I didn’t use eye primer, so I was impressed! Overall, not bad for the first time.

I tried different ways of using the spray- spraying directly onto the face, doing it Huda’s way, and spraying targeted areas. If you spray directly onto the face, the fragrance is over-powering and cue in all the bad reviews on Sephora. Spraying directly onto the face will also lead to unevenness with more product on one part of the face than the rest. This formula really is like extra hold hair spray!

Primp Tip: Spray after your skin prep rituals and at the end, apply Huda Beauty Resting Boss Spray onto the beauty blender for less irritation and for more coverage. The fragrance is a little tolerable this way.

If you are wondering if Huda’s setting spray is waterproof, I can’t really say right now. February 15, 2020 was a rainy night but my friend and I makeup stayed in tact.

Compared to other setting sprays, Huda’s setting spray is significantly stronger and longer lasting.

If your skin is really oily then the spray will keep your face looking fresh throughput the day. For the normal to dry skin people, makeup will still look fresh and radiant. But since this has a matte finish, I would suggest don’t use it as much because like I previously stated, alcohol does dry out the skin. For the sensitive skin type, try applying with your beauty blender sponge instead of directly onto face.

𝓞𝓿𝓮𝓻𝓿𝓲𝓮𝔀

The Huda Beauty Setting Spray is some heavy-duty stuff! If it wasn’t for the bad ingredients, I would be singing more praises because it works better than its competitors. I love that I don’t have to do any touch-ups when using this product, but I value my skin more.
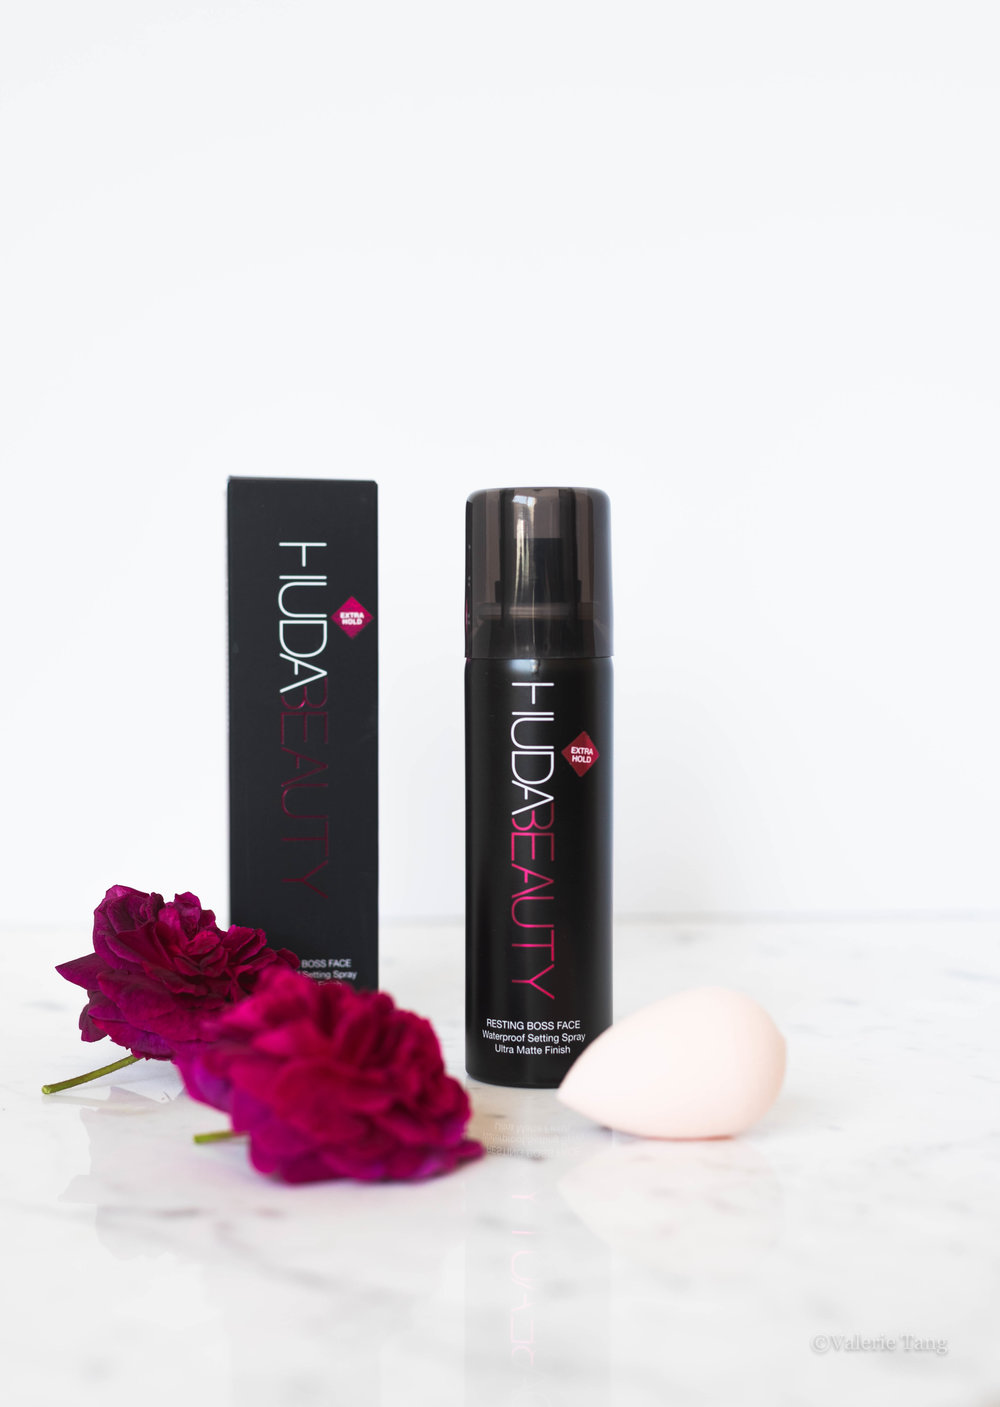
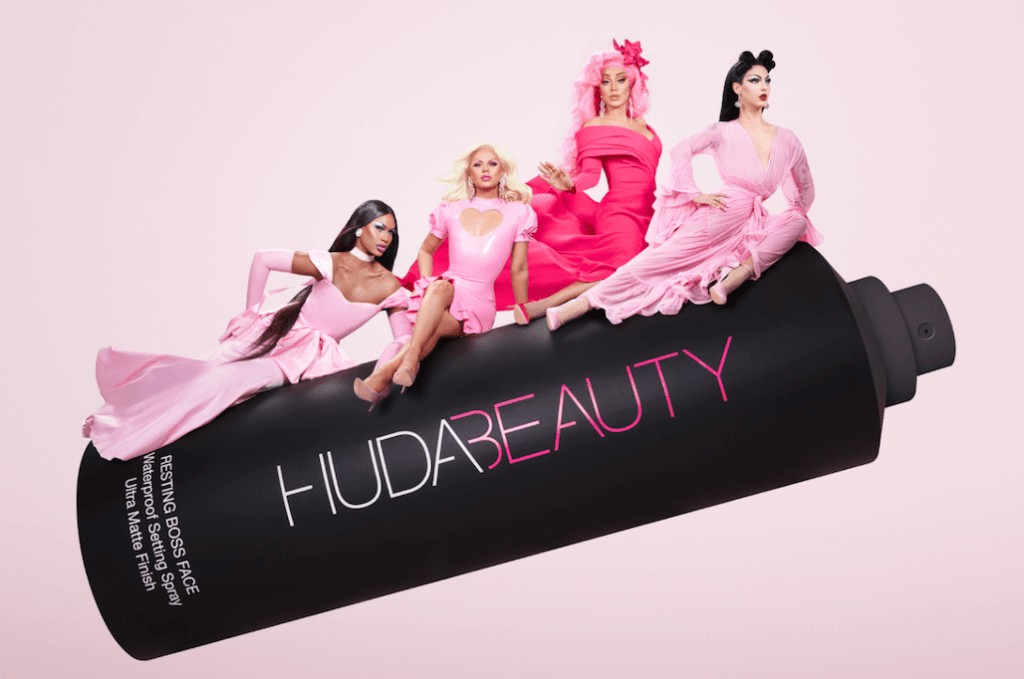
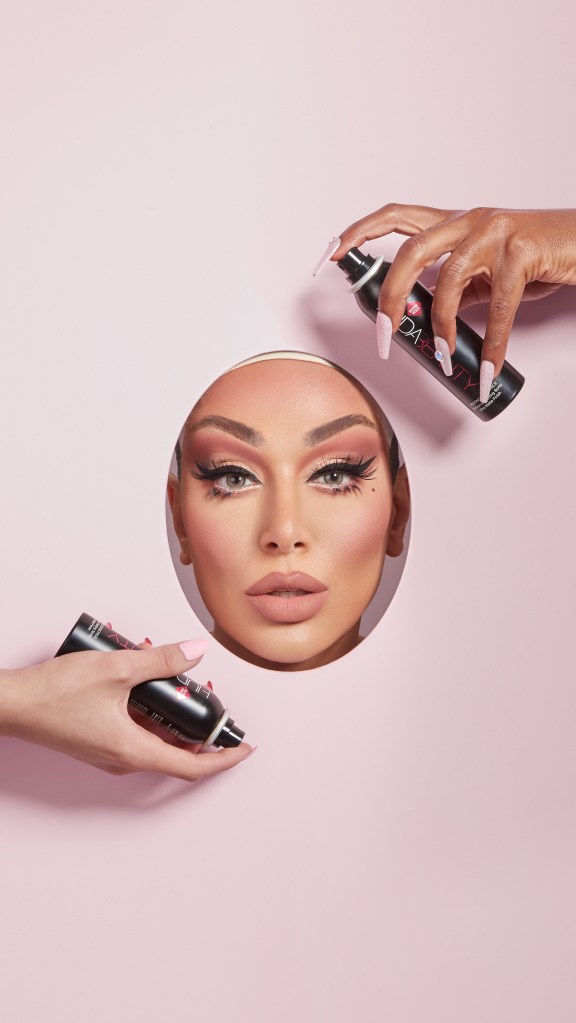
Rating: 2.5 out of 5.

HUDA BEAUTY

Resting Boss Face, $33

RELATED POSTS:

How To Apply Blush – And What You Definitely Shouldn’t Do!

We’re calling it: blush is going to be one of THE biggest makeup trends of 2020. While some of you may think blush is a little old school, it’s a classic for a reason! When applied correctly, blush warms up your entire face and gives you the most stunning youthful glow. It also adds an element of harmony to your makeup game that we can’t live without (more deets on that later). The thing is, it has to be applied correctly otherwise a sun-kissed goddess is the last thing you’ll look like, and trust us, it’s easy to go overboard if you’re not careful! Here are all of our top blush tips, and how to avoid any blush-mishaps.

How to Find the Right Blush Shade for Your Skin Tone

Finding the right blush for your skin tone is one of the most important elements to get right. If it’s too bright it can look harsh on your skin, and if it’s the wrong shade it can disrupt the harmony of your look. The key is to choose a shade that looks like a natural flush; as if you’re blushing.

For fair skin tones: Light, pink-toned blushers work well for fair skin tones – the Benefit Cosmetics Dandelion Box O’ Powder Blush, $30, is perfect!

For light to medium skin tones: Peach shades will warm up your complexion beautifully. We’re obsessed with the Charlotte Tilbury Beach Stick in Formentera, $45.

For golden or olive skin tones: Opt for brighter pinks and soft corals like Patrick Ta’s Monochrome Moment Velvet Blush, $32, in the shade She’s Passionate – a beautiful coral-pink.

For deep and rich skin tones: Hot pinks, fiery corals, and deep berry tones look divine. The Glossier Cloud Paint in Haze, $18, is perfect for rich skin tones; it looks super bright but it blends out like a dream.

How to Choose A Blush Shade To Complement Your Look

Of course, you don’t have to stick to one blush shade, you can experiment with different shades depending on your vibe. However, try to create an element of harmony by using similar hues for your eyes, lips, and cheeks. It’s an MUA rule that we live by – it’ll instantly elevate your look. Celebrity makeup artist Patrick Ta actually created a makeup collection dedicated to the monochromatic mantra including four sets of Lip Cremes, lip liners and Velvet Blushes in complementary shades to create a truly harmonious look.

For example, if you’re wearing a bold coral or orange-toned lip, opt for a coral-toned blush. If you’re wearing a brown nude lip like our Power Bullet Matte Lipstick in Board Meeting $25, use a cool-toned blush with muted brown undertones like NARS Luster, $30. Check out our examples below for monochromatic makeup goals:

For fair skin tones: To match the Dandelion Box O’ Powder Blush, $30, we’d recommend Huda Beauty Power Bullet Matte Lipstick in shade Rendez Vous, $25. It’ll create that soft feminine look that’s seriously trending right now.

how to pick the perfect blush
Source: Benefit

For light to medium skin tones: The Beach Stick in Formentera, $45, is in fact, a lip and cheek stick, so you can use it to warm up your complexion as well as your lips. This is actually one of the easiest ways to create a harmonious look; either by buying multi-purpose products or using a lip creme as a blush. Simply try to find a shade that matches the blush shade for your skin tone, as we’ve recommended above.

how to pick the perfect blush
Source: Charlotte Tilbury

For golden or olive skin tones: Patrick Ta’s Monochrome Moment Velvet Blush in shade She’s Passionate, $32, was created to be worn with Lip Crème shade She’s Independent, $24.

how to pick the perfect blush
Source: Patrick Ta

For deep and rich skin tones: Once you’ve applied the Glossier Cloud Paint in Haze, $18, to your cheeks, you can use it to stain your lips or try our Demi Matte Cream Lipstick in the shade Lady Boss, $20, which looks gorgeous on deep skin tones.

how to pick the perfect blush
Source: Glossier

How to Find the Right Blush Formula

When you’re searching for your perfect blush, the formula is another crucial factor to consider. There are so many variations on offer from matte and shimmer powders, cream pots and sticks, and stains and tints. Each formula has its own set of pros and cons. Powder blush is great for those who love to set their foundation with powder and prefer a more matte skin finish. If you prefer the no-makeup makeup look and glowy skin and rarely set your base with powder, then you’ll most likely gravitate towards a ‘wet’ finish blush, like a cream or a tint. Blush stains are another great option and can be blended with foundation, but they can be harder to blend out, so you have to be very careful with the application.

Blush
Source: Benefit, Morphe

We recommend steering away from very shimmery or sparkly blushes, as these can disrupt the balance of your blush. Creams are also often not as long-lasting as a powder, which is why Beyoncé’s makeup artist Sir John suggests layering your blushes; first by applying a cream, followed by a powder to set it. He notes this is especially beneficial for dark skin tones to ensure it stays put and the pigment pops.

How to Apply Blush

For flawless blush application, use a tapered or rounded, medium-sized fluffy brush. If the brush is too densely packed, you run the risk of picking up and applying too much blush, and if the brush is too small, then the blush will be too heavily concentrated and won’t look well blended.

Our Fave Blush Brushes

The Spectrum A05 Blush Brush, $10, which has a tapered finish and works beautifully for targeted blush and contour.

spectrum blush brush

The Patrick Ta Monochrome Moment Blush Brush, $35, has crimped synthetic fibers that easily pick up powder formulas and a tulip shape to disperse pigments for seamless application.

patrick ta blush brush

The Real Techniques Blush Brush, $9, is a classic and one of our all-time faves. The tapered bristles allow for precision application and flawless blending.

real techniques blush brush

How to Apply Blush for a Natural Glow

For a healthy flush of color apply blush to the apples of the cheeks and blend outwards using a circular motion. Scott Barnes, J.Lo’s go-to MUA told us “Instead of applying blush to the sides of your face, apply it towards the front of your cheeks, more under the eye line.”

What You Should Never Do…

Scott warns; “Applying blush on the sides, or stretching it out really far like it’s some sort of blush contour, will make you look older or outdated. The only time you want to put blush on the sides is if you are doing an editorial shoot or fashion shoot with a specific reason. Proper blush screams youth and that’s the makeup gospel truth.” And if there’s anyone we can rely on for youthful makeup tips, it’s JLo’s makeup artist – that woman doesn’t age!

How to Apply Blush for a Sun-Kissed Look

If you’re looking for a sun-kissed vibe, even in the dead of winter, blush is your BFFL. The trick is to apply a dusting (and we mean the lightest of dustings) of blush wherever the sun would hit. Think about the apples of your cheeks, the center of your forehead, and the tip of your nose. This looks works particularly well when it’s layered on top of a bronzed glow.

How to Apply Blush for a Warm, Sculpted Look

For a warm sculpted finish, apply blush to the apples of your cheeks as instructed by Scott, then lightly warm up your contour with any excess product, like under the cheekbones, and the top of your forehead. This will warm up your face and balance a grey-toned contour; the key is to go lightly – only use whatever is on your brush after applying your blush.

Do you guys wear blush? Let us know in the comments below.