Last year we were all at home so much, and some of us still are, & so we think it’s a good time to experiment with some DIY stuff.
Bring on homemade body wash.
This is one that we found online & researched & it’s great if you have sensitive skin (just make sure it’s diluted!).
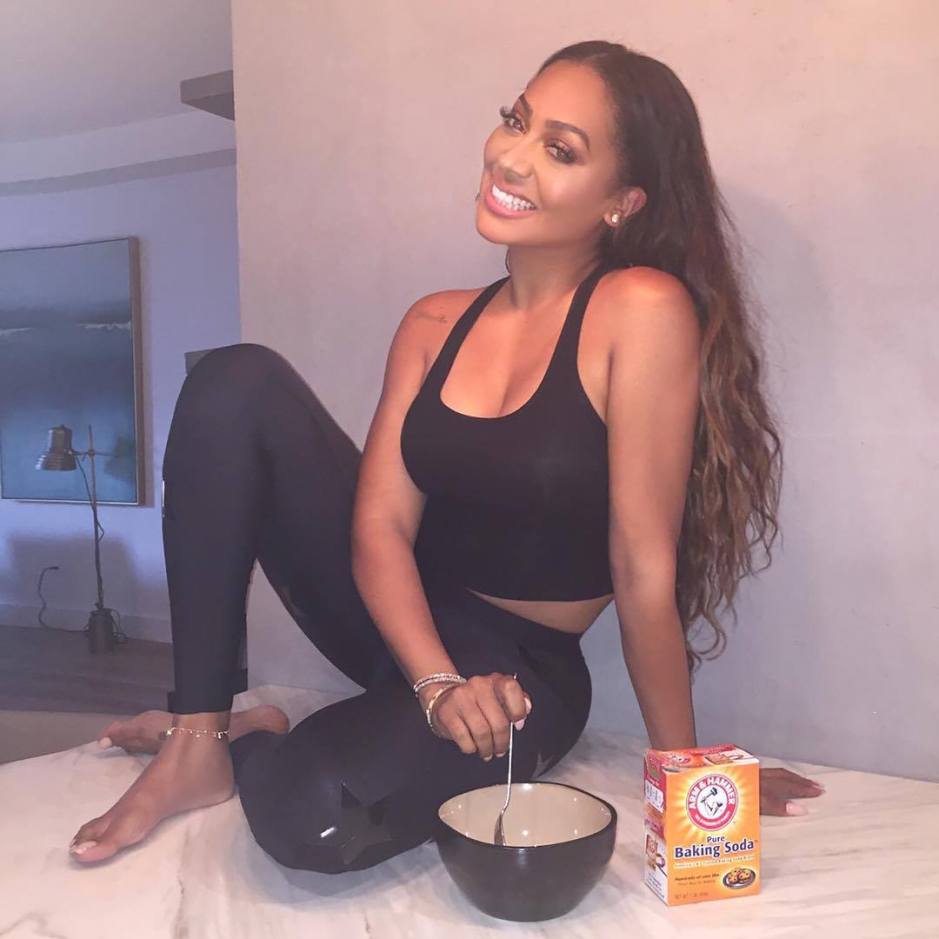
Liv Taylor told Into the Gloss that takes a couple of baths a week & uses a whole box of Epsom salts & a pack of baking soda (or hydrogen peroxide).
She says that it makes you sweat out all the toxins & junk in your cells. She said this natural pediatrician told her about it for when kids get sick. Amazing.
So, we had to dig deeper. Is baking soda in the bath a thing?
It turns out it is.
After Liv’s interview on Into the Gloss, they dug deep & spoke to James Hardwick on his holistic approach to self-care products:
“First, let’s talk about using baking soda as an exfoliant for your face and body. Whole Foods sells a little box for less than a buck. Places like Target and CVS sell boxes of Arm & Hammer Baking Soda, too, but I’m not sure if it’s as refined or as pure as the stuff you’ll find at natural food stores.
You can taste the difference if you brush your teeth with it—which I highly recommend (I’ll come back to this). In the shower, I pour a pile of baking soda into my hands and scrub everything—my face, my hair, my body, and the actual shower— with it. It’s a little rough, but it feels good… And maybe I’ve just been lucky, but my skin is happier when I wash it with something simple like baking soda.
It doesn’t seem to dehydrate my skin or strip away healthy oils, and baking soda is pretty stress-free—it’s no big deal if you accidentally swallow some, waste it (it’s so inexpensive), plus it’s environmentally safe! On top of that, baking soda is an odor neutralizer, and it’s good for cleaning produce (not something I do in the shower). See? Multi-purpose, simple, and cheap.”
After digging a bit deeper ourselves, we found a recipe & gave it a try.
A DIY Baking Soda Body Scrub
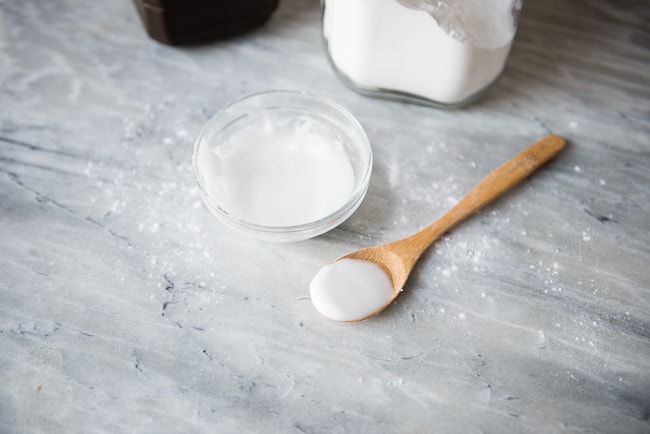
WHAT YOU’LL NEED:
♡ a container (anything works but these look super cute in a bathroom)
♡ baking soda (apparently Bob’s Red Mill is clean & doesn’t contain aluminum)
♡ water
♡ a spoon
♡ optional: few drops of essential oil (we like lavender because it winds us down)
DIRECTIONS:
♡ fill half your container with baking soda.
♡ slowly add water.
♡ put a few drops of your essential oil in & stir.
♡ gently stir & add more water or baking soda depending on the consistency you have. (You want it to be a paste).
♡ keep adding water & baking soda until your container is full & the paste has formed.
HOW TO USE IT:
♡ scoop some up with your hand & rub it on your body in the shower.
You should know that baking soda is exfoliating so it’ll feel a bit rough. If you use it on your face, rub gently!
This is a little trick that is so inexpensive, effective, quick, easy, AND good for the environment.
As we mentioned, we love lavender essential oil in this because it promotes relaxation.
Setting our bathroom up with a salt rock night light, eucalyptus hanging, & our DIY lavender scrub makes us feel like we are at a spa. Then we crawl into bed with our CBD pen from stnrcreations. One puff & we are relaxed.
Do you guys have any DIY self-care products you love? Tell us below. So, into this right now.