Primp Tip: Brush, Sponge, or Fingers?

For some of us, putting on makeup is almost second nature. We have our routines down and can even step away from the mirror in 5 minutes flat. But for others, the application process can pose more questions than productivity. When there are so many ways to apply your makeup, it’s easy to get confused on which way is the correct way to go about it. Which brings me to my latest Primp Tip… Today I will be debunking the brush vs. sponge vs. fingertip debacle.

While there are pros and cons to each tool, it all comes down to personal preference. In order to find out which technique works for you, I recommend experimenting to see which applicator you feel most comfortable using. While trial and error is always a good way to determine the winner, below I’ve broken down each applicator and it’s specific benefits. So if you’re still deciding between a brush, sponge or your fingertips, keep reading…
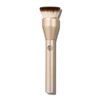
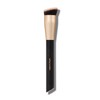
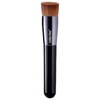
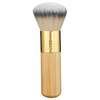
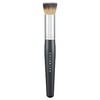
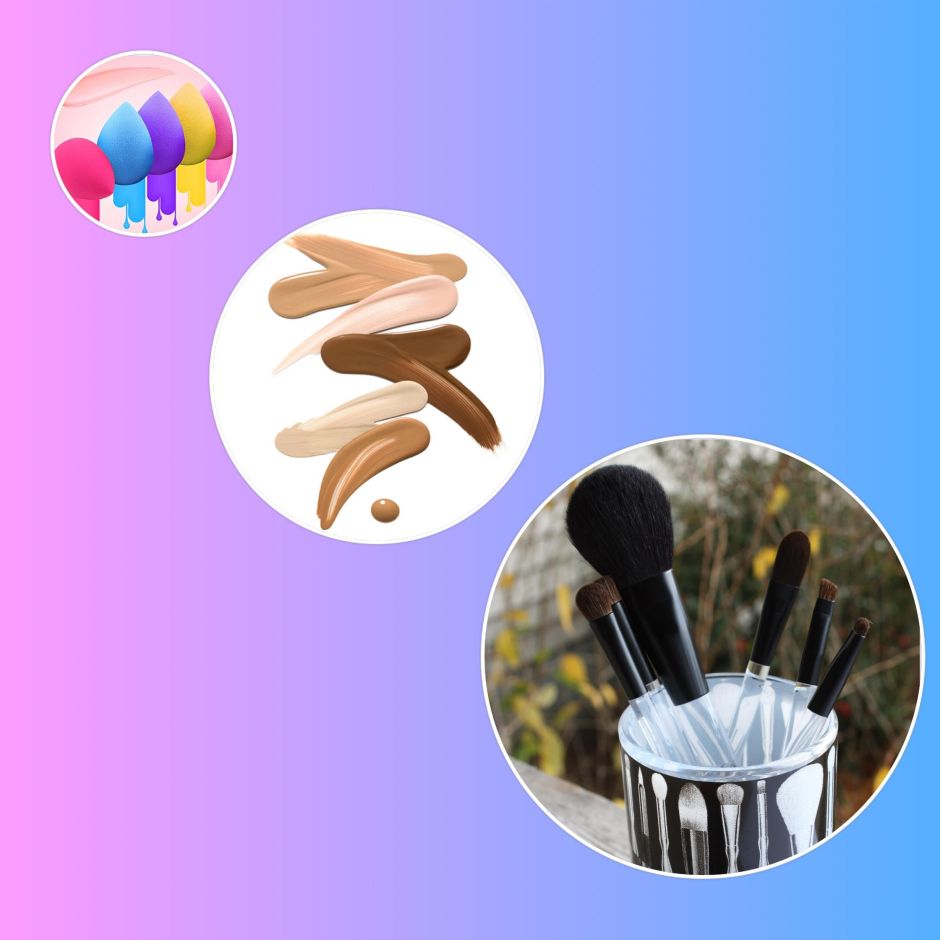
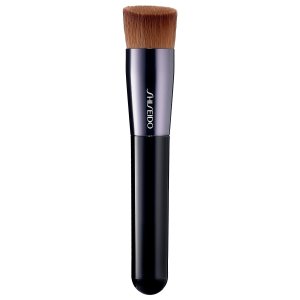
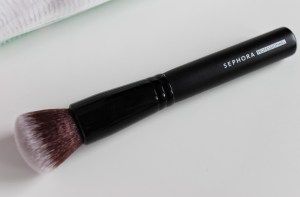
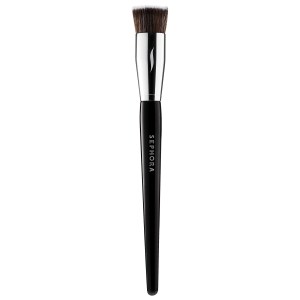
Brush

Using a brush to apply your makeup is a great way to give your skin an airbrushed finish. Brushes are known for their precision and also for their blendability. Whether you’re using powder or cream, brushes are versatile enough to get the job done. Tip: It’s important to start with a small amount of product and build up to your desired look. With a brush you tend to get a more concentrated amount of product and color, so blending it all out is essential.

Sponge

Similar to using a brush, sponges are known for their blended out, flawless finish. For an even distribution of product, wet the sponge before using a liquid foundation. By doing this you should get a sheer and lightweight look that is easily buildable. Like brushes, there are a variety of sponges used for different makeup techniques (highlighting, contouring, etc.). The only thing to be mindful of when using a sponge is that they soak up more product than a brush or your fingertips does.

4fbd15de73d7ce2331ad04fda9c4b588--makeup-tips-makeup-productsFingertips

Last but not least, using your fingers to apply makeup is just as effective as using a brush or sponge. The warmth of your fingertips makes for more blendability—but be careful because you’re going to get more of a concentrated application. For colorful eye shadow and cream blushes, your fingertips will give you the best color payoff. If you’re going to use your fingers, be gentle! Always use a tapping motion with your ring finger and don’t use too much pressure.

While there isn’t a dramatic difference between each technique, the end results should be similar as long as your product is blended into your skin. You never want a harsh line! It ultimately comes down to practice and preference. I find that I use my fingers when I’m in a rush as opposed to a brush or sponge when I want a more done-up look.

So, which method do you prefer?  85367ab070c62321d54dd32c58d13edd

Let me know your thoughts in the comments! 

Click here to find out which tool(s) I prefer

A Day At The Fort Lauderdale Beach

Hello Beauties, June 29, I had decided last minute to head to the beach and it turned out to be an experience that I cherish close to my heart. That day, my head became a little clearer and my smile became bigger. My smile was real too. Here are couple of reasons why I cherished that moment so much.

  1. I have anxiety which means I have become antisocial over the years. Being around bunch of people, especially people I don’t know can be stressful for me. I’m always in my head and thinking about the worst. But that day, I survived.
  2. I was at peace by MYSELF. I was there from 11:30 am to 4 or 5 -ish pm. 
  3. I enjoyed the scene and everything with little money I had. I was happy, like truly happy and learned a lot about myself while getting a nice workout in the process.

Making time for yourself and learning how to enjoy your own space is so important. Never in a million years did I think that I would go to the beach by myself and stay there for longer than 15 minutes. I’m happy I did though and can’t wait to go back. I might even just travel to Orlando or Miami just because. You might be thinking girl, it’s just the beach but for me, its more than that. I proved a lot to myself and didn’t let my anxiety or anything else get in my way. I want to do bigger trips but for now, traveling around Florida will do. If you want to know how I did it with basically no money, What I did, and Where I went then keep on reading…

Ft Lauderdale Beach Pics 2

How Did You Get There?

I took the bus, simple. I got the whole day bus pass which is $5 and took Bus Route 40. I asked a nice man who was hitting on me but it didn’t bother me because he wasn’t disrespectful. He told me what bus to take and gave me directions to get to that bus stop. 

Now, if you want to get there quicker without having to wait and make several stops along the way then I suggest you take Lyft. It is going to be pricey depending on where you coming from but you can use my code: CRYSTAL40317 to save $$.

What Places Did You Hangout At?

First, I walked along the beach then I stumbled upon CVS. It wasn’t that far, it was located in Beach Place plaza. I purchased a bottle of coke, I was really thirsty. Mouth felt dry and everything. Thinking back at it, I should had got a water bottle instead especially since when the coke wasn’t cold anymore, it tasted weird. It was warm, not like room temperature, just warm.

Then I went to the beach and dip my toes into the nice cool water. The sun was out but it wasn’t too hot. I wished I had my bathed suit or extra clothing because if I did, I would had became a mermaid for sure lol.

Ft Lauderdale Beach Pics 6

After I finished playing in the water some more, I went up to a family who was tryna take pictures and asked if they needed help. They were so nice, they were traveling from Switzerland. I took some bomb pics for them and said goodbye. Next, I walked some more and saw many parties that was happening at different resorts. I was invited by this lesbian who was cool as fuck. I sat by the pool with them and talked. The music was booming and boobies were out. I spent like 1hr with them before I left. Everyone was just happy and living their best life.

I continued to walk and saw many beautiful resorts, restaurants, hotels, homes, and boats. I decided to turn back around because I was getting hungry and I was a little scared that I might be going too far; I didn’t want to get lost. Since, I wasn’t wearing my glasses, me getting stuck wasn’t the plan and I do sometimes forget things. I just didn’t want to take any chances. Plus, I didn’t have cash on me, so if it had reached 11:59 pm, I would had been screwed because that’s when my bus pass would had expired. 

I headed back to Beach Place to rest up. There were many tourists. It wasn’t packed but it was still busy. My back felt better, my body felt better so I got up and continued to see what the prices were looking like for the food. One restaurant had a sale going like buy a burger and get a coke for free and another restaurant Lona had different promotional flyers up. That place was busy, well from what I saw at least. People were eating, drinking and just chilling. Honestly, I wanted a hot dog but the place wasn’t open and there were no other place that was selling hot dogs.

Ft Lauderdale Beach Pics 5

I rode back taking the Bus Route 40 then jumped on Bus Route 22 to get back home. I ended my day with a sweet tea from Dunkin Donuts and 6 pieces of hush browns. They have sweet tea, any size for a $1. I am kinda sad that I missed the Live Music & Entertainment at Fort Lauderdale beach but next time.

Share some of your favorite beach day tips!

Have you traveled to Florida? And if you have, what was your experience like?

When was the last time you explored the town you live in or a neighboring town? That could be a fun journey and an escape from the everyday grind, couldn’t it?

XO Lee


Beauty Note: Why I Switched to a Foundation Brush—and Why I’ll Never Go Back

20161025_brushsoniakashuk2510_2copie

It all started on a routine trip to Target. I can’t help but make a detour through the cosmetics section every time I walk into the store—I swear it’s like a magnet! A small voice in my head convinces me that there’s something new that I need to try. During one of my more recent visits, Target had just remodeled the makeup brush section and I found myself comparing and contrasting every single one. After all, one needed to come home with me and I wanted it to be something I used on a regular basis. That day I became the proud owner of my first Sonia Kashuk foundation brush.

For the past few years I’ve been applying my foundation with a makeup sponge, and for the most part I had no complaints. After all, each application process has its pros and cons. Since I’m the kind of person that likes to test out the latest beauty trends to see what all of the hype is about, my curiosity is what ultimately lead me to the brush aisle at Target that day. I know that using a brush to apply foundation is not a new concept, and I have used makeup brushes before. But it been a while since I used brushes and there have been so many brushes that has been out that I needed to find out has there been a change for myself and I’m so glad I did. Keep scrolling to see why I’ve converted to using makeup brushes…

Why I’m ditching my makeup sponge.

All in all, makeup sponges work great when applying everything from foundation to concealer and even highlighter. After using a damp makeup sponge to apply my foundation for quite some time (I’m talking years), I found myself getting fed up with the lack of consistent coverage it was creating. Did you know that makeup sponges soak up a lot of the product that you’re using? I found that because of this, my makeup was looking blotchy in areas where there was more product and I was running out of foundation faster than I care to admit. Using a makeup sponge was proving to be more wasteful than helpful.

Why I’m sold on foundation brushes.

When it came time to test the makeup sponge against the foundation brush, the results were evident immediately. It cut my application time in half and it left me with polished and airbrushed looking results. The biggest difference for me was how even my skin looked—finally! Foundation brushes give you the option to build up as much coverage as you want, giving you full control of the look you’re wanting to achieve. These were the kind of results I was lacking with a makeup sponge.

After four weeks of using the foundation brush to apply my makeup, I can confidently say that I will not be reverting back to a sponge. If you’ve been curious about what they can do for you, I encourage you to make the switch! Not only will your product last longer, but you’ll be giving yourself an effortless airbrushed look every time you apply foundation. That’s a win win in my book!

Here are a few of my favorite foundation brushes:

What are your thoughts on foundation brushes?

(Let me know your opinion in the comments below!)


Primp Tip: How to Make Any Lipstick Matte

I have a confession to make… I’m an absolute sucker for the latest beauty trends. After all, we are in the age of YouTube sensations and 1-minute Instagram tutorials. Mastering the art of contour: check, Mastering the art of winged eyeliner: check. Buying all of the matte lipsticks available: major check. I have a lot of lipstick colors in my drawer that don’t fit the matte bill. That doesn’t make them less beautiful, but right now I’m head-over-heels for that nudish brown look. Instead of letting my non-matte lipsticks go to waste, I decided to do a little research on what I could do to incorporate them into the mix. So I thought it would be fitting to address a question I’ve found myself asking a lot lately—is it possible to make an ordinary lipstick matte?

The answer is yes, you can make an ordinary lipstick matte (yay!). All you need is your favorite shade of non-matte lipstick and a few beauty products that you may already have in your makeup drawer. Keep scrolling to find out how you can transform your lipstick into this season’s hottest beauty trend…

lipsticks_giphy

Here’s what you’ll need:

translucent powder
tissue
makeup brush
your favorite non-matte lipstick
corresponding lip liner (optional)

Here’s how to do it:

1. Line your lips with your lip liner pencil. This step will help ensure that your finished look will last through wear and tear throughout the day.

2. Apply your non-matte lipstick on top of your lip liner. If you’re a perfectionist like me, I’ll sometimes line my lips again after I apply lipstick so that my lines are as sharp as possible.

3. Take your tissue and separate the layers so that you have one fine sheet.

4. Lay the single tissue sheet over your lips and, taking your makeup brush, dust your translucent powder over your lips. By placing the tissue between your lips and the makeup brush you are essentially filtering the amount of powder applied to your lips. It’s best to start small and build up so that you can reach your desired texture without over doing it.

5. Remove the tissue and dust the translucent powder directly onto your lips one final time.

Viola! You have now created a rich, matte texture without breaking the bank on new beauty products. I love a good DIY makeup hack, don’t you?


Will you be trying this matte lipstick beauty hack?

Related image