WHY YOU SHOULD MIX HIGHLIGHTER WITH FOUNDATION

The search for perfect-looking skin has our constant attention — we invest in fancy foundationsskin-smoothing primers and magical blending sponges. But little did we know that creating a flawless makeup base has less to do with these methods and a whole lot more to do with what we mix our foundation with. Ahead, we broke down exactly how to achieve the look by mixing highlighter with our favorite foundation formula, and we can guarantee that the results are better than any other method out there. 

STEP 1: Pick the Right Liquid-Based Highlighter

Picking the right illuminating product is key to making this makeup mix a success. First and foremost, choose a highlighter that has more of a sheer finish, as opposed to a glittery, shimmery one. You’ll need a lightweight formula like the Dermablend Glow Creator Highlighting Drops that will blend seamlessly with your foundation to leave a natural, subtle glow.

STEP 2: Mix It Up

Mix equal parts foundation (our current favorite is the YSL All Hours Longwear Foundation) and highlighter on the back of your hand. The total combination should equal a dime-sized amount. If needed, add more to make sure you have the right amount of coverage. Just be careful that you don’t end up with thick, cakey makeup.

STEP 3: Blend, Blend, Blend

Dot the mixture on your forehead, cheeks, nose and chin and smooth it all over the face (we recommend working from the center and blending outward) with a blending sponge or foundation brush, until your makeup is evenly distributed around your face and neck. Make sure to blend well, so that there are no streaks or splotching. Your makeup should look like second skin. For a next-level glow, feel free to add more strategically placed highlighter on the high points of your face when you’re finished with the rest of your makeup.

Read More:

Processing…
Success! You're on the list.

You’ll Want To Buy A New Pillow After Reading This

Here’s a gross fact: your body sheds around 600,000 particles of skin every hour (give or take) and over the course of your life you’ll lose around half your weight in skin cells. What does this have to do with your pillow? Well, every night you shed millions of skin particles onto your pillow, along with sweat, dead hair, saliva, and oil, which all get absorbed into your pillow. Here’s where it gets really gross… Some studies have estimated that up to a third of the weight of old pillows are made up of dead skin, dust and dust mites.

What does that mean? You really need to be washing your pillow as well as your pillowcase a lot more regularly. The longer your pillow goes unwashed (every few months is recommended) the more dead skin and dust build-up there is to attract more dust mites to feast on your dead skin.

Besides all this being super nausea-inducing, using the same pillow for years without washing (guilty) is especially bad for allergy sufferers, but it also essentially ‘dirties’ your outer pillowcase more quickly, and that’s not good for your skin. So even if you’re washing your pillowcase every week (which we recommend), that pillowcase is still coming into contact with your nasty old pillow and all the lingering dust mites that go along with it.

How often do you wash your pillows?

So, what should you do? If you’ve had a pillow for more than three years and never washed it, start by washing it in the machine (if it’s feather you can have it dry cleaned) and then perhaps consider buying yourself a new pillow. In general, try to wash your pillows every three months and consider buying a new one every three years. You can also leave pillows out on a hot sunny day when you change your sheets, as pillows build up moisture, which becomes the perfect breeding ground for bacteria and bugs. After a day in the sun, you’ll notice your pillows will have ‘fluffed up’ considerably thanks to moisture evaporating in the sun.

You can also buy pillow protectors, like this zippered 100% Cotton Bed Bug, Dust Mite & Allergy Control Pillow Protector, $11, which will act as a second barrier against dust mites and will extend the life of your pillow – just wash it every month.

Moral of the story? Unless you want to be sleeping on a pillow packed with thousands of dust mites, dead skin and sweat, we suggest you get washing those pillows asap… We’re just about to buy ourselves a new set!

Hype or Not: Aztec Secret Indian Healing Clay Review

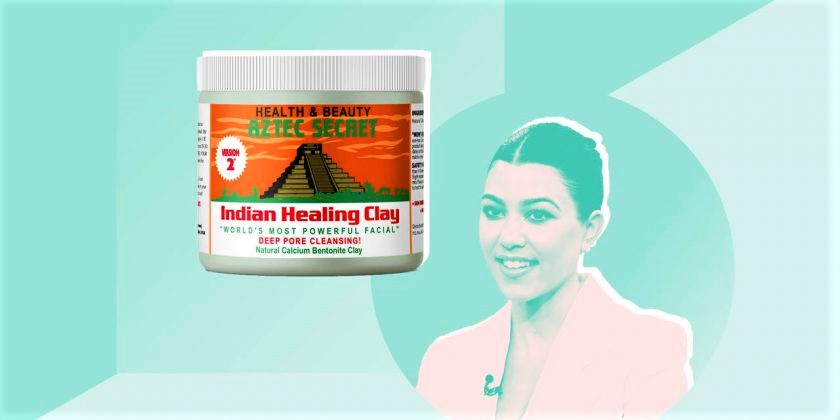
While there are hundreds (if not thousands) of face masks options available, you’d be hard pressed to find one that boasts more five-star reviews and celeb love than the Aztec Secret Indian Healing Clay Mask. Amazon customers are practically writing novels about how it has transformed their skin, sharing astonishing Aztec Clay Mask before-and-after photos.

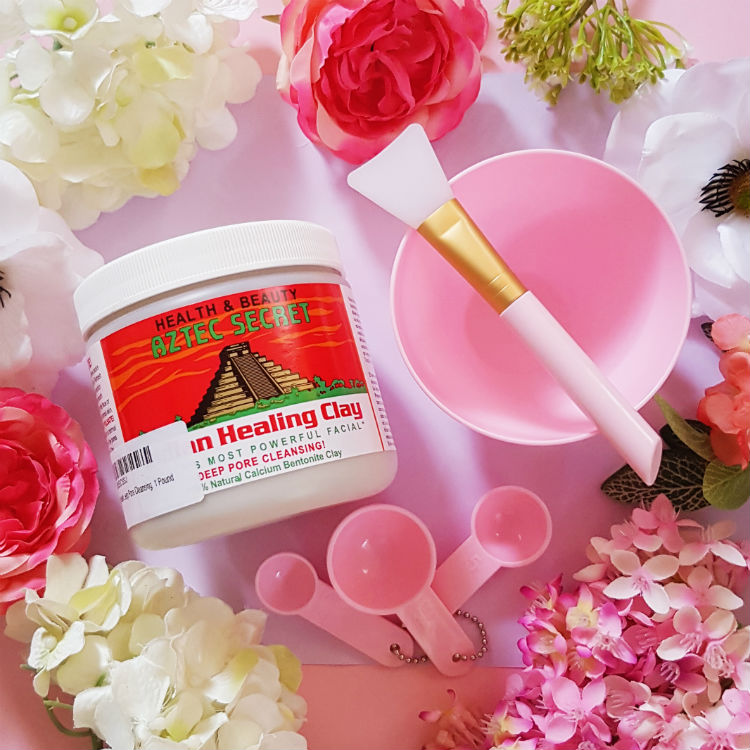
Since going viral a few years ago, the mask has racked up over 13,000 positive reviews from Amazon shoppers who have referred to is as the “holy grail of face masks” for acne—and it makes sense because it’s made with 100 percent bentonite clay, which helps to draw out the skin’s impurities. Unlike most face masks—which come ready to apply—you’ll have to whip up your own concoction using equal parts Aztec Indian Healing clay and apple cider vinegar or water. Yes, it’s a little extra work, but reviewers and stars alike agree it’s totally worth the time because it leaves their pores feeling so refreshed.

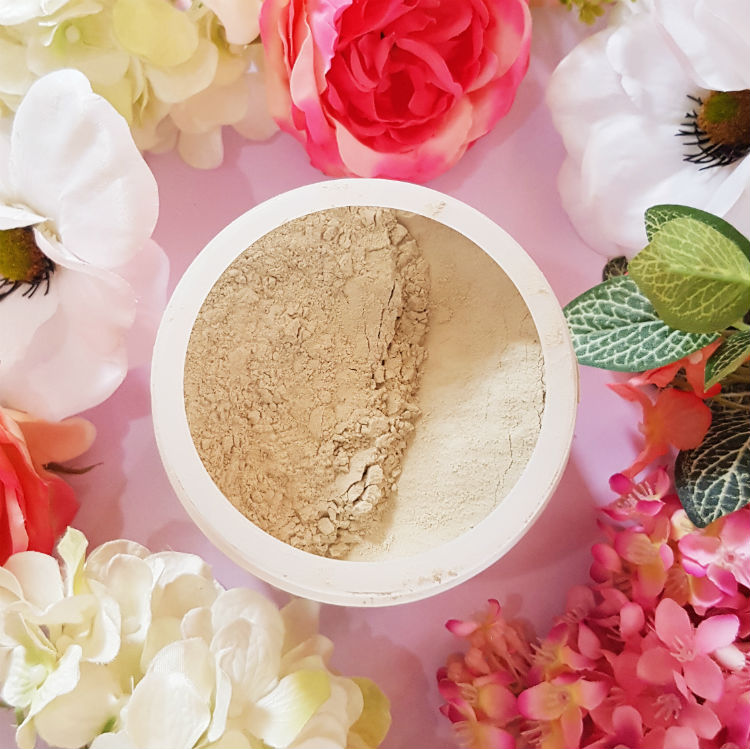
WHAT IS IT: AZTEC SECRET INDIAN HEALING CLAY is natural Calcium Bentonite Clay from Death Valley, California, where it is sun- dried for up to six months in temperatures that sometimes reach 134 degrees. The unique structure of the molecules in Aztec Secret Indian Healing Clay carry a negative electron charge. This comes from the valance electron count from the specific minerals found in Aztec Secret Indian Healing Clay. This Indian Healing Clay lifts the pimple and blackheads into the clay bed to cause accelerated healing and nourishment to the skin with over 50 minerals.

  1. 100% NATURAL
  2. Deep pore cleaning with 100% natural calcium Bentonite Clay
  3. Does not contain: additives, fragrances or animal products
  4. Use for acne and blemishes. Use it once per week

HOW TO USE: After mixing with vinegar, apply the smooth, paste-like substance to the skin using your fingertips or, as reviewers recommend, with a silicone brush applicator, and allow it to dry for up to 20 minutes. (Note: Dry time can vary depending on your skin’s sensitivity.) As it dries, you’ll feel a pulling and tightening sensation, which is just the deep pore cleansing in action. The mask is so powerful that many customers recommend only using it once a week and moisturizing right after, as it’ll leave your skin feeling a tad on the dry side.

WARNING: Please note that when you rinse off the mask your face may be red and this is normal with this clay mask. This redness will be gone within 20 to 30 minutes.

PRIMP TIP: It’s easy to customize this clay mask depending on your skin’s mood. If you want a shot of moisture, add a teaspoon of raw honey to your mixture. For a more soothing formula, add some Aloe Vera gel, and if blemishes are an issue, a few drops of Tea Tree Oil will do the trick. Aztec Secret Indian Healing Clay is as powerful as it is versatile.

“This product is AMAZING. It’s an official Holy Grail product of mine,” another reviewer wrote. “I ideally use it once-a-week, and it feels as if angels themselves have taken the time, to delicately renew my skin with the magical touch of their wings.”

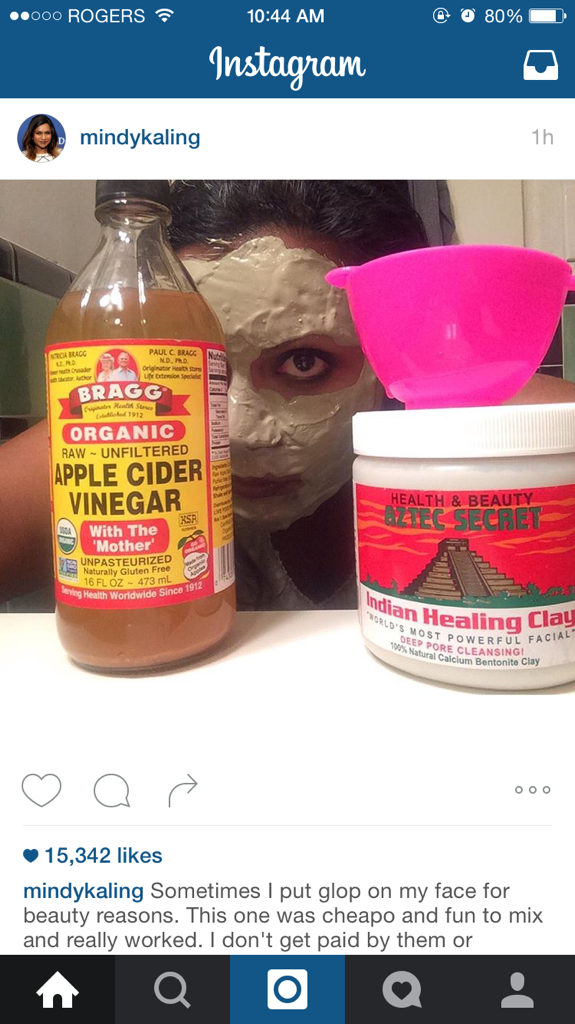
Dramatic, yes, but the mask is so popular, it even has a long list of celeb fans, including Kourtney Kardashian—the latest A-list to chime in on her love for it. In a recent post on her website, Poosh, she shared that the Aztec clay mask is one of three products she rotates in her “self-care Sunday masking routine.” As it turns out, her sister Khloé Kardashian is also a huge fan, along with Mindy Kaling and Lili Reinhart.

In 2015, Kaling shared a photo on Instagram wearing the Aztec mask that she mixed with Bragg’s organic raw apple cider vinegar (also available on Amazon).

PRIMP TIP: I learned from some people that you should spray a hydrating facial mist on your face while the Aztec Secret Indian Healing Clay is on your face. That way it will be kept moist and easier to remove and the clay will not take moisture off from your skin. It’s the same logic with sheet masks.

MY EXPERIENCE: This pulsating sensation is pretty intense as the clay mask is working hard to rid your skin of all the dirt and grime. You will feel some tugging! After the recommended 20 minutes, the clay concoction hardens and makes your face feel a little tight. That’s your cue to wash it all off. I was left with slightly reddish skin, but this dissipated after five to ten minutes. I looked in the mirror, and an unbelievably squeaky clean face greeted me. “Is this really MY skin?” I marveled.

That’s not all. After prolonged use, you will find that your skin is no longer as prone to breakouts. And there’s still so much clay left in the tub!

This clay mask is truly no joke. It leaves a wonderful sensation on your skin but more than that, it is healing. It heals by getting rid of all the grit and sebum that causes breakouts. With a great price to boot, great reviews by thousands of users and some pampering time on offer, you can’t go  wrong with this one.

*This product may or may not help you. If the pimple persists, you may need to know the type of pimple you have or better, consult a doctor.

Did you try the Aztec Secrets Indian Healing Clay Mask – the world’s most powerful facial!? Lemme know about your experience….

The Celebrity DIY Facial That Will Cost You Less Than $1

The facial in question is an ice bath  yes, we’re serious! We’ve got to admit we were a little shocked when we heard just how many celebs do this before a big event. But seeing as it’s definitely the cheapest of all the celebrity facial trends, we thought we should look into it. And let us tell you the benefits are MAJOR. Just take a look at the Victoria’s Secret Angels to see the results, because word on the street is they all gave themselves an ice bath before the big show. This slightly crazy facial gives your skin an instant glow, shrinks the size of your pores, and tones your skin. Honestly, the next time you’re getting ready for an event and you want to look snatched AF, do this before you start your skin and beauty prep.

So how exactly does it work?

All you have to do is fill a large bowl with ice and then add enough water so that all of the cubes are submerged. Then scoop the water into your hands and splash it onto your face for 30 seconds. We swear this feels harsher on your hands than it does on your face  it’s actually SO refreshing. The cool water constricts the skin’s circulation by reducing the natural heat in the skin, which instantly tightens your pores, reduces any puffiness, and revitalizes your skin.  It’ll also appear to smooth fine lines and wrinkles while making your skin look more firm. But we wouldn’t recommend giving yourself an ice bath every day (tempting, we know!), as it’s such a powerful treatment it could actually damage the capillaries if it’s done too frequently. We’d suggest it just for special occasions and events, or if you’re doing a runway show!

Ice Cube DIY

For those of you not quite brave enough to give yourself an ice facial just yet, then this ice cube DIY is an ideal alternative. All you have to do whisk together 3 tablespoons of honey and 3 tablespoons of olive oil, and then pour the mixture into an ice cube tray and freeze overnight. In the morning, massage the ice cubes onto your face until they dissolve and then wash your face with cool water  this will give intense hydration, toning, and nourishment.

Another super easy ice cube DIY is to simply add a drop of your favorite essential oil into each ice cube before you freeze it. You can then use these ice cubes individually or as part of your larger ice bath facial.

Let us know if you’re brave enough to try it in the comments below!