Come winter, and all those skin issues start peeping out again. Don’t you think your skin needs to be prepared for winter’s arrival? That is why you need to incorporate rose water for dry skin in your skincare regimen. Yes, to prepare your skin to face the harsh winter, you need to give it extra care and protection.
Your skin hydration plays a crucial role in achieving fresh and healthy skin. If you have dry skin, you need to be extra careful with the products you choose and how you care for your skin. A balanced skincare routine is all you need to be tension-free during the winter. Wondering how to use rose water for your dry skin? Well, we can help you. This article discusses the benefits of rose water and how you can use it. Keep reading.
Is Rose Water Good for Dry Skin?
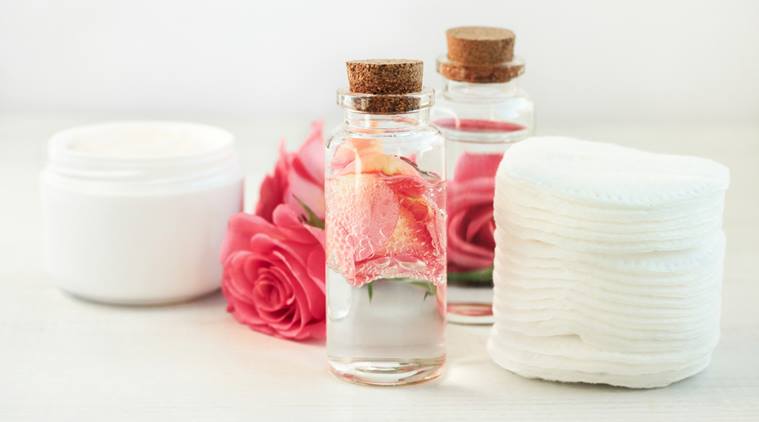
Rosewater by itself is not going to do wonders for your skin, but in combination with other moisturizing ingredients, it helps keep your skin feeling hydrated for longer while also improving its texture. The reason this fragrant liquid suits dry skin is because of how efficiently it refines your pores without drying your skin out. Rosewater is usually used as an additive in skin care treatments. It can be used by itself as a toner or in combination with other moisturizing ingredients for dry skin. Here, I’ve put together 4 rose water treatments that are keeping my skin feeling great this winter.
1. Rose Water for Dry Skin
You Will Need
- 1 tbsp pure rose water
- Cotton pad
- Towel
- Facial cleanser
- Moisturizer
Prep Time
2 minutes
Treatment Time
5 minutes
Method
- Wash your face with a facial cleanser and pat dry.
- Saturate a cotton pad with the rose water and dab it onto your face.
- Let it dry.
- Once dry, moisturize your face.
How Often?
Twice a day.
Why This Works
Cleansing, toning, and moisturizing your face is an essential part of any skincare routine. This rose water toner, unlike most toners available on the market, is extremely gentle on your skin. It helps get rid of residual dirt and grime without drying out your skin. It leaves your skin feeling fresh and hydrated.
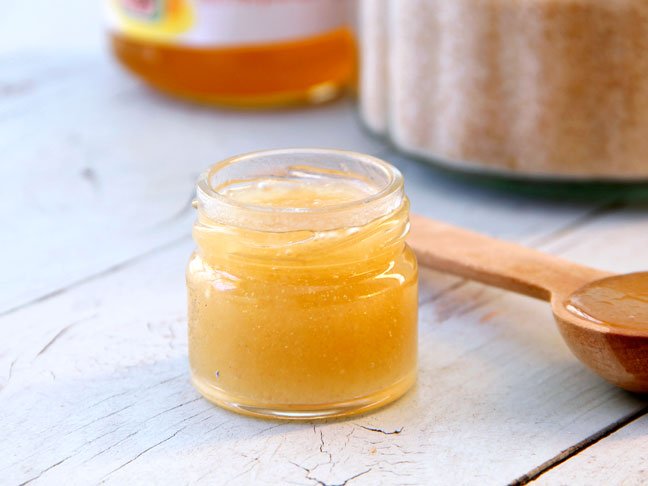
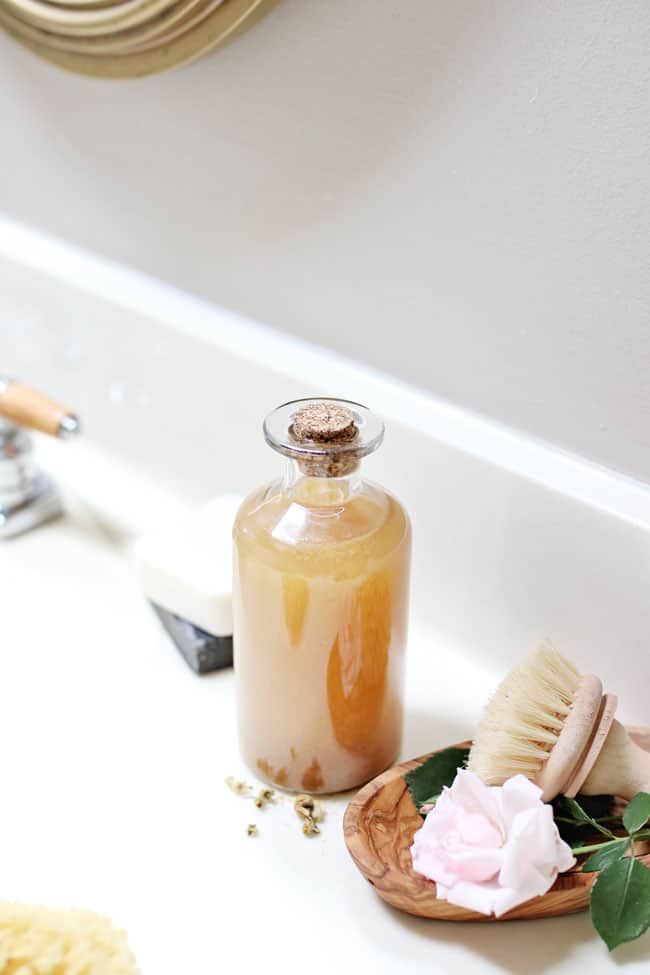
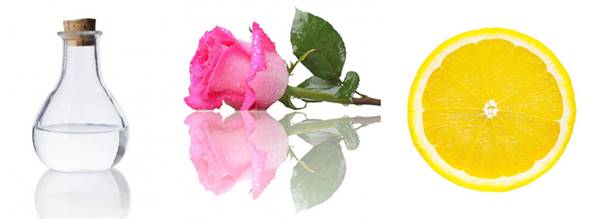
2. Glycerin, Lemon, And Rose Water for Dry Skin
You Will Need
- 3 tbsp glycerin
- 3 tbsp pure rose water
- 1 tsp lemon juice
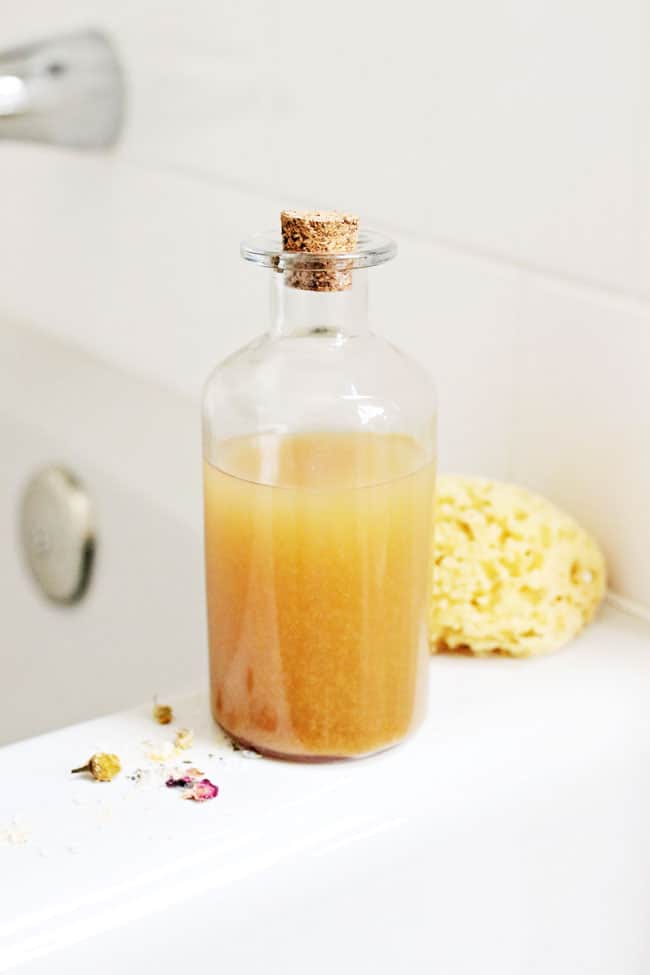
- Clean bottle for storage
- Facial cleanser
- Towel
Prep Time
2 minutes
Treatment Time
2 minutes
Method
- Combine the glycerin, rose water, and lemon juice and pour the mixture into a clean bottle so that it can be stored. (Store the mixture in your refrigerator.)
- Take a coin-sized amount of the mixture and apply this to your face and neck.
- Ensure that your hands are clean during application.
- Gently massage your skin in circular motions until the lotion is completely absorbed.
How Often?
Every night.
Why This Works
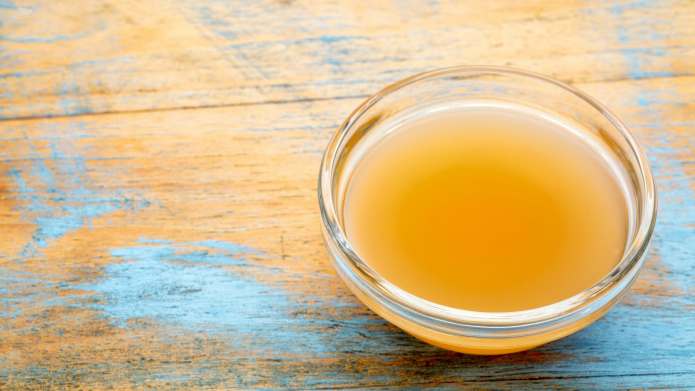
Glycerin helps hydrate your face and leaves your skin feeling extremely supple. The ingredient is easily absorbed and provides your skin with non-greasy, long-lasting hydration. Lemon, on the other hand, gives your skin a vitamin C boost and also helps fade any marks or scars with its bleaching properties.
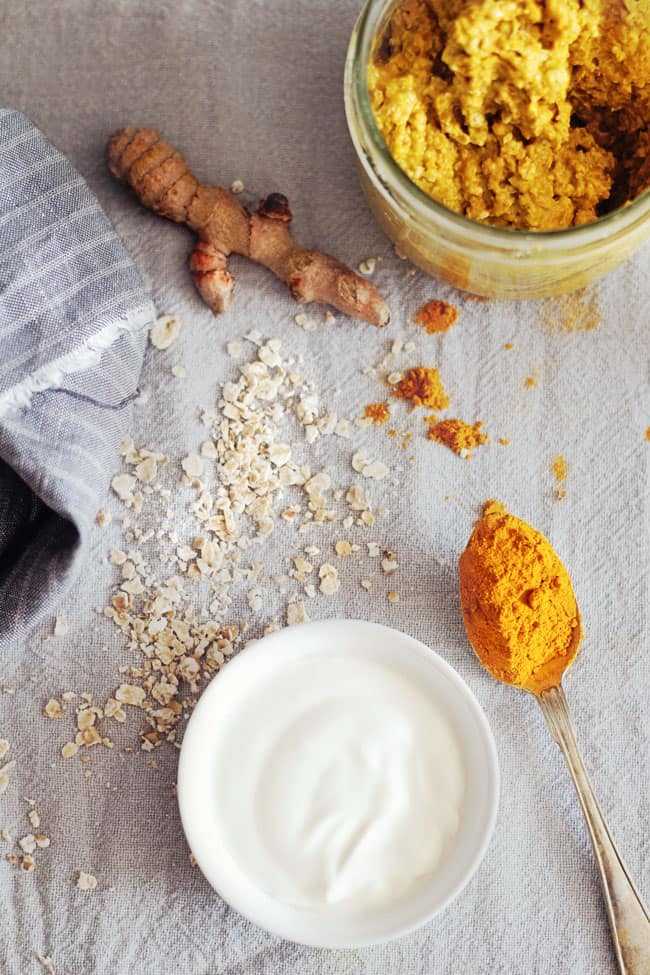
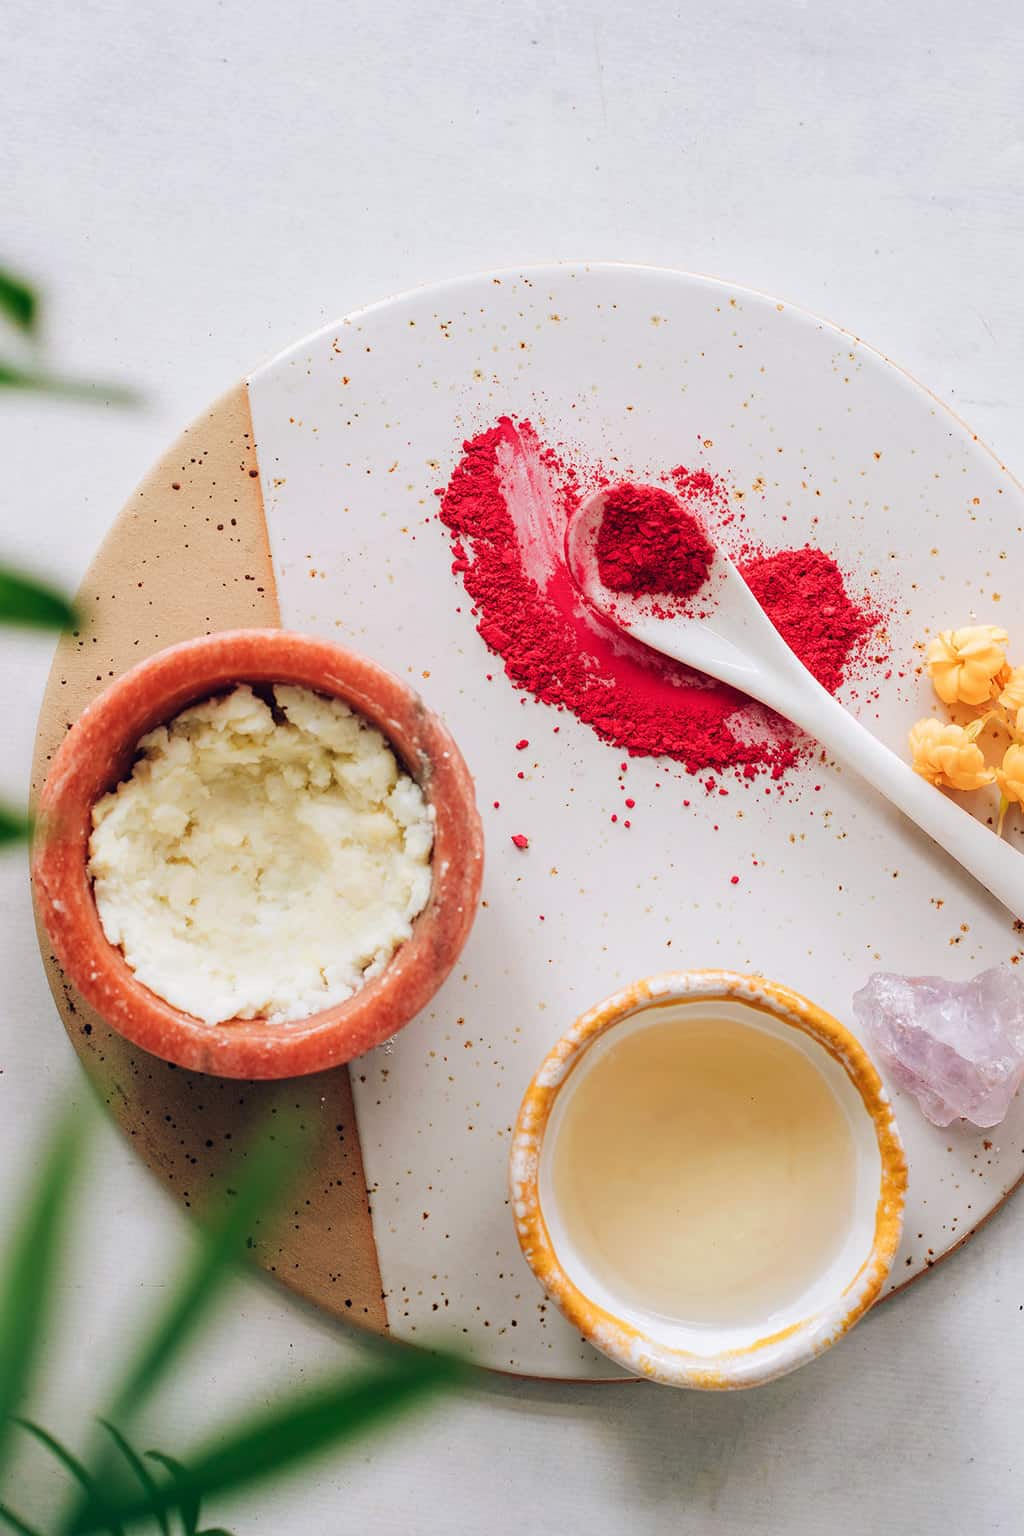
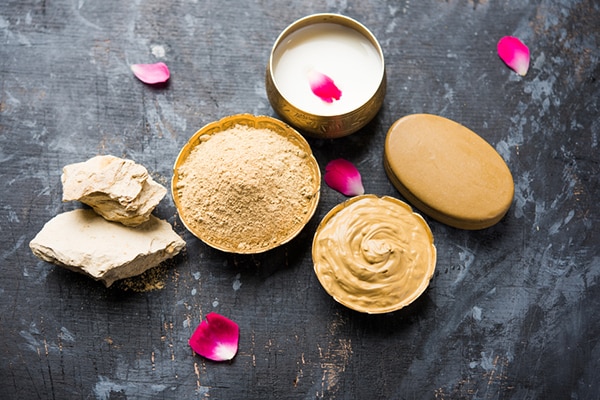
3. Multani Mitti, Milk, And Rose Water for Dry Skin
You Will Need
- 2 tbsp Multani mitti
- 1 tbsp milk
- 1 tbsp pure rose water
- Facial cleanser
- Towel
Prep Time
2 minutes
Treatment Time
20 minutes
Method
- Wash your face with a facial cleanser and pat dry.
- Combine the Multani mitti, milk, and rose water until you get a smooth paste.
- Apply this paste onto your face.
- Wait for 20 minutes and then proceed to wash the mixture off of your face with cool water.
How Often?
1-2 times a week.
Why This Works
While Multani mitti is generally used to treat oily skin, this face mask contains the goodness of milk and rose water to help treat dryness. Milk contains lactic acid, which helps soften your skin while fading blemishes. The mask helps exfoliate, nourish, and soften your skin.
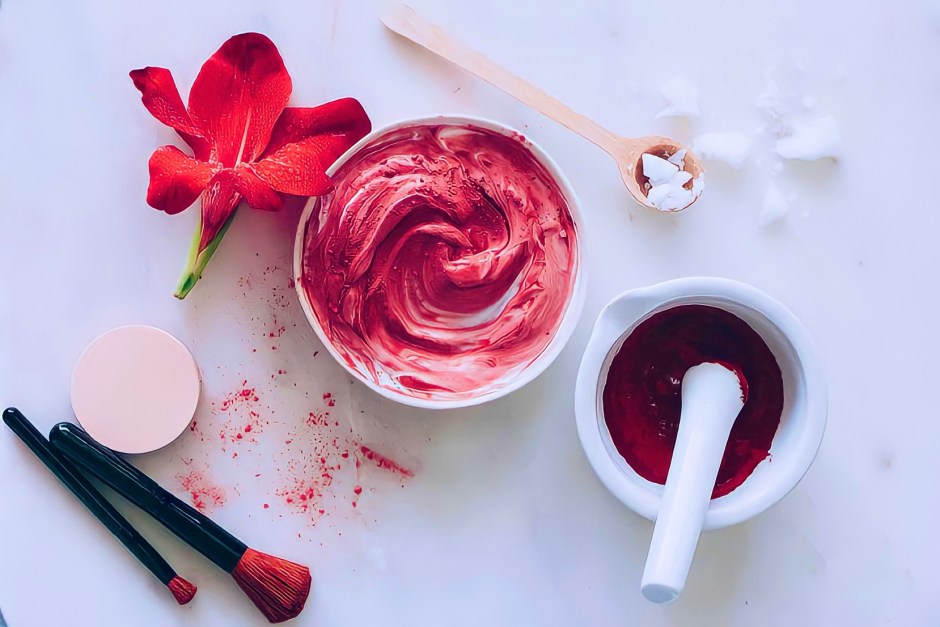
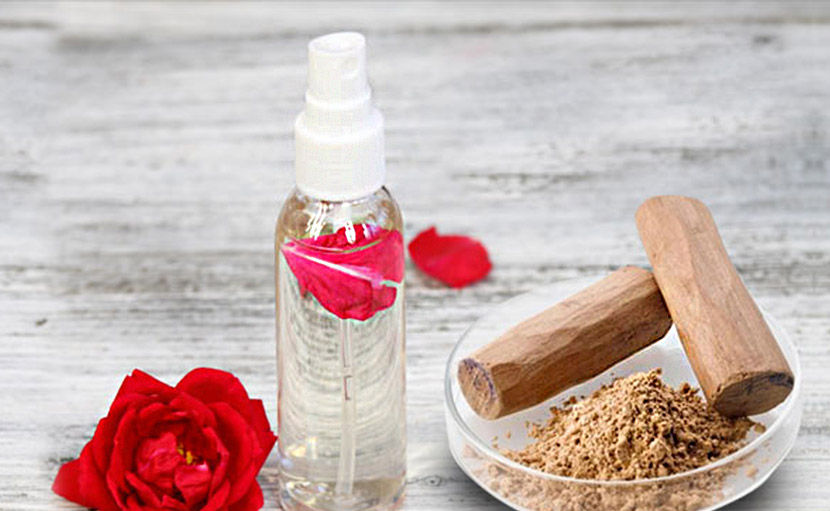
4. Sandalwood and Rose Water for Dry Skin
You Will Need
- 1 tbsp sandalwood powder
- ½ tsp coconut oil
- ½ tsp almond oil
- 1 tsp pure rose water
- Facial cleanser
- Towel
Prep Time
2 minutes
Treatment Time
20 minutes
Method
- Wash your face with a facial cleanser and pat dry.
- Combine the sandalwood powder, oils, and rose water until you get a smooth paste.
- Apply this mixture onto your face as you would a face pack.
- Leave it on for 20 minutes or until it is completely dry.
- Wash your face with cool water and pat dry.
How Often?
1-2 times a week.
Why This Works
Sandalwood helps mildly exfoliate your skin while nourishing it. When combined with the oils and rose water, it creates an excellent face pack for intense hydration. This face pack will help nourish your skin and get rid of dryness.
Rosewater is an amazing ingredient to incorporate into your skincare routine. With that said, I cannot stress enough how important it is to have a balanced skincare routine that varies according to skin type and changes according to the weather. Have you ever used rose water for your skin? Tell us about your experience in the comments section below.