8 Beauty Trends to Try—Even If You’re Only Wearing Leggings

Our team has discussed the death of the jean for quite a while now, and with winter ahead, the last thing any of us are putting on is real pants. But just because you’re in an exclusive relationship with your leggings doesn’t mean you can’t look amazing for every Zoom meeting and mirror-walk-by of the day. Putting on a fresh face and experimenting with my makeup looks and hair routine have pretty single-handedly given me something to look forward to and stay motivated throughout my day. Ready to try something new beyond your daily BB cream and top knot? Here are eight beauty trends anyone can wear that take your leggings and a tee to a solid 10/10:

Advertisements

1. Winged Liner

This trend isn’t going anywhere, and this fall, we’re seeing it in practically every shape, color, and finish. Now that we have a little extra time in the morning, it’s not the worst idea to finally master your perfect winged liner look. Then, you can experiment with different shapes, styles, and colors. I’m loving a classic, deep black wing when I’m just heading to the grocery store because it adds a little bit of interest to my eyes (the star of the show since I’m wearing a mask!) without taking too much effort. But I also love the metallic liner trend, especially for holiday. A wash of gold or silver looks cool and editorial; like you just stepped out of Pat McGrath’s chair.

2. Brushed-Out Curls

If you have naturally curly or textured hair, this is a breeze (although it might feel a little unnatural if you’ve abided by the “don’t brush your curls!” rules of the past). If you are a straight-haired person, you can get the look by curling your hair at night with a small curling wand, set it with a hairspray, sleep on it, and then brush them through in the morning.

Advertisements

3. Multi-Masking

So, you can’t *exactly* wear this for a work meeting, but I’d be damned if I left out one of the best WFH perks out there: masking while we work. I’m all for a self-care night filled with my skincare favorites, but sometimes my skin calls for an all-day mask situation. Something hydrating is great for dry, winter skin; you can opt for a depuffing, oxygenating mask with a facial massage in the morning with your coffee; or I swear by a purifying mask after a hot, steamy shower when I wake up with a breakout. I especially love this trick with undereye masks. The serum in an undereye mask stays on your skin, leaving it hydrated and plump for the entire day—why would I waste that when I’m just heading to sleep?!

4. Beaming Highlight

There’s nothing like catching yourself in the mirror when your cheekbones are highlighted. And I’m not talking your run-of-the-mill highlight either; I mean “aliens up in space are discussing the beam of light coming from an undisclosed North American location” type of glow. When you’re wearing an otherwise understated look, adding a striking highlighter to your cheekbones can turn up your confidence and make a look seem a lot more intentional (when really you just rolled out of bed). I also love having a bit stronger cheek highlight for Zoom meetings—I typically powder more because the webcam can make you look shiny, so adding extra highlight makes it look like your skin is truly perfect.

5. Grey, Plum, and Taupe Shades

There’s no time like the fall and winter to dive into deeper makeup tones, and instead of opting for your usual pumpkin oranges and rich browns, 2020’s spin involves something a little cooler. Cool-toned makeup is slowly but surely making its way back in the hearts of makeup-lovers everywhere, and we’re starting with rich plums, taupes, and greys. An easy way to tackle the look is a cool, grey-toned purple lip—like this one from The Lip Bar—but if you have a little extra time in the morning, a swipe of a shimmery, taupe eyeshadow looks put-together, glamorous, and chic. Bonus points if the shade has a bit of sparkle too!

Advertisements

Another iteration of this look is using matte shades for a more retro-style. Think Ariana Grande in the “Positions” music video. Create a wing with a cool-toned medium brown shadow (if you have a medium or dark skin tone, apply a white/cream shadow all over the lid to make this brown pop!) and a brush, and bring the wing over your crease. This look is actually pretty wearable, but looks so impactful (some might say West Wing worthy). 

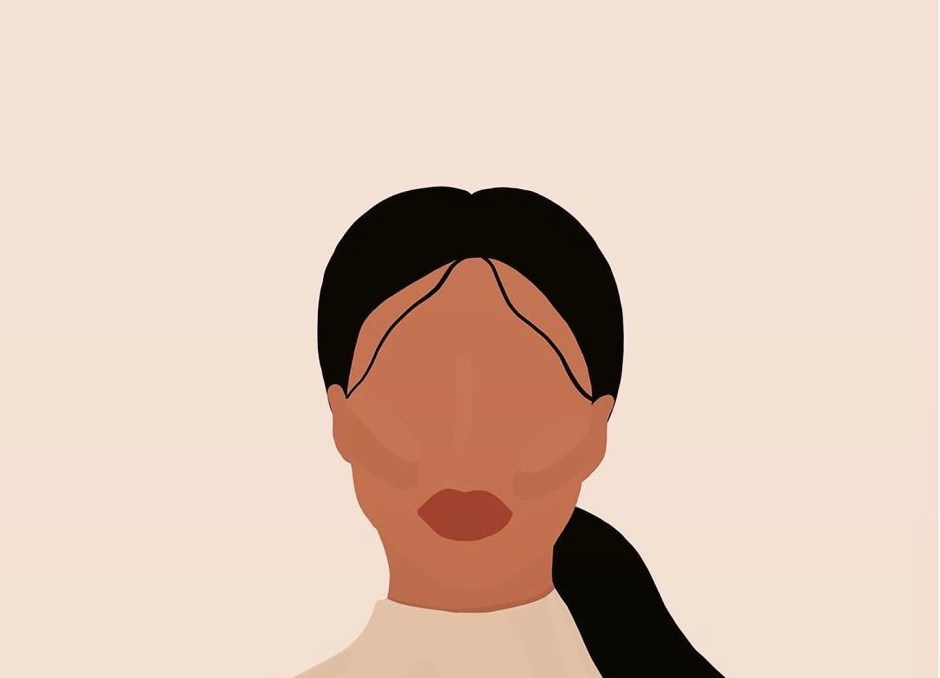
6. Face-Framing Tendrils

The ‘90s have influenced the biggest hair trends of the last few years, and this one is in full-force right now. This look can be done many ways, whether it’s braiding your front pieces—like in the above photo—or pulling out a few pieces from a bun or ponytail. I love adding little braids to frame my face, and it takes seriously no time at all. Whether you have layers and shorter pieces cut already or you want to fake it, this look is probably the easiest on this list with some of the highest impact.

Advertisements

7. Monochrome

One of the simplest ways to look put-together, in my opinion, is a monochromatic look. Whether you go for a light neutral eye look with a nude lip or opt for a pink cheek and lip, you’ll look like a professional makeup artist graced your face with seriously minimal effort. The easiest way to do this is using a lipstick and swiping it across your lids (use a primer and set with a translucent powder to make it stay all day with no creasing), on your cheeks as blush, and on your lips! A few shades to try this with include: red cheeks and lips; berry eyes and lips; taupe eyes and lips, rosey-brown eyes, lips, and cheeks; and cinnamon-brown eyes, lips, and cheeks.

Advertisements

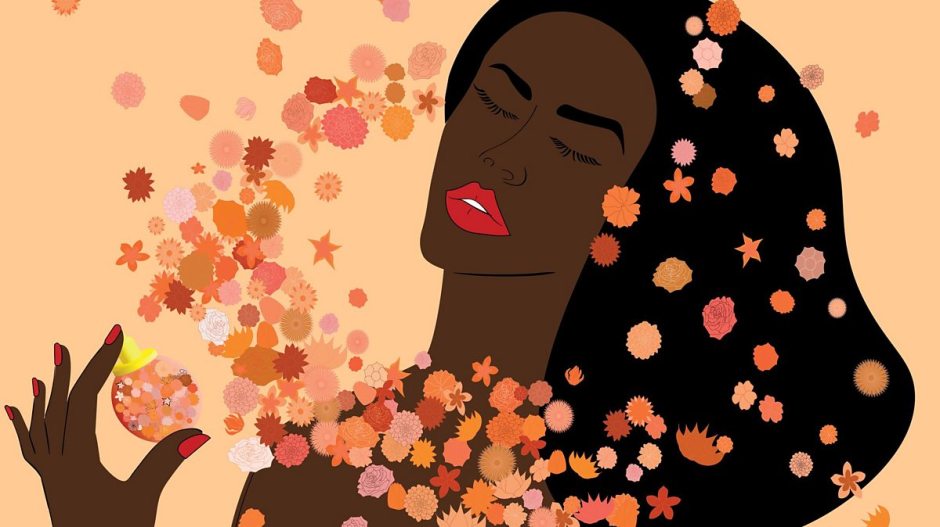
8. Red Lip With A Bare/Natural Face

This look has been around for decades, if not centuries, but it’s a gold standard of the life we’re living in 2020. A simple red lip can improve your mood ten-fold; plus, it makes even a messy bun and “I-was-too-lazy-to-put-in-my-contacts” look chic and intentional. Wearing it with a bare face keeps the look natural while also increasing the impact of the bold red lip.

FOLLOW US ON INSTAGRAM

@beautyleebar / #beautyleebar #HelloBeauties

Advertisements

HEALTHIER WAYS to Use Fragrance

THIS BLOG POST WAS SPONSORED BY DOSSIER! HOWEVER, ALL OPINIONS ARE MINE! I SAID WHAT I SAID!

By now it’s been made woefully clear that some of our old tried and true favorite beauty products might not be the very best for our bodies. Potentially harmful chemicals and synthetics can build up in our systems, cause imbalances, and are generally toxic. So what’s a girl to do when her signature scent isn’t squeaky clean?

We won’t make you throw out a fragrance that makes you feel special. You know what we mean—that nostalgic, warm and fuzzy smell that makes tears spring to your ex’s eyes because you’ve always smelled like that—it’s your special smell. Or, maybe you’ve fallen head over heels for a new fragrance and you just can’t get it out of your mind. Chances are, you’re not finding an exact replica that does the same magical mingling with your body chemistry in a non-toxic brand.

Dossier

Discover quality fragrances inspired by the iconic rich scents you love.

price depends, the fragrance is either $29 or $39. Use code: LEE10 for money off!

Here is the link: https://dossier.co/?utm_source=youtube&utm_campaign=bloggers&utm_medium=BELLA%E2%80%99S%20BOUTIQUE10

Advertisements

What you can do is try using your favorite (not-so-clean-beauty) scents in smarter, healthier ways. Instead of dousing your delicate endocrine system, aka spraying directly onto your lymph nodes at your throat, wrist, or other sensitive places, try somewhere else.

Give your hair a spritz after it’s styled. The scent will cling to your fibrous strands in a heavenly cloud around your face, and create a little breeze of your favorite aroma when you whip around town. It doesn’t need to land directly on your scalp or seep into your skin, and you don’t need a lot.

Or, try misting your clothes. You can spritz it on a scarf, a sweater, or your top, all before putting the piece on so your scent lingers without clinging to your sensitive areas all day, or requiring reapplication. You can spritz a cotton kerchief and tuck it into a drawer to have a subtle tinge of your scent last all day on all your foldables as well!

Advertisements

Most people assume that applying fragrance is easy. One spritz on your neck and another on your wrist, and that’s pretty much it, right? Trust us, there’s so much more to it! And considering the average price point of designer perfume, we don’t want to waste a drop. The good news is, once you’ve read this post, you’ll be ready to make the most of every last gorgeous drop of your fragrance. Here are four common fragrance mistakes and what you should be doing instead.

Storing Fragrances Incorrectly

Storing fragrances incorrectly degrades the fragrance. Hot temperatures affect the chemical bonds in fragrance while if the temperature is too low, that can also alter the fragrance more quickly. Ideally, your perfumes need to be stored in a cool, dark place with a room temperature between 16 to 22 degrees. This means storing perfume in your bathroom or anywhere the temperature fluctuates is a big no-no. Similarly, direct sunlight will also break down fragrance so do not store them on a window or even shelves near a window. Look for bottles with dark or opaque glass packaging, which will help protect the perfume from sunlight.

Applying Fragrance to Dry Skin

Perfume doesn’t wear well on dry skin, which is just another reason to moisturizer daily. Ideally, you should use the accompanying body lotion that comes with your fragrance or an unscented moisturizer to keep your skin hydrated. This will also ensure that there’s no olfactory interference.

Our fave perfume hack: Perfume lasts longer when applied to oily, damp skin, so to lock in the scent, rub vaseline onto your pulse points before application.

Carrying Fragrance in Your Purse

If you carry your fragrance in your purse, you’re not only exposing it to different temperatures, but you’ll also cause the bottle to move around constantly. By shaking the bottle, you’ll expose the perfume to excess air, which will breakdown and disrupt the fragrance over time.

If you do want to carry a scent with you while you’re on the go, we’d recommend the travel scent Dossier gives you when you purchase a 50mL fragrance, $29. You can also buy these Portable Mini Refillable Perfume Spray Bottles, $10, that you can fill with your fave fragrances, which are perfect for when you travel or to keep in your handbag while your perfume is safely stored at home.

Advertisements

Savoring your Fragrance

As much as we love to savor our beauty products, holding onto your favorite fragrance means that more often than not, by the time you reach the end of the bottle, the fragrance will have altered slightly. The more oxygen into the bottle (like when you’ve used 70% of your perfume), the more the fragrance molecules will break down and modify the fragrance.

This means investing in a large bottle is not always a good idea, in fact, it often better to purchase a smaller bottle to keep the fragrance fresh. If your go-to fragrance is only available in a large bottle, decant the liquid into small vials and store your half-empty bottles in the fridge.

For more fragrance inspo, check out FRAGRANCES TO GIFT YOUR LOVED ONES WITH, PURELY BASED ON PERSONALITY.

THIS BLOG POST WAS SPONSORED BY DOSSIER! HOWEVER, ALL OPINIONS ARE MINE! I SAID WHAT I SAID!

POSTS YOU WILL LOVE:

Exactly How to Bake Your Makeup

You’ve likely tried contouring, tightlining and even strobing. Next on your list should be baking. This technique (which honestly makes us crave cookies and not mad about it) essentially consists of using your body heat to “cook” and set your makeup on areas like the under-eyes, the T-zone and chin, resulting in a more flawless, creaseless finish. Say goodbye to cracked, cakey makeup! And though it adds some time to your routine, it couldn’t be easier to do. Just follow the four steps below and thank us after.

STEP 1: Apply eye cream first then concealer to the under-eye area, the chin, the T-zone — anywhere you need it. Make sure the regions you choose are completely covered in the formula. Use a brush to lightly blend out the makeup.

STEP 2: Take a loose powder foundation (try the Maybelline New York Fit Me Loose Finishing Powder) and dust it over the concealer. Again, make sure you cover the entire area as the powder is meant to seal your concealer. For more heavy-duty coverage, apply a second coat of powder, but this time, lightly dampen the brush prior to dipping it in the powder. 

STEP 3: Now it’s time to bake! Allow five to ten minutes for the makeup to set.

STEP 4: Using a fluffy foundation brush, dust away any loose powder on top and gently blend it out so there’s no discoloration or makeup lines. 

Is Baking For You? COMMENT BELOW!

POSTS YOU’LL LOVE:

How to Fix Cakey Makeup Like a Pro

Your makeup can start out looking as flawless as can be, and suddenly, some time around lunch, your makeup starts settling into lines you didn’t know you had and appears thick and cakey. Sound familiar? It’s happened to the best of us. Thankfully achieving that coveted second skin look and making it last isn’t an impossible feat. Here, I will be walking everyone through my tips for avoiding and fixing cakey makeup. 

Step #1: Prep Your Skin and Products

Cakey makeup is most often caused by one or both of the following: not prepping the skin properly and using dirty brushes or sponges. This is why the prep you do before applying your makeup is so important. Start by cleansing your skin. Every few days, follow with an exfoliator to remove any dead skin cells or surface debris, and then finish with a moisturizer and lightweight sunscreen. A solid skincare routine will give you a fresh, smooth canvas to work with. 

Also recommend cleansing your makeup brushes or sponges at least once every two weeks. Clean brushes and sponges apply makeup much better.

Step #2: Apply 

A third common cause of cakey makeup? Applying too much product. Try applying foundation and lip products in thin layers so that it all sets properly without looking cakey. Another tip for a flawless application is to use liquid foundation and concealer that contain hydrating ingredients like hyaluronic acid. If using a cream formula, I’ll let it melt down a bit to a more liquid consistency before applying.

Step #3: Refresh

If you follow the steps above and your makeup still turns cakey mid-day, a quick refresh is all you need. My suggestion is spraying a beauty sponge with a hydrating face mist or setting spray (try the Urban Decay Quick Fix Hydra-Charged Complexion Prep Priming Spray) and gently dabbing it over any cakey areas. This will absorb any excess product and re-blend your makeup. If the cakey-ness is primarily in the under-eye area, try removing the makeup in that area, re-hydrating, then reapplying under-eye concealer.

POSTS YOU’LL LOVE: