We all have mornings where we’re strapped for time yet still need to look presentable. Trust me when I say I’ve been there! Your alarm clock doesn’t go off, you’ve pressed snooze one too many times, or your morning just isn’t going quite the way you want it to. With a busy schedule and hardly enough time to make breakfast, putting on a full face of makeup doesn’t always make sense.
I’ve had my fair share of practice over the years when it comes to applying makeup in a pinch. So today I thought I’d share my foolproof 5-minute makeup routine to save you time on those busy mornings. Keep scrolling to see how you too can achieve a perfectly put together look in no time at all…

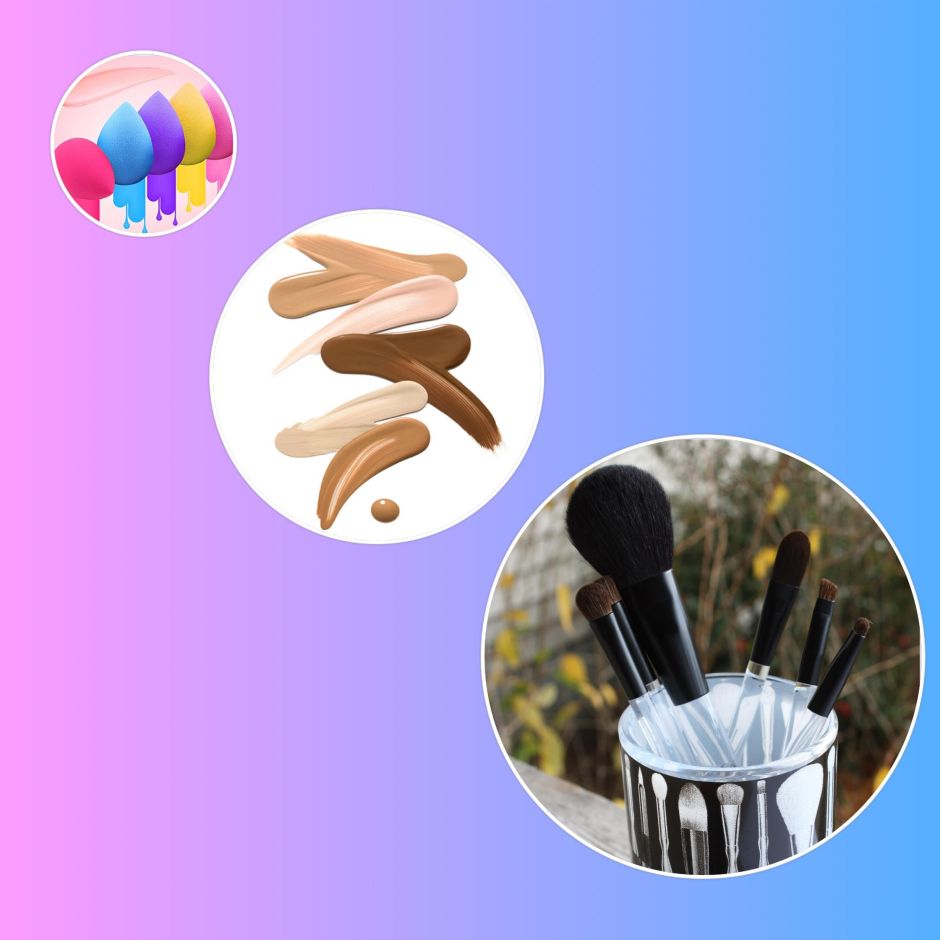
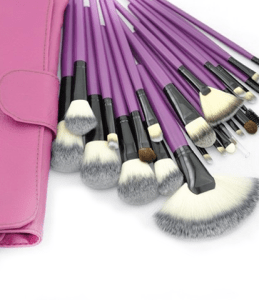
Start at the foundation.
On busy mornings I opt for lighter but even-looking coverage when it comes to foundation. I want my skin to have a healthy, even glow without going over the top. For this I use Black Radiance TRUE COMPLEXION™ BB CREAM or I use Iman Second To None Stick Foundation/ Iman Second To None Cream To Powder. I love how blendable their foundation is and the end result feels completely weightless.
Once my foundation is evenly applied, I reach for my NARS Radiant Creamy Concealer, Too Faced Born This Way Concealer Naturally Radiant Concealer-Deep with Golden Undertones or FENTY BEAUTY by Rihanna Match Stix Trio. I like to cover any noticeable redness or dark circles under my eyes, but make sure to do the bare minimum. Next, I use TRUE COMPLEXION™ SOFT FOCUS FINISHING POWDER to give me an airbrush flawless finish look. Remember, we’re trying to save as much time as possible. Save any major contouring for another day!
SHOP THIS STORY


Make me blush.
Don’t forget to leave the house with a pretty, natural flush. I like to lightly contour my cheeks by applying Anastasia Beverly Hills Bronzing Powder in Mahogany. I rarely contour my entire face so just a touch of bronzing powder does the trick.
I then apply PÜR 4-In-1 Blush Book to the apples of my cheeks. It adds enough color to give me a healthy glow without being over the top.
SHOP THIS STORY


Easy on the eyes.
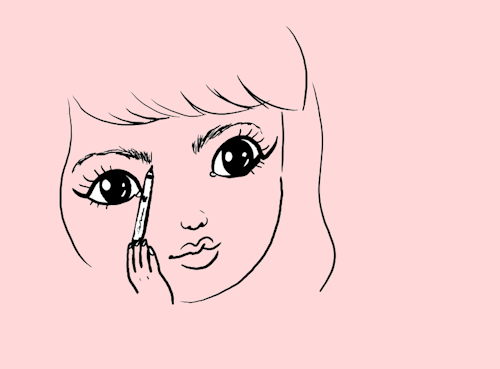
Believe it or not there are only four products that I use on my eyes on a regular basis—whether I’m trying to save time or not! First I start by sculpting my brows. I’m more of a natural girl myself, especially in the brow department. I use the Tinted Brow Gel – Granite to keep my brows put and the Anastasia Brow Definer – Dark Brown to make my brows look defined. I pencil in my eyebrows mimicking the natural direction of the hair and use the spooli on the other end to blend it all out.
Sometimes, I go in with my Morphe 25A COPPER SPICE EYESHADOW PALETTE, ABH
Modern Renaissance Palette, ABH Soft Glam Eyeshadow Palette Once, and/or ABH Norvina Eyeshadow Palette. When I’m done putting on eyeshadow, I coat my eyelashes with Benefit Cosmetics Roller Lash Curling & Lifting Mascara and call it good!
SHOP THIS STORY
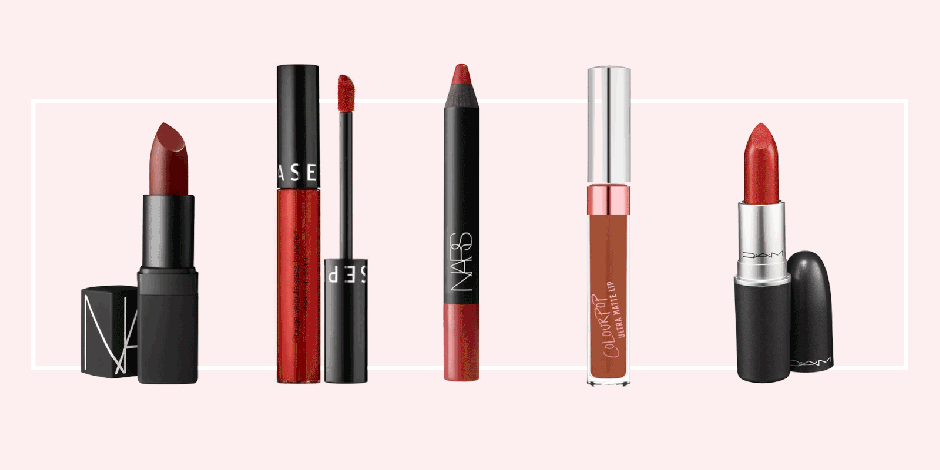
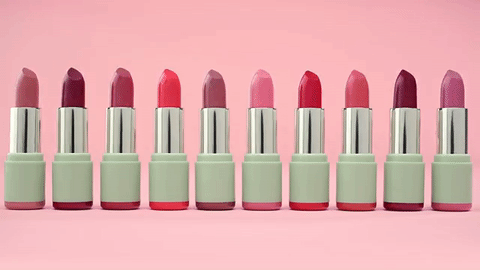
The perfect pout.
Perfectly applying lip liner and lipstick (don’t get any on your teeth!) can take up way too much time. Instead, using a tinted lip balm will not only give your lips hydration but will also give them a nice, natural wash of color that is perfect for school, appointments or work. Before I head out the door I swipe on Maybelline New York Baby Lips Cherry Balm or FENTY BEAUTY by Rihanna Gloss Bomb Universal Lip Luminizer for moisture. It leaves my lips extra soft.
SHOP THIS STORY


And there you have it! With enough practice you’ll have this routine down in five minutes flat.
How do you save time in the morning?
I’d love to hear your tips in the comments!
XO Lee