Living in Florida feels like summer is here all year round especially when it is hot, humid, and cool like it has been lately. One of the best ways to enjoy summer, which is its own special season according totraditional Chinese medicine, is to embrace the mix of warm and cool weather that’s to come. If you find yourself wishing you were on vacation, use it as an excuse to give yourself an at-home spa day.
This mask was formulated for warmer days to bring a cool, calming energy to the skin. Use it on mild sunburns, as a weekly hydration treatment, and/or when it’s too damn hot to do anything else. Here is a simple beauty solution that can make your skin glow.
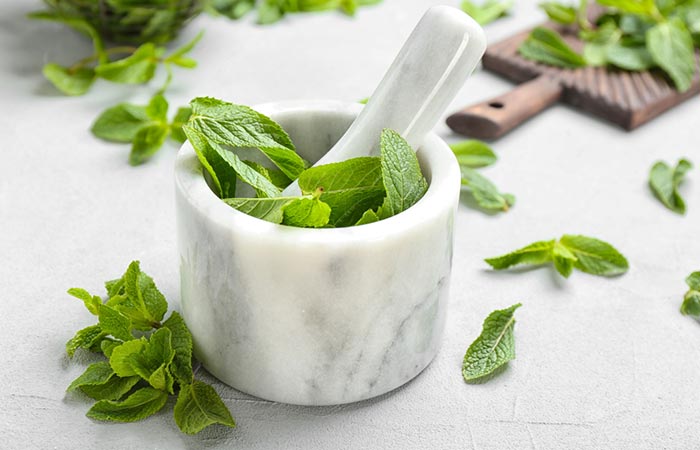
DIY Mint & Aloe Face Mask
Ingredients
2 teaspoons raw local honey
1 teaspoon aloe vera gel
a spray or a few drops of a rosewater toner
organic fresh mint leaves (2 to 4 leaves is all you need)
Directions
Bruise and mash up the mint with a mortar and pestle to release the essential oils.
Stir everything together.
Apply it all to your face.
Leave the mask on for 10 to 20 minutes.
Disclaimer: This article is completely based on research, experiments and data available on the internet. However, it is always advised to consult a dermatologist before following any remedy or making changes in your regime.
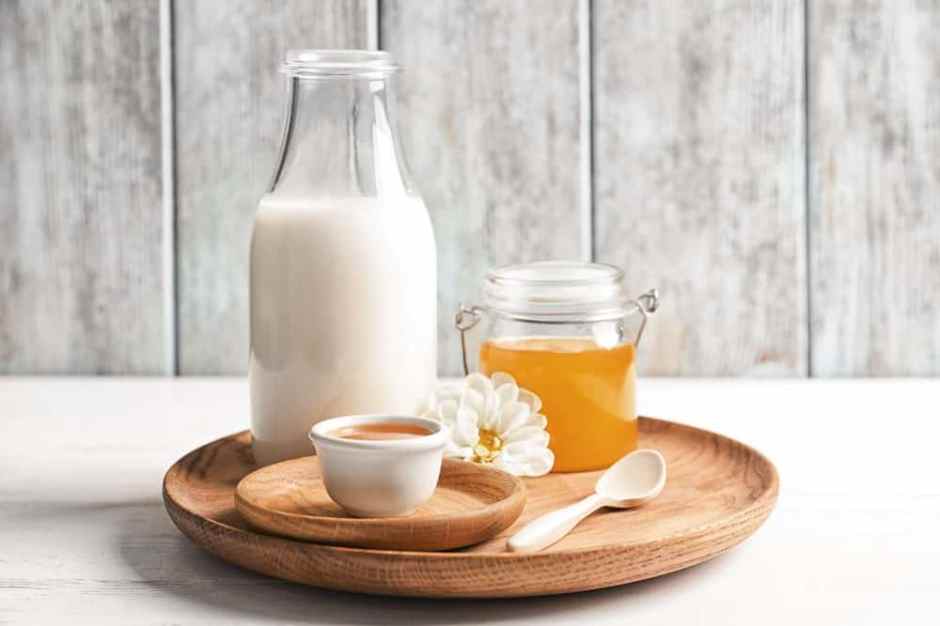
If you are looking for the ultimate home remedy to keep your skin hydrated and glowing, we have a solution. Try milk and honey. The DIY milk and honey mask benefit your skin in numerous ways.
Scroll through this article to understand how they may help and learn ways to use milk and honey to keep your skin happy.
Advertisements
Milk And Honey for Face: What Are the Benefits?
Milk and honey can have age-defying effects on your skin. According to the legend, Cleopatra used to bathe in milk every day to keep her skin young, radiant, and clear. This combination can have certain benefits as stated below:
Advertisements
Help Moisturize Your Skin
Lactic acid is one of the naturals AHA (alpha-hydroxy acids) found in sour milk that acts as an excellent moisturizer. It is a part of the natural moisturizing complex of your skin (1). Honey is an emollient and a humectant that can bind moisture to your skin and keep it soft and moisturized (2). For these very reasons, most skincare products use milk and honey in their formulas.
Advertisements
Milk Keeps the Skin Firm and Smooth
A study found that 12% of topical lactic acid can help improve skin appearance by reducing fine lines and wrinkles. It also makes the skin firm and smooth (3). Milk has a mild exfoliating effect. Applying it to your face can have similar results.
Honey Maintains Skin pH
Maintaining skin pH is crucial to prevent breakouts and rashes. An imbalance in skin pH disturbs the natural barrier of your skin. This can lead to skin irritation. Honey helps regulate skin pH levels (2).
Honey Can Heal Wounds
Honey’s antimicrobial properties and methylglyoxal (one of the active compounds) can help heal your wounds effectively. It is also suitable for healing burn wounds and other skin issues such as psoriasis, dandruff, diaper rash, seborrhea, and tinea (2).
Honey Treats Acne
A study found that applying honey to acne lesions can promote faster healing. Honey can also inhibit the growth of both P. acnes and S. aureus bacteria (4).
Both milk and honey have a lot to offer to your skin. In the next section, we will explore the different ways you can use this combination on your face.
Advertisements
How To Use Milk and Honey on Face
1. Milk and Honey as a Face Wash
Both honey and milk can moisturize the skin and inhibit acne-causing bacteria. This way, they can help keep your facial skin healthy and clear.
You Will Need
1 tablespoon of raw honey (you may use Manuka honey)
2 tablespoons of milk
1 bowl
1 cotton pad
Method
Mix the two ingredients in the bowl till you achieve a cream-like consistency.
Dip the cotton pad into the mixture and apply it to your face in circular motions.
Let the mixture sit on your face for 10 minutes.
Wash your face with cool water and massage gently.
You may follow up with a gentle cleanser if desired.
Pat your skin dry and follow up with a toner and a moisturizer.
Advertisements
2. Milk and Honey as a Face Mask
This face mask helps soothe your skin. Both the ingredients have moisturizing properties, making this face mask especially beneficial for dry skin. However, the mask is suitable for all skin types.
You Will Need
1 tablespoon of raw Honey
1 tablespoon of milk
1 microwave-safe bowl
Method
Mix the honey and milk in the bowl until you have a thick consistency.
Put the bowl into the microwave and heat for a few seconds. Ensure the mixture is warm to the touch and not too hot.
Use a brush (or your fingers) to spread the mask on your skin.
Let the mask stay for at least 15 minutes.
Wash your face with cool water. You may use a gentle cleanser as well.
Follow up with a toner and a moisturizer.
Advertisements
3. Milk and Honey as a Scrub
Oats, Fuller’s earth and ground almonds have a coarse texture. These work excellently well in exfoliating your skin without causing damage. The milk and honey in the scrub keep your skin hydrated.
You Will Need
1 teaspoon of raw honey
1 teaspoon of milk
1 tablespoon of ground oats/Fuller’s earth/ground almonds
1 bowl
Note: If you have sensitive skin, use oats. If you have oily skin, use Fuller’s earth. If you have normal skin, you may use any of the three options.
Method
Mix the milk and honey in the bowl.
Add ground oats or Fuller’s earth or ground almonds.
Adjust the quantity of milk (especially if you are using Fuller’s earth) to get a desired paste-like consistency.
Apply the mixture to your face and gently massage, avoiding the area around your eyes.
After massaging for 5 minutes, wash with cool water.
Pat your skin dry and follow up with a toner and a moisturizer.
Advertisements
These are some effective ways to use milk and honey for improving your skin health. If you already use DIY face masks, you can try introducing this combination as well. However, before using honey, do a patch test to check for any allergies. Raw honey may contain pollen and can cause allergic reactions in some individuals.
Frequently AskedQuestions
Q:Is it good to drink milk with honey?
A: Yes, drinking milk with honey could promote health. The best way to do so is to let the milk cool down and then add honey to it. Ayurveda doesn’t recommend consuming warm honey (mixed in any warm beverage or food) as it is considered to harm health. However, studies in this regard are inconclusive.
Q: How long should I leave milk on my face?
A: You may leave milk on your face for 5-10 minutes.
Q: Can milk and honey be applied to the whole body?
A: Yes, you can apply the combination to your whole body. You may prepare a bathtub-soak with honey and milk. Soak in it for 15-20 minutes.
Advertisements
Sources
Articles on BeautyLeeBar are backed by verified information from peer-reviewed and academic research papers, reputed organizations, research institutions, and medical associations to ensure accuracy and relevance. Check out our editorial policy for further details.
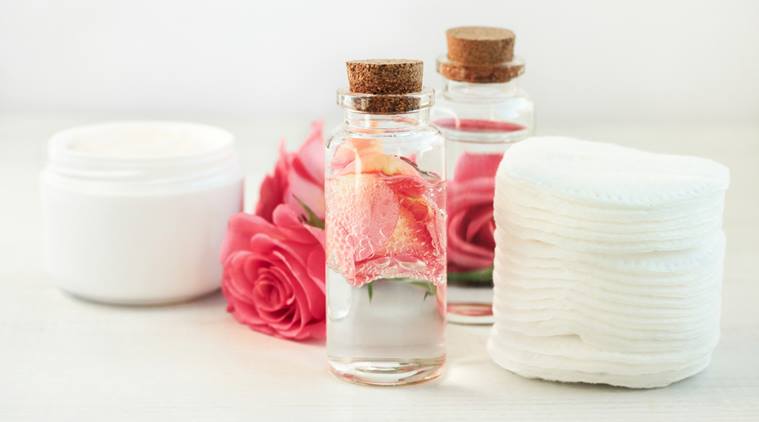
Come winter, and all those skin issues start peeping out again. Don’t you think your skin needs to be prepared for winter’s arrival? That is why you need to incorporate rose water for dry skin in your skincare regimen. Yes, to prepare your skin to face the harsh winter, you need to give it extra care and protection.
Your skin hydration plays a crucial role in achieving fresh and healthy skin. If you have dry skin, you need to be extra careful with the products you choose and how you care for your skin. A balanced skincare routine is all you need to be tension-free during the winter. Wondering how to use rose water for your dry skin? Well, we can help you. This article discusses the benefits of rose water and how you can use it. Keep reading.
Advertisements
Is Rose Water Good for Dry Skin?
Rosewater by itself is not going to do wonders for your skin, but in combination with other moisturizing ingredients, it helps keep your skin feeling hydrated for longer while also improving its texture. The reason this fragrant liquid suits dry skin is because of how efficiently it refines your pores without drying your skin out. Rosewater is usually used as an additive in skin care treatments. It can be used by itself as a toner or in combination with other moisturizing ingredients for dry skin. Here, I’ve put together 4 rose water treatments that are keeping my skin feeling great this winter.
Advertisements
1. Rose Water for Dry Skin
You Will Need
1 tbsp pure rose water
Cotton pad
Towel
Facial cleanser
Moisturizer
Prep Time
2 minutes
Treatment Time
5 minutes
Method
Wash your face with a facial cleanser and pat dry.
Saturate a cotton pad with the rose water and dab it onto your face.
Let it dry.
Once dry, moisturize your face.
Advertisements
How Often?
Twice a day.
Why This Works
Cleansing, toning, and moisturizing your face is an essential part of any skincare routine. This rose water toner, unlike most toners available on the market, is extremely gentle on your skin. It helps get rid of residual dirt and grime without drying out your skin. It leaves your skin feeling fresh and hydrated.
Advertisements
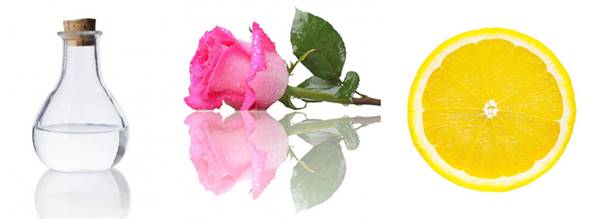
2. Glycerin, Lemon, And Rose Water for Dry Skin
You Will Need
3 tbsp glycerin
3 tbsp pure rose water
1 tsp lemon juice
Clean bottle for storage
Facial cleanser
Towel
Prep Time
2 minutes
Treatment Time
2 minutes
Method
Combine the glycerin, rose water, and lemon juice and pour the mixture into a clean bottle so that it can be stored. (Store the mixture in your refrigerator.)
Take a coin-sized amount of the mixture and apply this to your face and neck.
Ensure that your hands are clean during application.
Gently massage your skin in circular motions until the lotion is completely absorbed.
Advertisements
How Often?
Every night.
Why This Works
Glycerin helps hydrate your face and leaves your skin feeling extremely supple. The ingredient is easily absorbed and provides your skin with non-greasy, long-lasting hydration. Lemon, on the other hand, gives your skin a vitamin C boost and also helps fade any marks or scars with its bleaching properties.
Advertisements
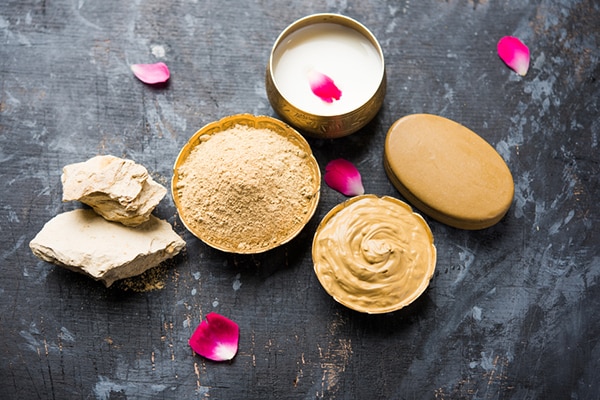
3. Multani Mitti, Milk, And Rose Water for Dry Skin
You Will Need
2 tbsp Multani mitti
1 tbsp milk
1 tbsp pure rose water
Facial cleanser
Towel
Prep Time
2 minutes
Treatment Time
20 minutes
Method
Wash your face with a facial cleanser and pat dry.
Combine the Multani mitti, milk, and rose water until you get a smooth paste.
Apply this paste onto your face.
Wait for 20 minutes and then proceed to wash the mixture off of your face with cool water.
Advertisements
How Often?
1-2 times a week.
Why This Works
While Multani mitti is generally used to treat oily skin, this face mask contains the goodness of milk and rose water to help treat dryness. Milk contains lactic acid, which helps soften your skin while fading blemishes. The mask helps exfoliate, nourish, and soften your skin.
Advertisements
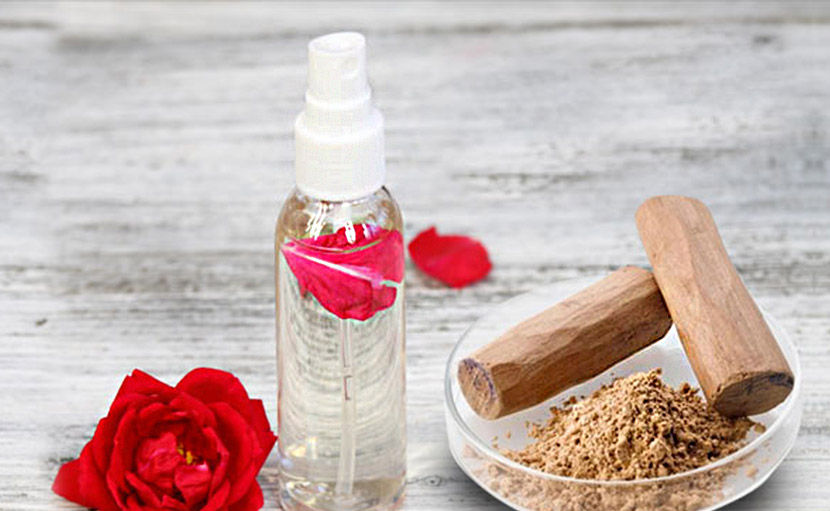
4. Sandalwood and Rose Water for Dry Skin
You Will Need
1 tbsp sandalwood powder
½ tsp coconut oil
½ tsp almond oil
1 tsp pure rose water
Facial cleanser
Towel
Prep Time
2 minutes
Treatment Time
20 minutes
Method
Wash your face with a facial cleanser and pat dry.
Combine the sandalwood powder, oils, and rose water until you get a smooth paste.
Apply this mixture onto your face as you would a face pack.
Leave it on for 20 minutes or until it is completely dry.
Wash your face with cool water and pat dry.
Advertisements
How Often?
1-2 times a week.
Why This Works
Sandalwood helps mildly exfoliate your skin while nourishing it. When combined with the oils and rose water, it creates an excellent face pack for intense hydration. This face pack will help nourish your skin and get rid of dryness.
Rosewater is an amazing ingredient to incorporate into your skincare routine. With that said, I cannot stress enough how important it is to have a balanced skincare routine that varies according to skin type and changes according to the weather. Have you ever used rose water for your skin? Tell us about your experience in the comments section below.
How To Add Rosewater into Your Skincare + The Benefits
The kitchen isn’t limited to just cooking food. Here’s your reminder that fresh ingredients from the fridge—and pantry—are actually winning concoctions for beauty treatments that you can do at home. So the next time you have an extra half of an avocado (post your morning toast), why not mash it into a hydrating hair mask? Also on our list, a skin-tightening mask made with egg whites (which is said to temporarily reduce the appearance of fine lines).
We love a good skincare hack where you can find all of the items in your home—an all-natural way to reset your skin with minimal, everyday ingredients.
Head over to your kitchen this weekend and follow these step-by-step instructions on how to have a beauty-focused self-care day that’s budget-friendly. Ready, set, DIY.
Advertisements
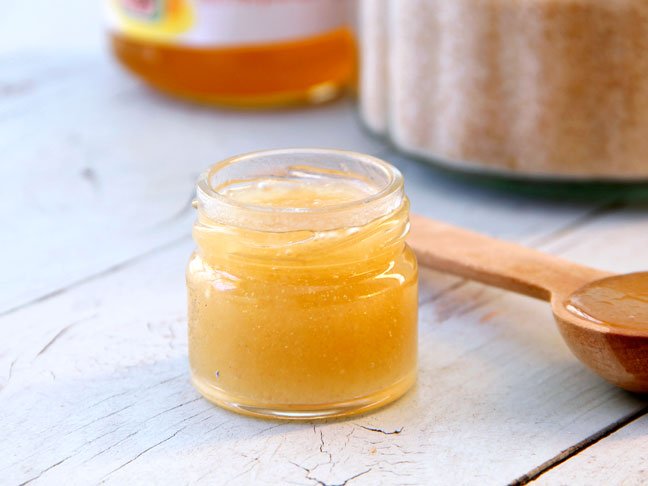
Sugar Lip Scrub
INGREDIENTS:
1 teaspoon organic sugar in the raw (or to touch) 1 tablespoon organic coconut oil 1 tablespoon Manuka honey
INSTRUCTIONS:
1. Mix the sugar, oil, and honey together in a small bowl. 2. Rub onto your lips with a finger in a circular motion 3. Rinse. 4. Keep for up to two weeks!
Anti-Aging Egg White Face Mask
INGREDIENTS:
1 egg white 2 teaspoon lemon juice 1 tablespoon honey
INSTRUCTIONS:
1. Beat the egg until it becomes foamy. 2. Add lemon juice and honey and mix together. 3. Wash your face with warm water. 4. Apply egg white mask onto face with a brush or cotton pad. 5. Leave the mask on for 15 minutes. 6. Rinse with warm water.
1. Blend all of your ingredients. 2. Apply the hair mask throughout hair, making sure it is thoroughly coated. 3. Let the mask sit in your hair for 30 minutes until dry. 4. Rinse with warm water.
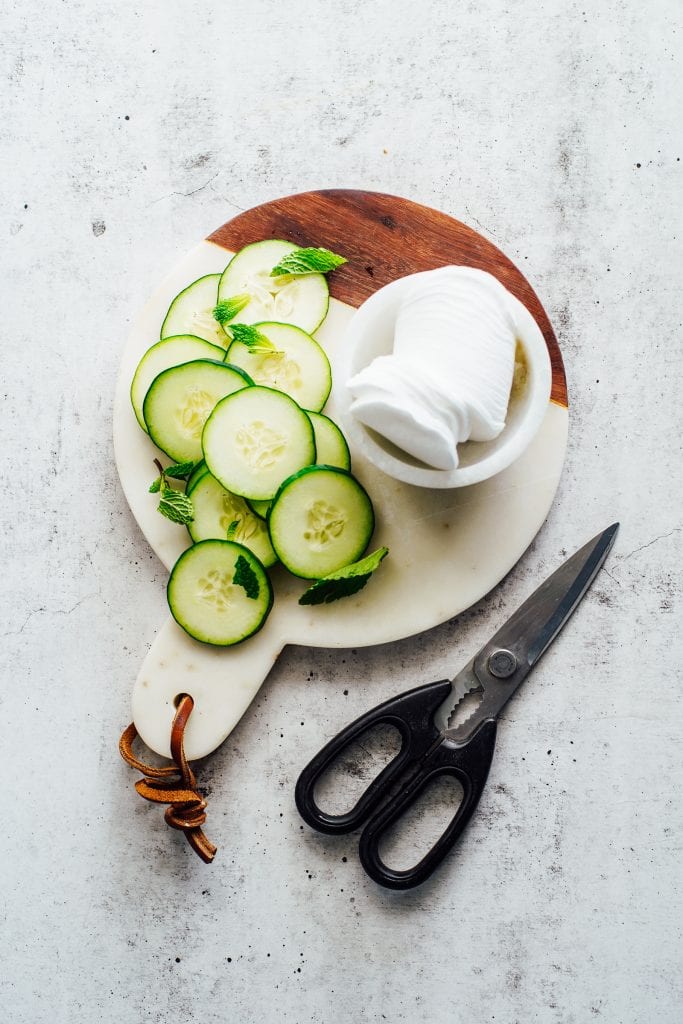
Cooling Cucumber Eye Mask
INGREDIENTS:
1 cold cucumber
INSTRUCTIONS:
1. Cut two slices of cucumber about 1/4 inch thick. 2. Place on eyelids and relax and until they become warm. *Primp Tip: Put these over your eyelids while you have a face mask on.
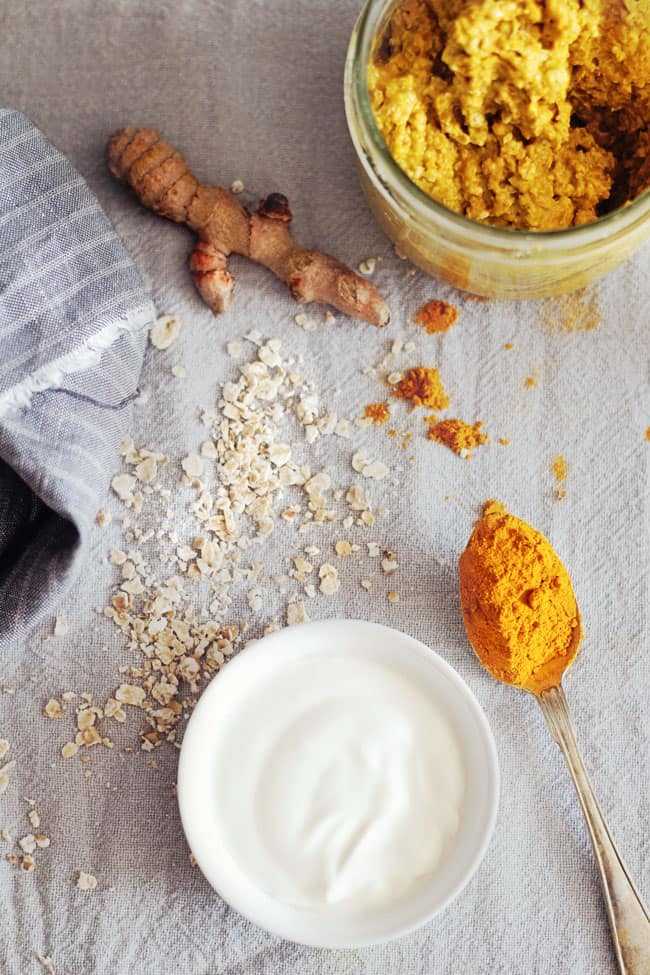
Anti-Inflammatory Turmeric and Oatmeal Face Mask
INGREDIENTS:
1/2 cup oats 2 teaspoons turmeric 2 tablespoons coconut oil 1/2 cup filtered water
INSTRUCTIONS:
1. Blend the oats and turmeric in a food processor. 2. Add the oil and water to the processor slowly. 3. Wash your face with warm water. 4. Apply the face mask to your face and let sit for 15 minutes. 5. Rinse.
The content provided in this article is provided for information purposes only and is not a substitute for professional advice and consultation, including professional medical advice and consultation; it is provided with the understanding that BeautyLeeBar, LLC (“Hello Beauties”) is not engaged in the provision or rendering of medical advice or services. You understand and agree that BeautyLeeBar shall not be liable for any claim, loss, or damage arising out of the use of, or reliance upon any content or information in the article.
Up next, be the first to know our weekly content and sign up for our BeautyLeeBar newsletter.