Chanel’s 2026 Coco Denim Makeup campaign brings indigo-infused elegance to eyes, lips, and nails, translating classic denim washes into luminous pigment. From the dreamy shimmer of Les 4 Ombres Denim Dream to the deep intensity of Noir Allure Mascara in Indigo, the collection blends cool-toned sophistication with everyday wearability. Lip shades in the Rouge Coco Flash line and soft, blue-tinged nail lacquers complete the palette, capturing a modern denim sensibility. Fronted by house ambassador Lily-Rose Depp, Coco Denim reinterprets Chanel’s polished makeup codes with subtle edge and effortless chic, making indigo the season’s defining note.
Inside the Chanel Beauty Campaign
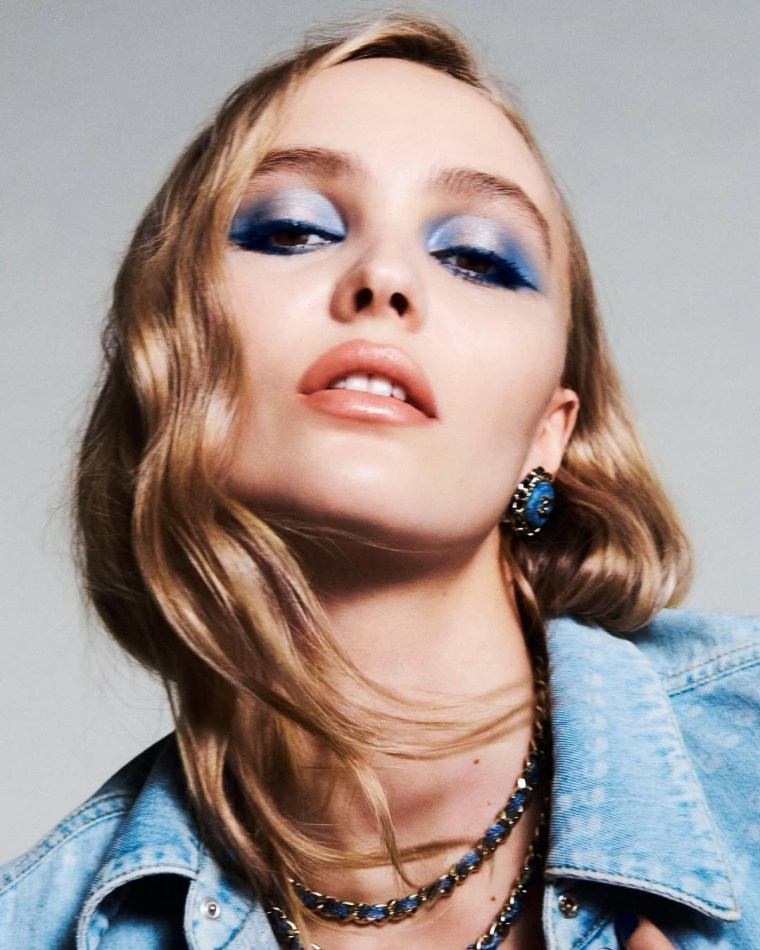
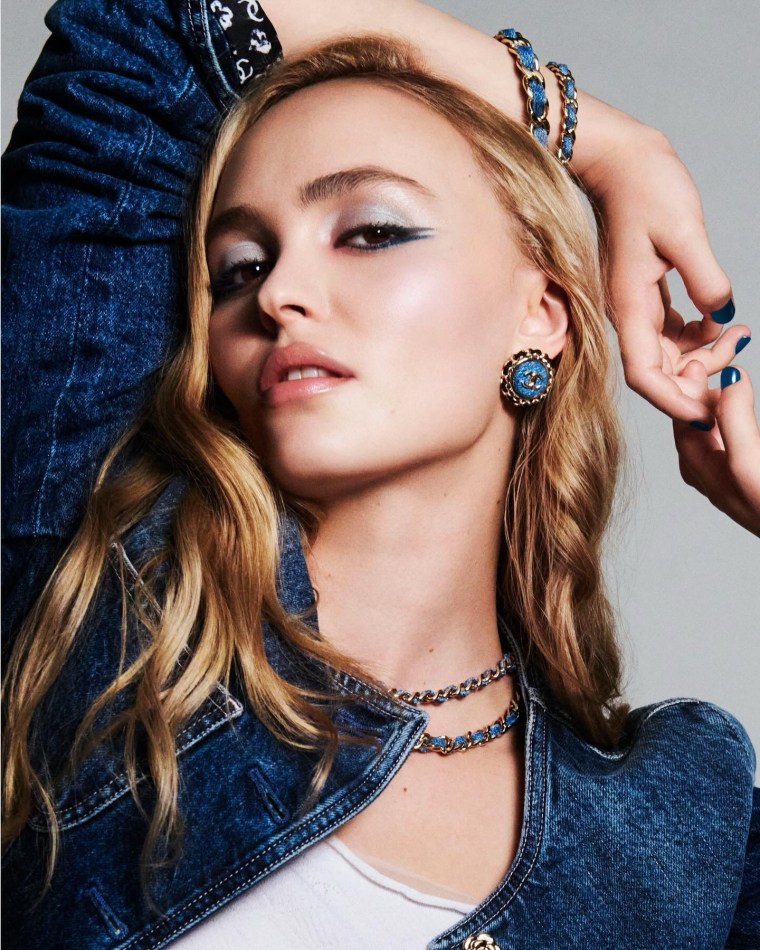
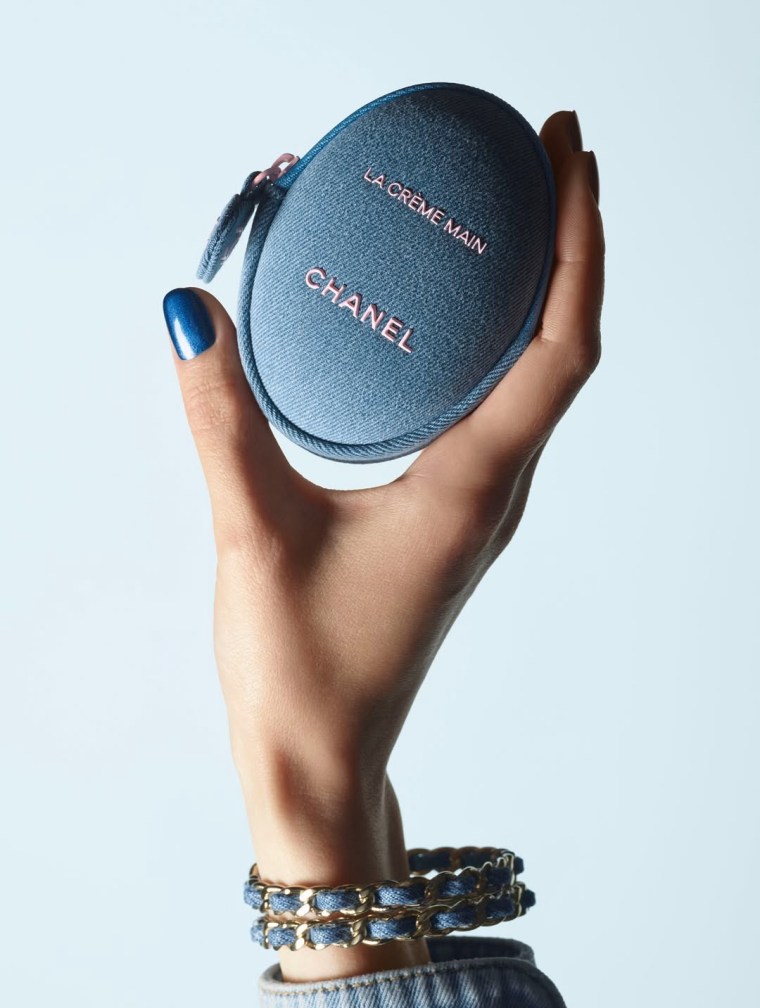
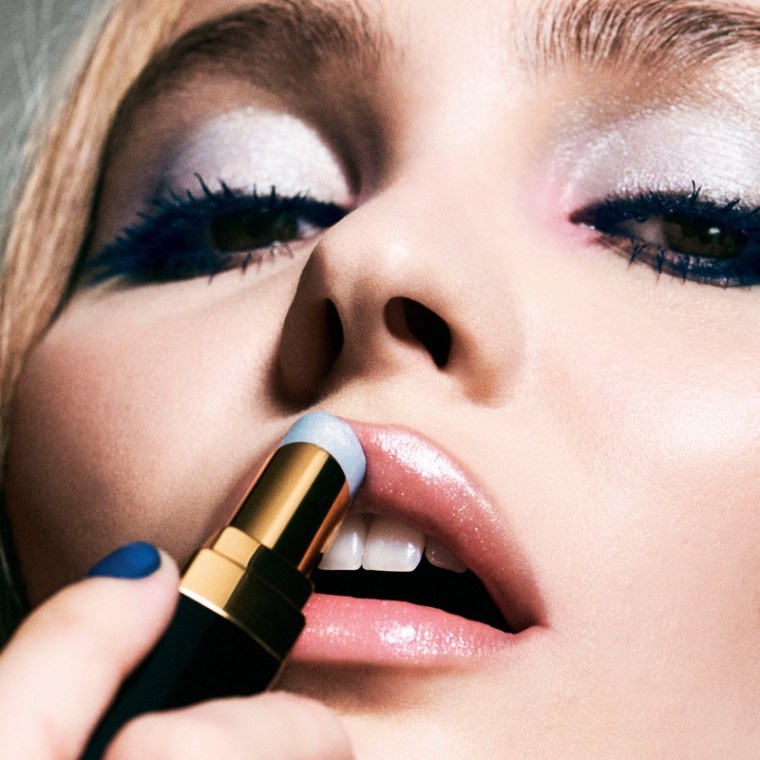
The 2026 Coco Denim campaign unfolds as an intimate study in tone and texture, with Lily-Rose Depp at its center. Her look is pared back yet expressive: skin reads softly luminous, brows lightly brushed, while layers of blue shadow drift from a pale, washed sky across the lid into deeper indigo at the lash line. Indigo mascara replaces classic black, subtly shifting the gaze, while nails mirror the patina of worn denim—faded, familiar, quietly cool.
As industry conversations point to the return of blue in 2026 beauty, Chanel approaches the trend with restraint. The textures are smoother, the depth richer, the finishes refined—far from frosted nostalgia. Coco Denim positions blue not as a statement gimmick, but as a modern neutral, polished through Chanel’s signature lens.
Explore more seasonal direction in our 2026 makeup trend report and discover what’s next in our curated new beauty launches.
Chanel Coco Denim Makeup Highlights for 2026
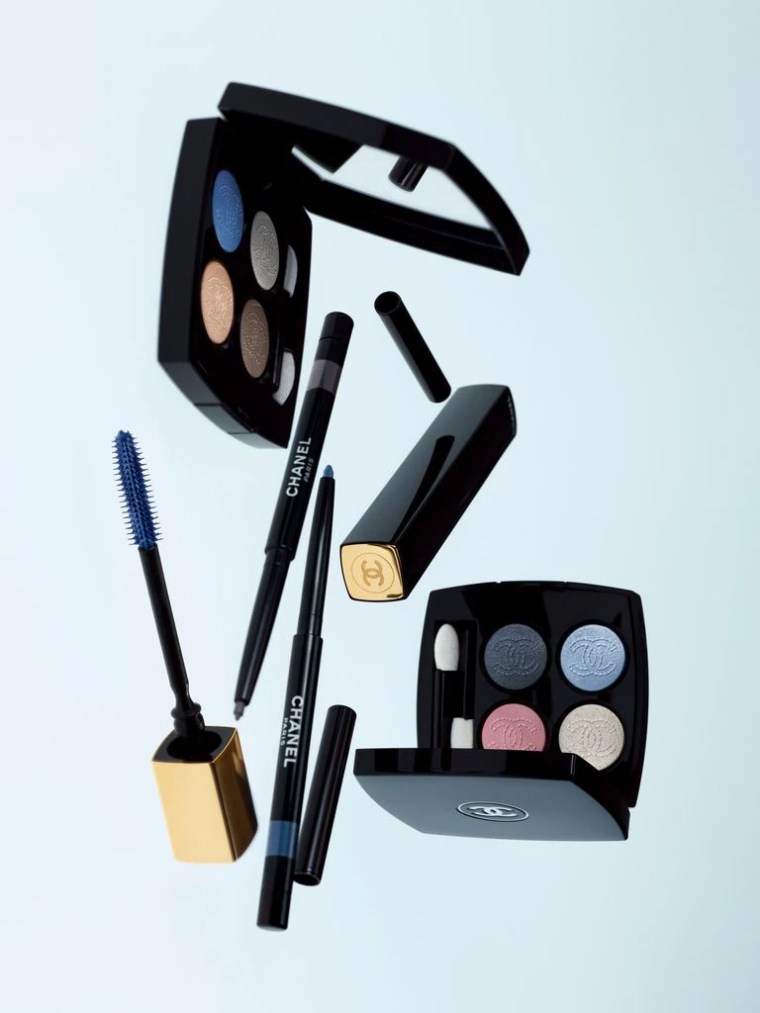
At the center of the story, Les 4 Ombres Denim Dream unfolds like fabric against skin—powdery blues melting into deeper navy with a softness that invites touch. The shades sheer out effortlessly for daylight, then build into something more deliberate by evening, echoing the way denim darkens with wear and movement.
Noir Allure Mascara in Indigo shifts the gaze away from expected black, tracing the lashes with depth that feels lighter, cooler, more intentional. Coordinating liners extend the effect, sharpening the blue without ever breaking polish.
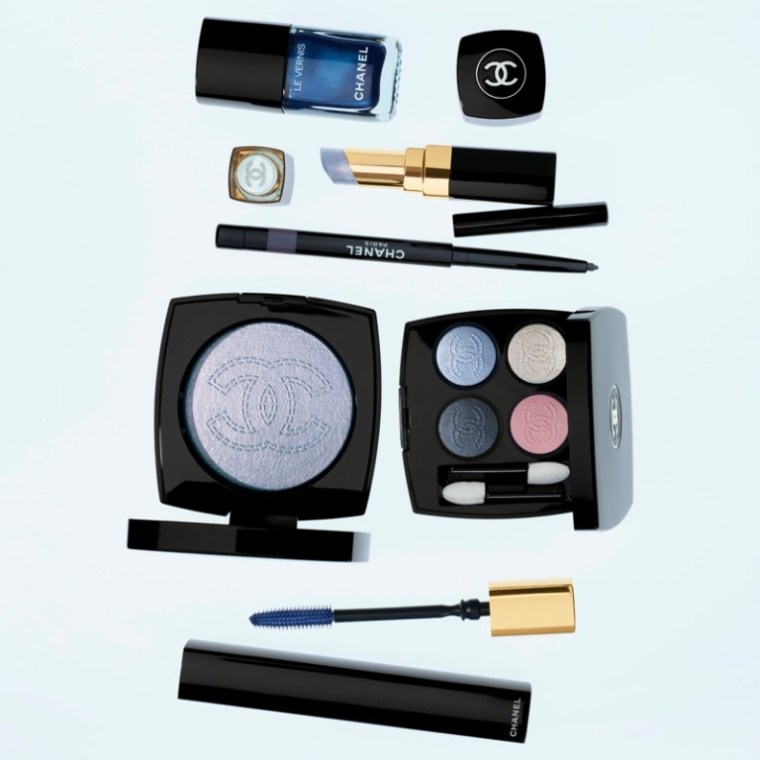
On the lips, Rouge Coco Flash keeps the balance intimate—glossy neutrals and muted berries that ground the look, letting the eyes remain the quiet focus. The Coco Denim Illuminating Powder adds a low glow, pressed with a denim motif that feels more tactile than decorative.
The collection closes at the fingertips. Nail lacquers mirror classic jean washes, from sun-faded blue to inky indigo, completing a palette that reads lived-in, modern, and unmistakably refined—an exercise in restraint, translated through Chanel’s signature lens.
How Coco Denim Reflects the 2026 Blue Makeup Revival
Blue is slipping back into the beauty conversation for 2026 with restraint and intention. Instead of loud primaries, the shift favors indigo layers, softened sky blues, and finishes that gleam rather than shout. In this context, Chanel grounds the trend through denim—a material already embedded in everyday culture—making blue feel familiar, tactile, and quietly elevated when translated into shadow, lacquer, and gloss.
The effect feels modern without severing ties to heritage. Denim’s universality softens the statement, while refined textures keep it firmly within the house’s polished codes. Lily-Rose Depp anchors that balance. As a recurring face of Chanel Beauty, she carries both youth and continuity, allowing the denim narrative to register as current, confident, and unmistakably aligned with the brand’s identity.
Lily-Rose Depp fronts the Chanel 2026 Coco Denim Makeup campaign as a longtime house ambassador, reflecting the collection’s balance of modern cool and refined elegance.
The lineup includes Les 4 Ombres Denim Dream, Noir Allure Mascara in Indigo, Rouge Coco Flash lip colors, the Coco Denim Illuminating Powder, and blue-toned nail lacquers inspired by classic denim washes.
The Coco Denim Makeup campaign launched in February 2026 as part of Chanel’s seasonal beauty release.
The Coco Denim Makeup collection is available at Chanel Beauty boutiques and through the brand’s official online platforms.
The Beauty Pulse
Brand DNA
Chanel Beauty distills Gabrielle Chanel’s Parisian spirit into makeup and fragrance that feel both timeless and current. The house balances restraint with impact, translating classic codes into modern pigment, texture, and finish. From the enduring presence of No.5 to fashion-led color stories and denim-toned collections, Chanel Beauty moves with cultural rhythm while remaining anchored in elegance. Campaigns fronted by longtime muse Lily-Rose Depp reinforce that dialogue between legacy and now, where beauty is treated as attitude as much as ritual.
Related Links
📷 Instagram: https://www.instagram.com/chanel.beauty/
🌐 Website: https://www.chanel.com/us/makeup/