As tempting as it is to dish out money for a salon pedicure (I mean, the massage, you guys), it’s not always doable. Thankfully, it is possible to achieve salon-quality results at home. Ahead, find out the must-have products and a step-by-step tutorial on how to DIY a salon-quality Pedi in the comfort of your own home — for a fraction of the price.
DIY Pedicure Step #1: Let Your Nail Polish Remover Do Its Thing
Completely remove any nail polish that’s still on your nails using nail polish remover and a cotton pad. If you don’t have any leftover polish, you should still run remover over your nails to remove any excess oil on the nail bed.
DIY Pedicure Step #2: Soak Your Feet Like You’re at the Spa
Fill your tub with warm water and soap (body wash will do!) and let your feet soak for 15 minutes. (Pro tip: While you’re in the rest and relaxation mode, break out a face mask.)
DIY Pedicure Step #3: Get Rid of Dead Skin
After drying off your feet, use a foot file to remove any dead skin from calloused, hard areas. Pay attention to the balls of your feet, the sides of your feet and your heels. Scrape these areas until they feel smooth, but don’t overdo it — you could end up causing irritation.
DIY Pedicure Step #4: File and Shape Your Nails
Use a nail trimmer to achieve the length and shape you want. We recommend cutting straight across and then going in with a nail file to buff out the corners. According to Hadley, a big mistake people make is cutting their cuticles. “Trimming or cutting cuticles during a Mani or Pedi is purely cosmetic and sometimes it doesn’t benefit the nail in any way,” says Hadley. “The cuticle is a barrier to protect your surrounding skin and protect against infection.”
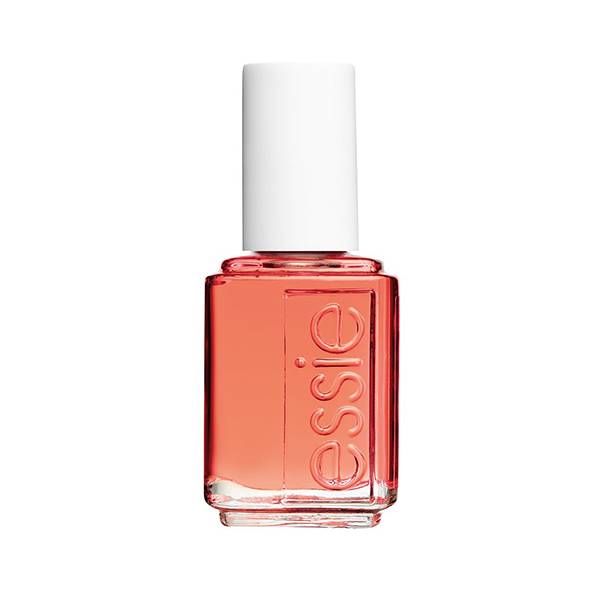
DIY Pedicure Step #5: Apply Cuticle Oil
Apply cuticle oil like Essie Apricot Cuticle Oil to the base of your nail. “Cuticle oil doesn’t just keep your feet soft and moisturized, but it also keeps your polish from chipping,” says Hadley.
DIY Pedicure Step #6: Moisturize
Moisturize your feet with an unscented lotion to keep the skin hydrated and smooth. “Scented lotions with synthetic fragrances can cause your nail polish to crack.” We love La Roche-Posay Lipikar Daily Repair Body Lotion for this step.
DIY Pedicure Step #7: Prep Your Toes
Use toe separators (you can buy a 12-pack for cheap online) to make painting your toes easier and avoid making a mess.
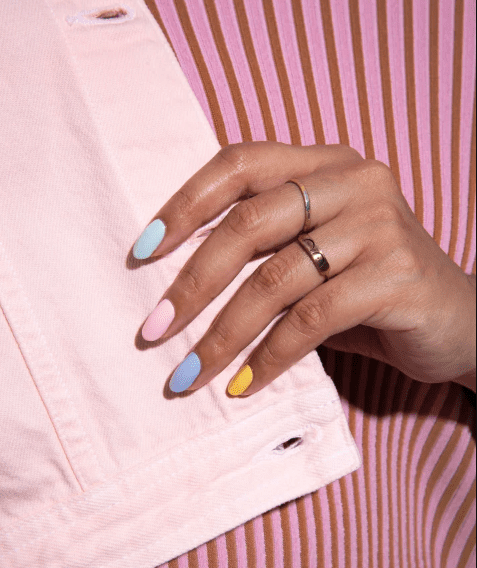
DIY Pedicure Step #8: Apply Your Polish
“Don’t forget your base coat because it gives your nail polish something to sink into besides your actual nails,” says Hadley. After about two minutes, the base coat should be dry. Then, you’re ready to go in with a color. Apply two to three coats of nail polish, making sure each coat has dried. Make sure to build thin coats of polish; thick strokes will have the paint looking clumpy and take longer to dry.
DIY Pedicure Step #9: Finish With a Quick-Drying Top Coat
Finish with a top coat so your nails maintain high shine and luster. Because nail polish takes about 12 hours to harden, Hadley recommends sticking your feet in cold water for a few minutes to help your nail polish solidify.