Soap and Glory: Drugstore Product of the Week!

It’s true, I am OBSESSED with Soap & Glory, but for good reason! This body butter is definitely one of them! The Righteous Butter is such a creamy luxurious body cream, it’s almost hard to believe it’s a drugstore find! The beautiful texture, the girly but fruity smell, and the way it leaves your skin is, without doubt, a triple threat! I love putting this on when I get out of the shower, and I have been doing this for months now. I have dry skin, that’s actually kinda rough (SOOO embarrassing as a beauty blogger), and this has made my skin so soft, it’s unbelievable! It’s softer than a baby’s bottom now, lol. So I have to say, after a month of creamy-delicious-indulgence, I am literally addicted to this beautiful body butter!

For those of you who are not familiar with Soap and Glory, here’s a brief history on this brand.

Soap & Glory has been supporting the Clean of England since 2006, when they started formulating fun, fearlessly world-class products to give every girl THE BEST BANG FOR HER BEAUTY BUDGET.

Within weeks of the first launch, the word – and the gloss – on almost everybody’s lips was their (now iconic) super-plumping SEXY MOTHER PUCKER™. Soon after, our all-time, dry-skin classic – THE RIGHTEOUS BUTTER™ – was voted Britain’s Best Body Butter and our MAKE YOURSELF YOUTHFUL™ anti-aging peptide serum took The Times Beauty Awards Gold Star. The bar was set high. And every single Soap & Glory product that followed has been brilliant.

Was also featured on “How to Look Good Naked” reality tv show on 3/1/2008.

The texture to me is light but some may find it heavy, so make sure you apply this straight out of the shower, then pat dry after half an hour if you are going out! It’s not greasy, it does soak it, but just in case you over apply and get carried away!

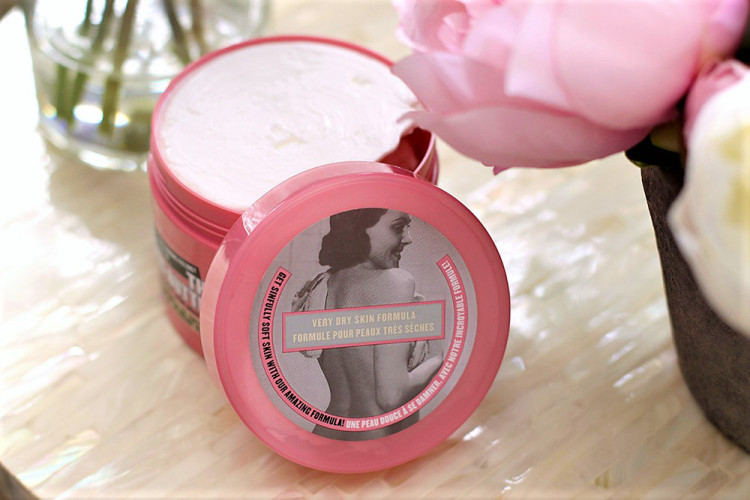
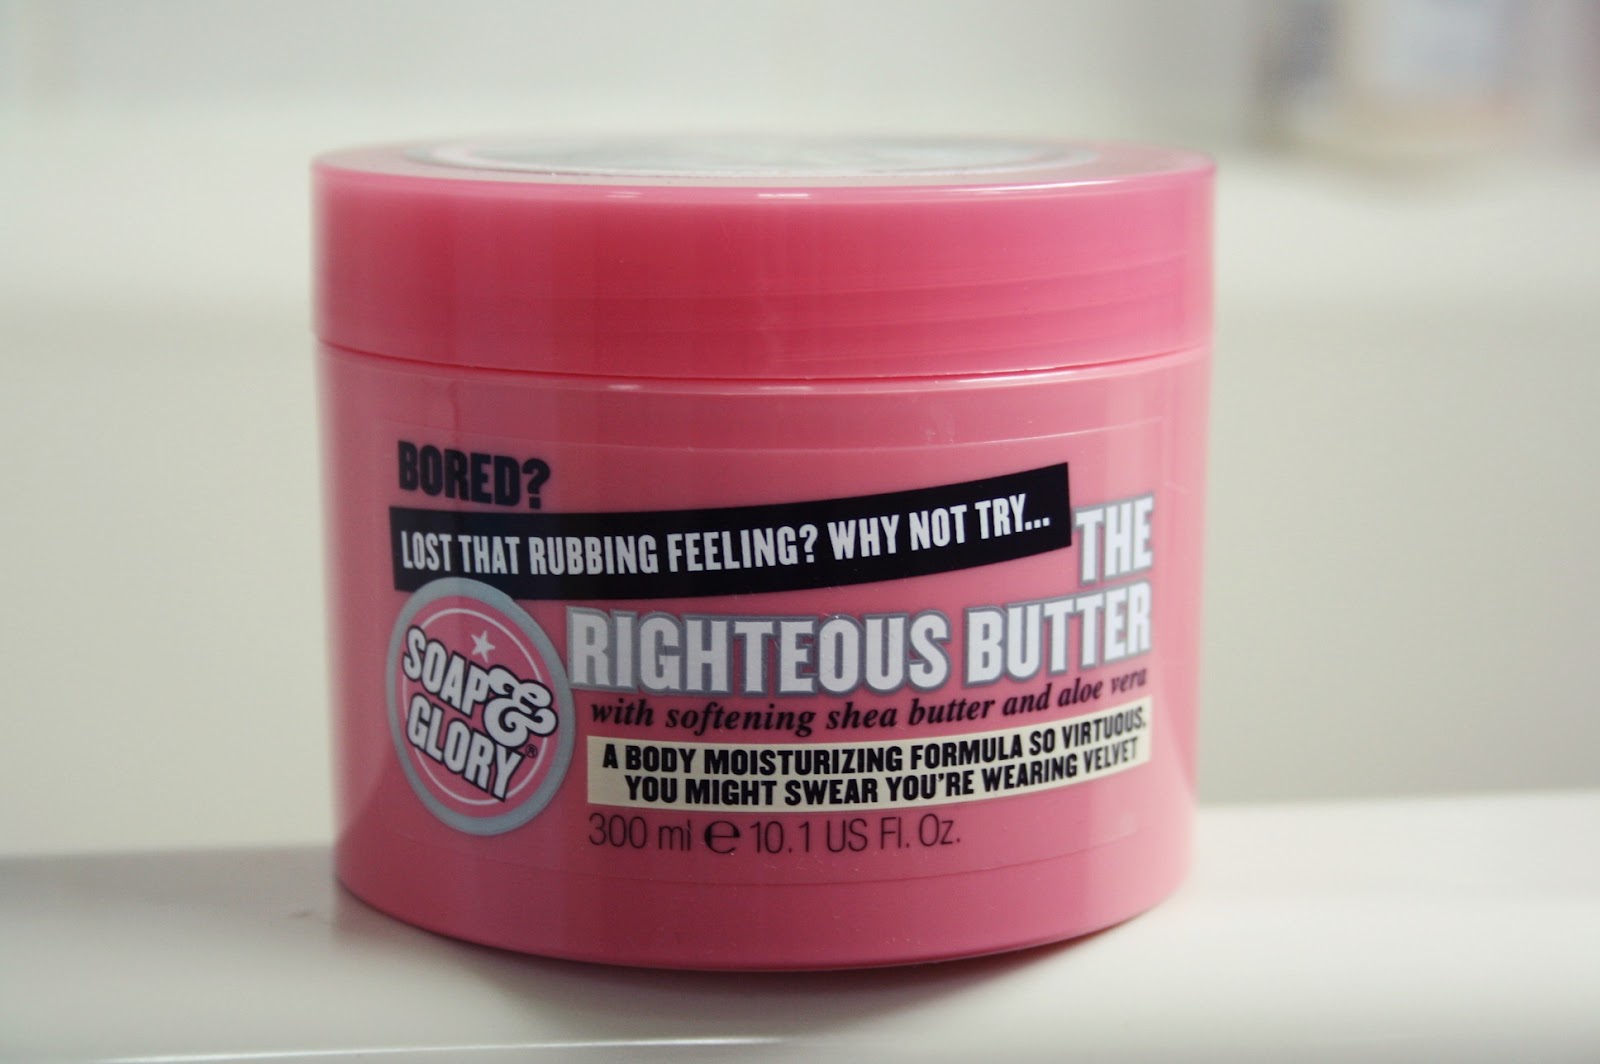
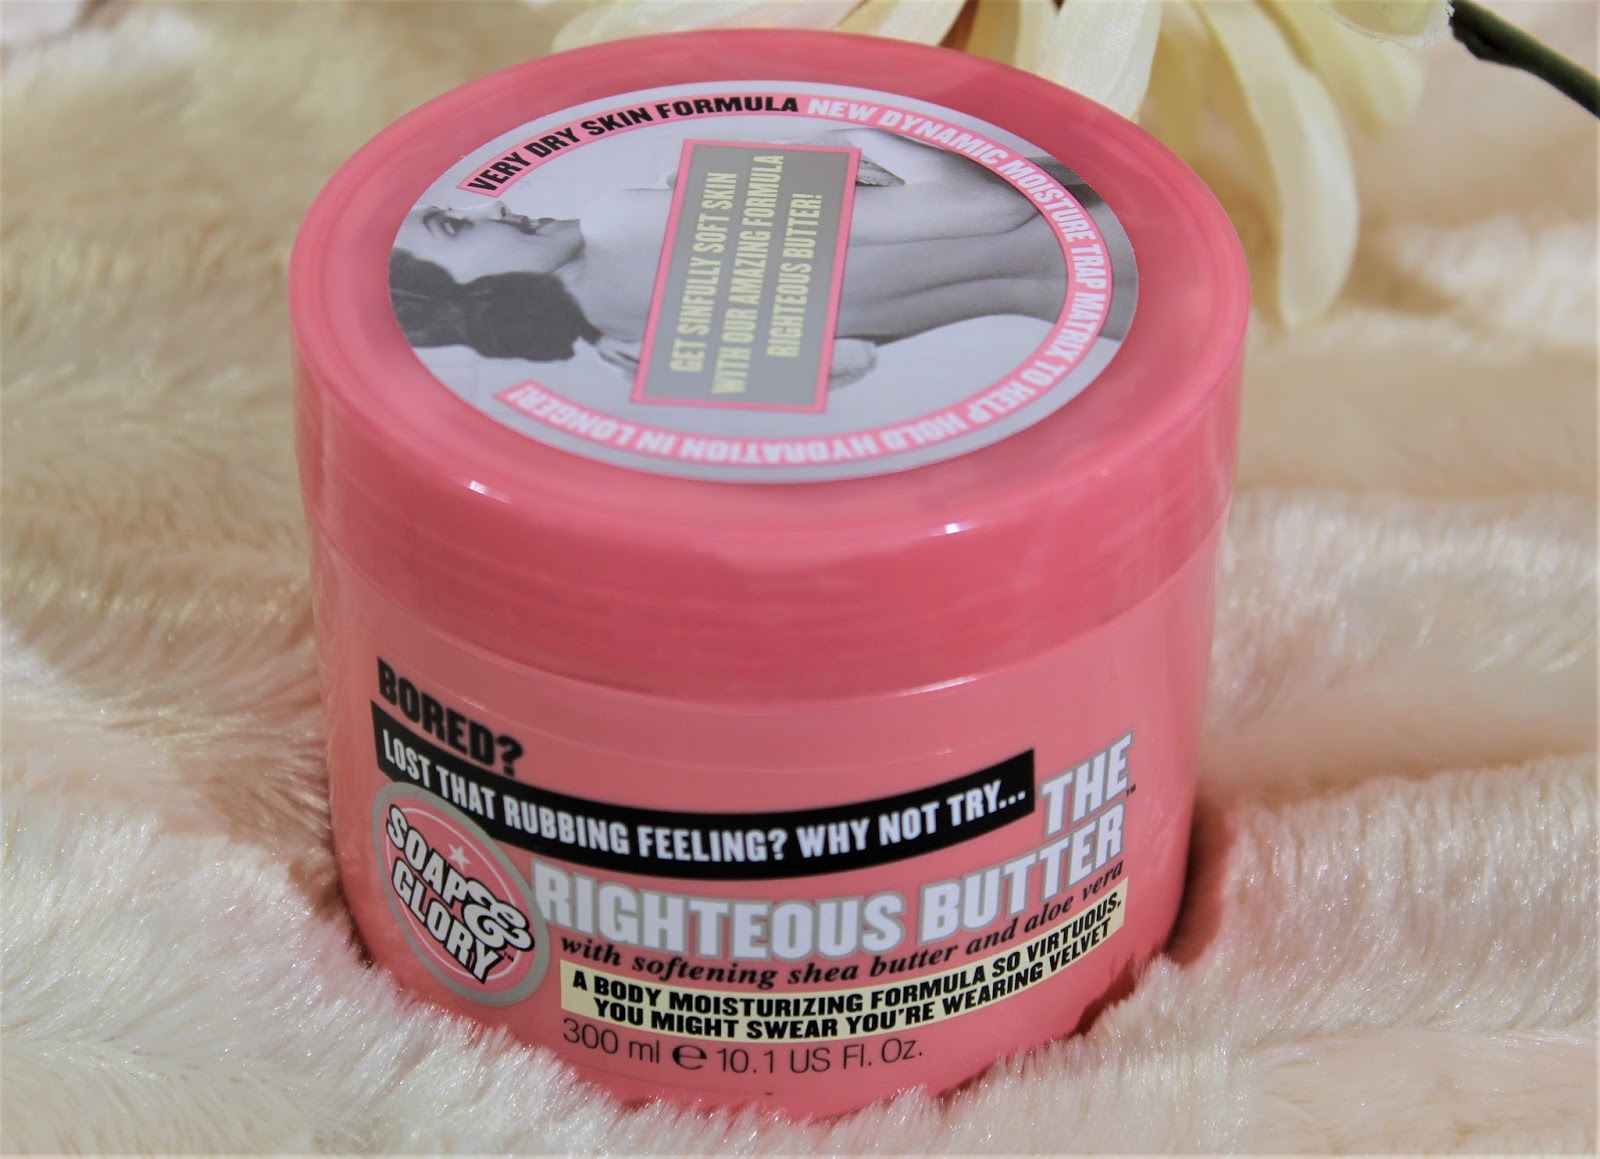
The packaging of the Soap & Glory Righteous Butter is charming, pretty & fun. As with many of their products, it’s somewhat nostalgic & PINK!

One of my favorite things about The Righteous Butter is the Scent. It is amazing. Soap & Glory calls it their “original pink fragrance“. The fruity-floral signature fragrance is a blend of rose, bergamot, orange leaf, lemon, strawberry, gardenia, and jasmine. Some have compared it to Dior Miss Cherie perfume.

Bottom Line

If you are an all-natural gal, this may not be for you because it does contain parabens. If that doesn’t bother you, this body butter is worth a try! The company claims that a tub of this is sold every 20 seconds somewhere in the world. I can see why. It does what it claims to do – moisturizes extremely dry, dehydrated skin, it smells amazing and doesn’t cost a fortune! The Righteous Butter has become a staple in my bathroom and I will definitely continue using it.

Soap & Glory The Righteous Butter
Available at Ulta Beauty ($15 for 10.1 oz), Sephora, Target ($14.99 for 10.01 oz) 

Have you tried The Righteous Butter? Or any other Soap & Glory Products? What are your favorites? As always, I’d love to hear from you. Please leave your comments below!

Skin Saver: What the SPF?

When I walk into the sunscreen aisle I always feel a bit overwhelmed. So many numbers, so many acronyms (SPF, UVA, UVB, COTZ, WTF?!), and so not sure what to look for… I figured many of you might feel the same way so I did a little research and put together this simple, no-brainer guide about SPF.

Aside from using retinoid creams and topical antioxidants, sunscreen is the most powerful ammo us girls have against wrinkles and rough skin. While it’s smart to wear sunscreen when you know you’ll be outdoors (beach, shopping, brunching, running, or whatever)  it’s still important to wear it every day, even if you’re going to be indoors–no exceptions. Rain or shine, summer or winter, SPF is a must.

Okay so enough about when to wear it. Let’s talk shop about picking the right SPF and how to wear it.

Most of us would think that the higher the SPF number, the better. Right? Wrong. Without going into too much detail, the SPF number is simply a standard for how long you can tolerate the sun without burning. So if you can stay in the sun for 10 minutes without burning, an SPF of 15 would allow you to spend 150 minutes in the sun before burning. It’s all very confusing. But the bottom line here is that anything over SPF 30 isn’t going to protect your any better. The numbers are based on time spent in the sun, which is why reapplication is essential. Also, for those of you who think that layering on SPF 15 over your SPF 10 will give the protection of SPF 25–think again. Layering does not increase the SPF. I suppose the only benefit is that it ensures that every area is covered. Ideally, you should wear SPF 30 or greater according to the American Academy of Dermatology.

Bottom line: Wear SPF 30 or greater with broad-spectrum UVA/ UVB protection. Apply it to your face, neck, and hands every single day and smother it onto your body when you are going to be outdoors in the sun.

What’s your favorite facial SPF?

XO Lee

P.S. Fun fact: Sunscreen typically maintains its strength for about 3 years. After that time period, it is less effective. So if your SPF doesn’t have an expiration date, be sure to write it onto the bottle when you get it so you can keep track.

instagram-button


Primp Tip: How to Find Your Perfect Brow Shape

Eyebrows have been a hot topic of conversation for a while now. Similar to fashion, it seems as if brow trends come and go with the seasons. When I was in high school thin, over-tweezed brows were everywhere. But now, it’s time to give the tweezers a rest! Full brows are dominating the beauty scene. And while bold is on trend, not every woman has been blessed in this department. Rather than force an unnatural shape, this post is all about learning how to enhance your natural eyebrows with minimal tools (and less plucking!). Let’s get to it…

Locating The Start And Endpoints

Begin by lining up your tweezers along the side of your nose. By doing this you should be able to see that the front of your brows should align with the upper bridge of your nose. After you do this, very minimal tweezing between your brows should be done to prevent your eyebrows from looking too far apart. My advice is to just get rid of stray hairs and nothing more.

To locate the end of your brows, align your tweezers with the outer corner of your eyes. Where your tweezers meet your brow bone is ideally where your eyebrows should end. Remember that everyone’s brows are different! Not all brows will extend to the outer corner of the eye and some will reach past this point. Similar to grooming the start of your brows, you don’t want to over-tweeze the end of your brows either. You just want to clean up stray hairs here and there.

Defining The Arch

The easiest way to define your arch is by using a white eyeliner pencil. Using a white eyeliner pencil will help you locate stray hairs that fall outside of your defined eyebrow shape. Draw a line tracing the bottom of your eyebrow. You should be following the natural arch of your eyebrow for this step, not creating a new one. Once you’ve drawn the line, tweeze whatever stray hairs fall below it.

My last bit of advice for defining your brows is to trim them. To do this, use an eyebrow spooly and comb those brows upwards. Take eyebrow scissors and trim any hairs that are longer than your actual brow shape. This step helps maintain your shape more than just using products alone.

Brow Sculpting 101

Now that you’ve enhanced the natural shape of your brows, it’s time to help them out a bit. If you’re more of a natural girl when it comes to makeup, brow gels are going to be your best friend. Clear gels will help keep your brows sculpted all day long without having to fill them in. If you have sparse brows I recommend trying your hand at brow pencils, powders or colored gels.

While drama isn’t necessarily a bad thing, remember to keep it natural when filling in your brows. Start by filling in the arches, using strokes that mimic the direction of your natural hair growth. Then, follow your arches to fill in the end of your eyebrows. Use longer strokes here but don’t go too far past the ends.

Lastly, use smaller strokes to fill in the starting points of your eyebrows. This area is where you should be filling in your brows the least. Like I mentioned earlier, use strokes that mimic your actual hairs as to avoid any over-filling. As a finishing touch, use a spooly to blend the product into your brows for the most natural effect.

Like anything else in life, practice makes perfect. If you’re still unsure about grooming your brows, here’s how to decide whether to wax, thread or tweeze. I hope this helps any brow debacles that you might be having!

Perfect-Brows

What tips and tricks do you have when it comes to brows? 

I’d love to hear your suggestions in the comments.

XO Lee

Shop This Story…

This slideshow requires JavaScript.


Raising Brows: Wax, Thread, or Tweeze?

Eyebrows are one of the most important features that you can control on your face. With that being said, proper upkeep is essential. Many people ask me how I maintain my brows and which method I prefer: waxing, threading, or tweezing. All of these are great options and some techniques work better for some and not others. To simplify your life, I’ve put together the following quickie guide to help you decipher which means of brow grooming is best for you…

If you have sensitive skin…

Thread! Threading uses a string to remove hair and is a great option for those of you with delicate skin (or even Rosacea). While waxing tugs at the skin, threading barely has any contact with your skin so it doesn’t lead to irritation. Additionally, threading doesn’t remove the top layer of skin like waxing does so your makeup will stick to your skin properly and it won’t lead to irritation if you’re using a topical prescription cream either.

If you have coarse hair…

Wax! If you have thicker hair that grows back quickly, waxing is definitely the best option for you. Not only do most people see thinner, softer regrowth, they can also go longer in between waxes since the results are fairly long lasting. There are a few drawbacks though: 1. It can be expensive, 2. It can irritate skin (but the irritation typically goes away after a few hours), 3. It can remove tiny (virtually invisible) hairs on your face that help makeup stay in place.

If you don’t want to break the bank…

Tweeze! Not only does tweezing give you a lot more control, it’s also the most inexpensive way to maintain your brows. The most important thing to remember when plucking is to exercise restraint. Yes, you may want to pluck regrowth everyday, but be careful not to take it too far.

At the end of the day, the best recommendation I can make to you is to experiment with all three methods. Everyone’s body reacts differently to things so it’s important to see what works best for you. You may have coarse hair and find that you love the results threading yields. Or you may prefer waxing… Personally, I would love to wax my brows, but when I do I tend to breakout and get red around that area. Plus, the pain is too much for me. My go-to options are tweezing or threading. But like it said, road test a few methods and see what you like best.

Which method do you prefer and why?

XO Lee