DIY: Cellulite Scrub

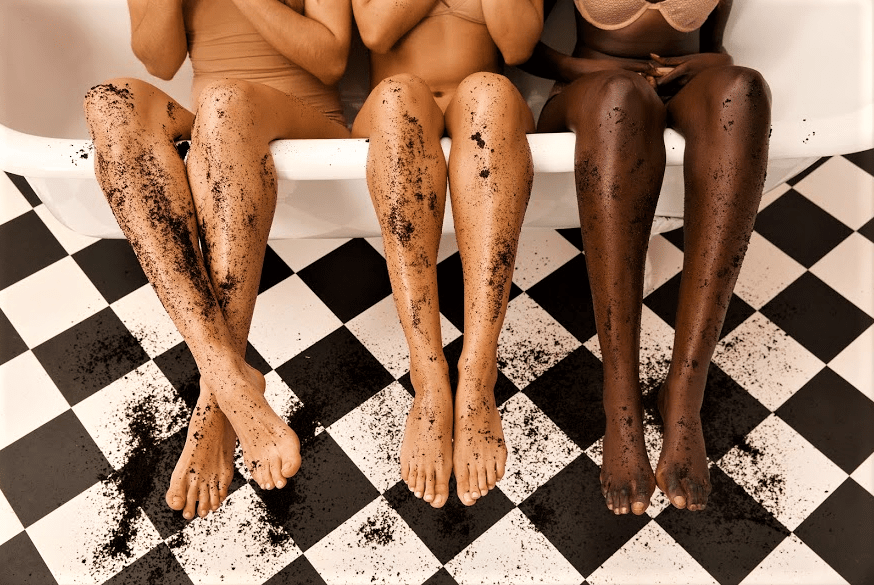
While cellulite is largely genetic, most forms are caused by a combination of poor circulation, fat pockets (that’s why you’ll see cellulite on your butt, thighs, and sometimes even arms), and female hormones. But here’s the thing: just because your limbs are long and lean doesn’t mean that this is a post to skip. In fact, it can happen to you (read all about that here from our friends at Beauty Banter).

As we’ve shared, avoiding certain foods can help. Sarah from Beauty Banter also shares, “Exercise is a must. Hydration is essential. But treating the affected area consistently and vigorously is really your best bet. Commit to six weeks of two to three treatments a week. Combine your treatments with exercise, better diet (low in sugars and processed foods), and tons of water.

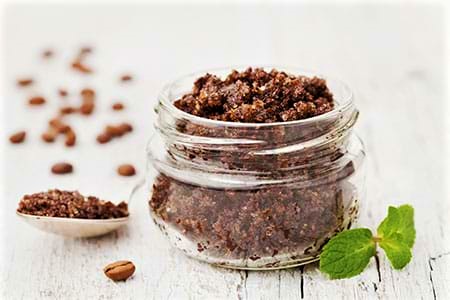
While there is no topical cure for cellulite, scrubs and creams with effective ingredients will help to diminish its appearance. Caffeine is considered the Holy Grail ingredient for anti-cellulite. So, naturally, this scrub is essentially coffee grinds. It’s easy to make, simple to apply, and affordable—especially compared with those costly medical-grade creams and treatments.

This scrub has the ability to subtly reduce the appearance of cellulite. And, bonus, it leaves skin soft and hydrated. But beware, while skin will look gorgeous, your tub or shower won’t—it will most likely resemble the inside of a coffee maker. Fret not, a quick rinse and wipe-down will clean the basin. Just be careful not to slip.” Read on for the step-by-step instructions and benefits of this DIY scrub.

What You’ll Need:
Coffee grinds (caffeinated)
Juniper oil
Coconut oil

Benefits of the Ingredients:
– Fresh coffee grinds (caffeinated)—Caffeine can immediately diminish the appearance of cellulite by stimulating blood flow, toning and tightening the area. The grinds are also rich in antioxidants (which aid in releasing toxins).
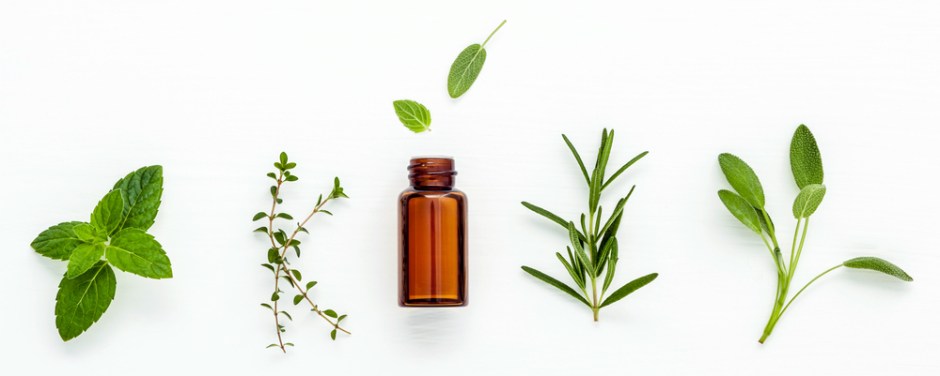
– Juniper oil—A berry that increases circulation and energizes the underactive tissues.
– Coconut oil—Hydrates, smoothes, and helps your skin absorb the caffeine and juniper.

Directions:
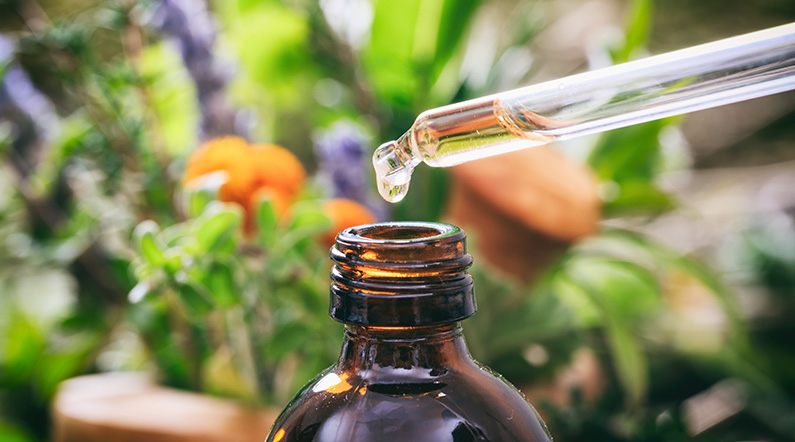
Combine 2 tablespoons of coconut oil and 20-30 drops of essential juniper oil in a bowl. Mix in about 1/2 cup of fresh caffeinated coffee grinds until the grinds are completely soaked with the oils. You’ll want this scrub to be grind-heavy, so if it’s feeling too watery, add more grinds. There are no exact measurements, so feel free to play around, but these are good jumping-off points.

Take into the bathroom (I highly suggest doing this in the bath or tub, prior to turning on the water) and firmly rub into affected areas using circular scrubbing motions.

Continue for at least five minutes. Then rinse and pat dry. Feel free to apply pure coconut oil to moisturize and soothe the skin (and massage that in too).

Note: Apply to affected areas two to three times a week. For quicker results, wrap the scrubbed area (concoction still on) with Saran Wrap to essentially heat the skin. Relax for 15 minutes then remove the wrap and shower.

I suggest making a new batch daily as the caffeine is said to be most effective when coffee grinds are fresh.

This DIY Oil Will Give You The Richest Tan

While we realize the saying “life is better with a tan”, may be a little OTT, it does make you feel like an absolute goddess. While some beauties can literally spend 20 minutes in the sun and be transformed into a bronzed bombshell, there are some of us who need a little assistance from a trusty tanning oil. We know summer is almost over but for the ones who got that sunshine in their pocket, we decided it was time to check out the best tanning formulas on the market and DIY. And we’re SO impressed with the results!

Our DIY tanning oil gives you the deepest tan without having to spend days in the sun and leaving your piggy-bank empty. Plus it got loads of amazing ingredients that nourish and hydrate your skin at the same time. We’re kinda annoyed we didn’t think of it sooner!

Why you need to DIY your own tanning oil

Yes…. black people and people of color do tan too. So, with that being said, recently me and my beauties were thinking about how we could save money on tanning oils. With research and experimenting, we realized how easy it would be to recreate our fave branded tanning oil at-home, as they’re mostly just a combination of oils. Plus, buying the original oils is often a lot cheaper in the long run, as we tend to go through our branded tanning oil in under a month. Nothing can beat that Floridian sun, haha.

Our DIY tanning oil is also seriously beneficial for your skin; it’s bursting with antioxidants and of course, it’s uber-moisturizing, so while you’re attracting the rays, you’re also rejuvenating your skin. Plus, the healthier and more hydrated the skin, the deeper the tan will be and the longer it will last. Here’s what you need:

Ingredients 

3 tablespoons of vitamin E Oil or carrot seed oil
½ cup of Jojoba oil
½ cup of Grapeseed oil
½ cup of Coconut oil
Optional: A bronzed shimmer eyeshadow or highlighter

Mix the oil together in a bowl (try to use cold pressed organic oils), then using a funnel dispense the mixture into a spray bottle. If you want to amp up your glow, you can also break a bronze highlighter into the mixture. Shake well before use and apply onto your skin, once you’ve applied sunscreen.

But NEVER forget SPF…

We cannot stress enough how important SPF is whenever you’re in the sun. If your skin is left unprotected, you can damage your skin and increase the risk of premature aging, dark spots and hyperpigmentation, and increase your risk of getting skin cancer. So before you apply your DIY oil, you need to apply a lot of SPF, and then apply even more. We recommend at least a factor 30 to be reapplied every 2 hours as a minimum, as we tend to apply it much more sparingly than is done during lab testing so an SPF 30 will offer you only SPF 15 in most cases.” If you have fair skin, make sure you apply factor 50 – and yes, you can still tan through SPF (we know because we use factor 50 every weekend)!

Now, go and enjoy every second of that beautiful sun!

Let us know if you guys try this DIY tanning oil in the comments below.

The Celebrity DIY Facial That Will Cost You Less Than $1

The facial in question is an ice bath  yes, we’re serious! We’ve got to admit we were a little shocked when we heard just how many celebs do this before a big event. But seeing as it’s definitely the cheapest of all the celebrity facial trends, we thought we should look into it. And let us tell you the benefits are MAJOR. Just take a look at the Victoria’s Secret Angels to see the results, because word on the street is they all gave themselves an ice bath before the big show. This slightly crazy facial gives your skin an instant glow, shrinks the size of your pores, and tones your skin. Honestly, the next time you’re getting ready for an event and you want to look snatched AF, do this before you start your skin and beauty prep.

So how exactly does it work?

All you have to do is fill a large bowl with ice and then add enough water so that all of the cubes are submerged. Then scoop the water into your hands and splash it onto your face for 30 seconds. We swear this feels harsher on your hands than it does on your face  it’s actually SO refreshing. The cool water constricts the skin’s circulation by reducing the natural heat in the skin, which instantly tightens your pores, reduces any puffiness, and revitalizes your skin.  It’ll also appear to smooth fine lines and wrinkles while making your skin look more firm. But we wouldn’t recommend giving yourself an ice bath every day (tempting, we know!), as it’s such a powerful treatment it could actually damage the capillaries if it’s done too frequently. We’d suggest it just for special occasions and events, or if you’re doing a runway show!

Ice Cube DIY

For those of you not quite brave enough to give yourself an ice facial just yet, then this ice cube DIY is an ideal alternative. All you have to do whisk together 3 tablespoons of honey and 3 tablespoons of olive oil, and then pour the mixture into an ice cube tray and freeze overnight. In the morning, massage the ice cubes onto your face until they dissolve and then wash your face with cool water  this will give intense hydration, toning, and nourishment.

Another super easy ice cube DIY is to simply add a drop of your favorite essential oil into each ice cube before you freeze it. You can then use these ice cubes individually or as part of your larger ice bath facial.

Let us know if you’re brave enough to try it in the comments below!

These 5 Essential Oils Will Make You Look And Feel Better Instantly

Beyond smelling amazing and making us feel super sophisticated, the benefits of essential oils are huge! The right oils can improve wrinkles or acne, soothe you, send you into a deep sleep, energize, and even uplift your mood. Whether in your bath salts, shampoo or skincare products, essential oils are used in a ton of different products and in their pure form, they offer everything from healing properties to mind and body support. It’s no coincidence they’re called essential oils  – if you know what we mean! So to make sure you’re not missing out on one of nature’s greatest offerings, we’re here to help you take advantage of them!

What are essential oils?

Essential oils come from naturally occurring compounds found in seeds, stems, roots, flowers, or the bark of plants. They’re amazing for skincare as they’re rich in antioxidants, antimicrobial and anti-inflammatory properties, but they’re not even technically an oil, they’re an intensely concentrated plant extract. Essential oils seem oil-like, but as they have no fatty acids in, technically they’re not an oil. Take this crazy fact, it takes 5000 pounds of rose petals to make just one pound of pure rose ‘oil’ and one drop of peppermint ‘oil’ is equivalent to 28 cups of peppermint tea. That’s why when you’re using essential oils, you only ever need a few drops as the formula is so intensely concentrated. You can even use Jasmine Oil for times when you need a pick me up, like for an interview or important meeting, just sniff it and it calms nerves, acts as an antidepressant, and has uplifting properties that will help you to feel more optimistic and calm.

Our Essential Oil Beauties:

Tea Tree

This amazing essential oil, derived from the Australian native plant Melaleuca alternifolia, has been used around the world for hundreds of years, and if you’ve ever struggled with acne, you’ve probably already take advantage of this antimicrobial ingredient. Tea tree is so good you’ll find the active ingredient in thousands of moisturizers, cleansers, and wipes, but it’s even better in its pure form for DIYs at home.

We love it for treating acne, and this DIY instantly targets problem areas: Mix together two teaspoons of organic honey with 4-5 drops of pure tea tree essential oil. Rub this mixture onto oily areas or pimples for 1-2 minutes and wash off with warm water. You can use this up to three times a week. But FYI, be careful as tea tree is a powerful cleanser and it could irritate and create redness from overuse, so be sure to always mix it with other ingredients.

Eucalyptus

From its incredible anti-inflammatory properties to its ability to act as a potent decongestant, deodorant and antiseptic, eucalyptus is the ultimate multitasker.

We love it for its capacity to relieve muscle pains and aches of all sorts. If you’re suffering mild twinges in your shoulder, stiff muscles, rheumatism or nursing any recent injuries, massaging eucalyptus oil on the surface of your skin will relieve stress and pain. Rub 2-3 drops of eucalyptus oil directly onto your problem areas and massage in a circular motion until it is fully absorbed. Do this twice a day until the affected areas of the body improve.

Peppermint

Peppermint is a bit like the superwoman of essential oils; it can be used both orally and topically and has powerful antimicrobial properties. Seriously, there are few mind, health or body issues it can’t help with and it’s often used to combat stomach aches, improve bad breath, clean wounds, release tight muscles, boost energy and mood, and alleviate soreness from respiratory tracts.

In the beauty world, you’ll find peppermint oil in a lot of high-quality hair care products for its ability to cleanse, brighten, nourish and promote healthy hair growth. All you need to do to get the benefits yourself is add 2-3 drops of it into your regular morning shampoo and conditioner. Not only will it stimulate your scalp and hair follicles, and thoroughly cleanse your scalp but it will energize your mind – and who doesn’t love the smell of peppermint?

Lavender

Lavender isn’t just a fragrance, it a powerful regenerative oil that can help combat aging (maybe that’s why your granny likes it so much!) with its ability to promote the production of your body’s most powerful antioxidants: glutathione, catalase and superoxide dismutase. Unlike most oils that are too reactive to use directly on your skin, you can gently rub two or three drops of lavender oil directly onto fine lines or problem areas to diminish aging symptoms.

And of course, it’s widely sold as both sprays and oils to alleviate depression, headaches, and insomnia; a few drops on your pillow (or dabbed on your temples) is the perfect way to exploit lavender’s potent healing properties and chill out.

Lemon

Lemons are an incredible antioxidant, packed with vitamin C and A, which are vital for fighting free radicals and preventing premature aging. As well as boasting AHAs (a natural exfoliant that helps remove pore-clogging dead skin), it breaks down sebum with its astringent acidic properties. Not only do lemons smell great and taste great in water (squeeze some in your morning glass to detox your body), but they’re great for removing excess oil too. Squeeze lemon juice onto a cotton pad and use it to tone your skin after cleansing.

When choosing an essential oil, look for an organic version, the extra quality is worth it when it comes to skincare. Feeling inspired? Check out the one thing you never thought of doing with oil here!