During a autumn (Fall) vacay, something super embarrassing and frustrating happened to us. Somehow, our hair got this horrible, waxy and greasy buildup, and no matter how much we washed our hair – literally triple shampooed it – the residue didn’t go away. Our hair looked and felt gross and greasy hair is never a good look.
We soon discovered that we weren’t the only ones to experience this, and there’s a ton of questions about ‘waxy buildup on scalp won’t wash out’ online. If you’ve had this oily buildup before, it could be down to a number of things, including using hair-care products that are too ‘heavy’ for your hair to over-stripping with harsh products. (If you simply have typically oily hair, this DIY hair mask will also work wonders).
We found that our scalp was itching and sometimes dry which sometimes dandruff would be found. This is often brought on by stress, hormones, and even the weather. So when all shampoos failed us, our DIY beauty skills came into play and we were shocked at how amazing our clarifying hair mask turned out to be.
So, whether you’re experiencing this waxy buildup or you just want to detox your scalp and greasy hair, then you have to try this ultimate DIY clarifying hair mask. The only thing that actually worked to rid our hair of this waxy sebum residue and leave it feeling soft AF!
Clarifying Hair Mask
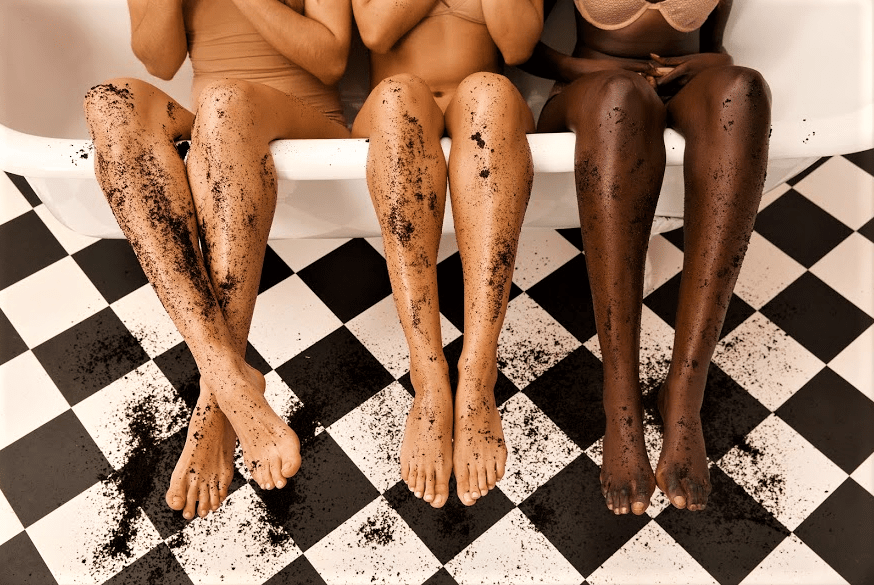
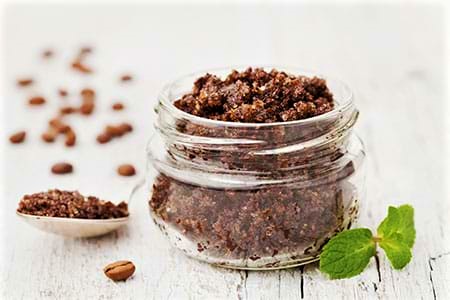
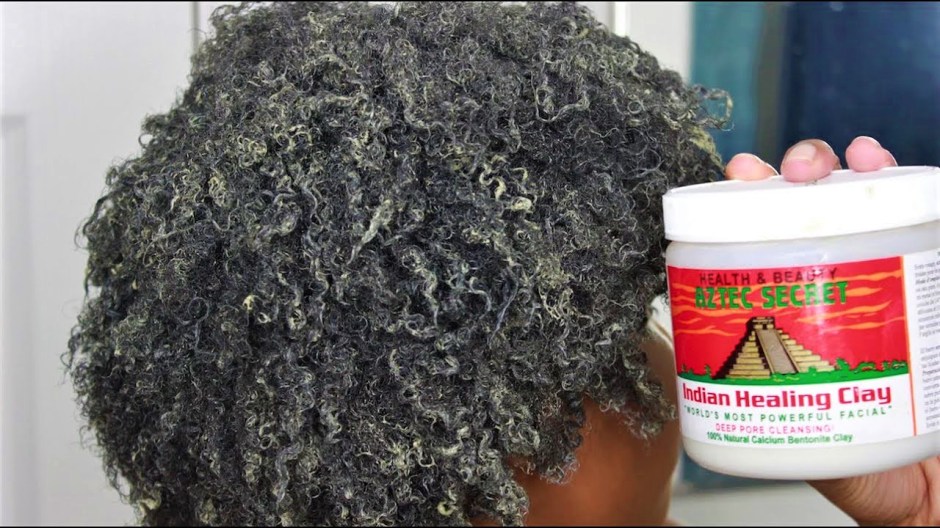
We already knew that Apple Cider Vinegar was an amazing way to detox hair, but we took it one step further and added some major beauty powerhouses to the mix; bentonite clay and activated charcoal powder. This natural hair mask works to deeply cleanse and re-balance by removing excess oil and toxins that can build up on the scalp. Whether you have product buildup, dandruff, greasy hair that won’t go away or a frustrating case of seborrheic dermatitis, this mask will fix it – tried and tested!!
Clay: Clay is packed with minerals and nutrients and helps draw out toxins and absorb the extra sebum produced by your scalp. The clay also helps to inhibit the growth of fungus that causes dandruff.

Activated charcoal: This works in a similar way that clay does to detox the scalp. Activated charcoal is adsorbent, which means it has an electrical attraction that pulls molecules, ions, and atoms towards its surface so that they stick to it – essentially sucking up dirt and oil from your scalp.
Apple cider vinegar: One of nature’s most potent creations, it’s full of active ingredients, vitamins, mineral salts, and amino acids, and it’s antibacterial and anti-inflammatory. It also has anti-fungal properties, and helps restore your skin’s natural pH balance and destroy dandruff by killing fungus and cleaning clogged pores and hair follicles.
How to make the clarifying detox hair mask:
Ingredients:
2 tbsp Aztec Healing Indian Clay
1 tbsp Activated Charcoal Powder
6 tbsp of Raw Apple Cider Vinegar
1 tablespoon coconut oil
½ tablespoon castor oil
½ tablespoon almond oil
Water
Glass bowl
Wooden spoon
We buy big tubs of these products and use them for all kinds of DIYs, from face masks to hair masks and body scrubs (and we’ve had our pots of activated charcoal powder and Aztec Indian Healing clay for months!). If your hair is just a little bit greasy and you just want to detox, you can also add one teaspoon of honey to nourish your hair.
How to:
Step 1. Combine bentonite clay, coconut oil, castor oil, and almond oil in the bowl (make sure you use wooden or ceramic utensil as activated charcoal reacts with metal); the formula will bubble up and should combine into a runny paste. Add the apple cider vinegar to the bowl and let it froth for 15 seconds before mixing it vigorously. Mix the ingredients slowly. It should form a smooth, yogurt-like consistency. Make sure there are no lumps.
Step 2. Apply the mask to dry hair using a medium-sized brush, working your way in sections across your scalp – like you would if you were dying your roots. Once you’ve covered your scalp with the mask, tie up your hair (apply a shower cap if you like) and leave the mask to work for 20 to 30 minutes.
Step 3. Wash out the mask until the water runs clear, then shampoo your hair thoroughly. You can shampoo twice to ensure no mask remains, then follow with conditioner on your ends.
The result is all traces of oil or any waxy buildup are completely gone. Flakes from dandruff are wiped out, and the scalp feels balanced. It also makes your hair feel super lightweight and soft and gives your hair natural volume. We recommend doing this mask once a month to keep your scalp in top condition.
If your scalp is super flaky or you’ve experienced the waxy buildup on your hair that doesn’t go away with washing, then you should definitely visit a derm to see if you have seborrheic dermatitis. A derm will be able to advise you on the best medicated shampoos, and also prescribe an ointment to improve seborrheic dermatitis. Let us know if you’ve experienced this before!
Did you try the Aztec Secrets Indian Healing Clay Mask for the hair– it works for facial but does it work for your hair type!? Lemme know about your experience….
Tweet