Why does the skin around the eyes always exhibit the first signs of aging? Well, this skin is incredibly thin – actually the thinnest in the body. Along with that fact, we are constantly squinting and smiling to form repetitive wrinkles. On top of that, the lack of oil glands around the eyes make this skin especially susceptible to damage from our lifestyle choices. Oil glands keep our skin moist and hydrated and stem cells from the follicles help the skin to repair.
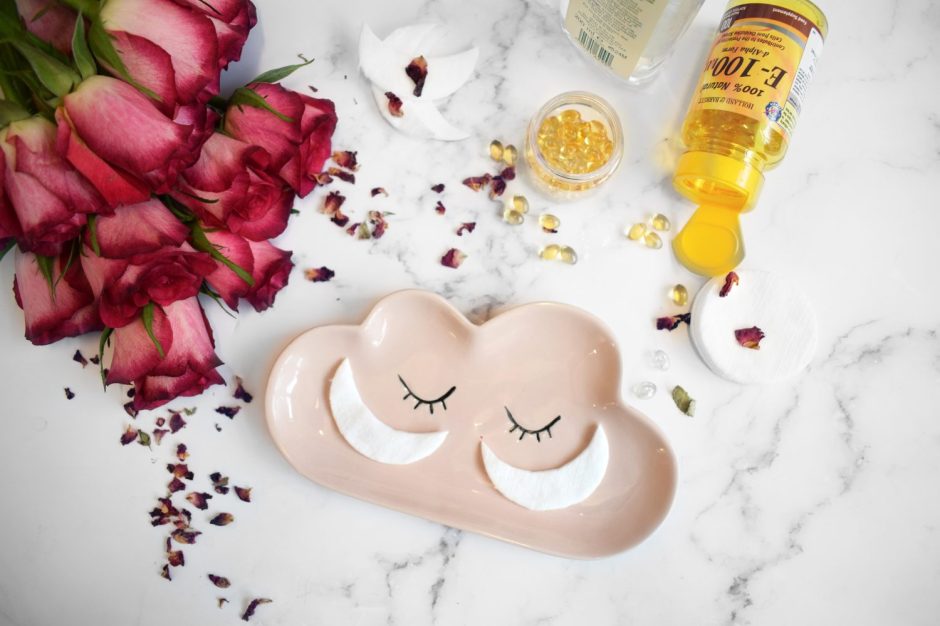
8 EYE MASK RECIPES TO SOOTHE + REPAIR
Since the eye skin is deficient in this ability, it needs some extra TLC. So, let’s talk about how we can step up our eye game to avoid those pesky lines and crow’s feet. A few simple changes will benefit anyone who wants healthy skin around your eyes includes:
- hydrate with water – increase your daily water intake. Water will keep your skin properly hydrated and allow your lymphatics under your eyes to drain impurities.
- treat allergies – if you have inflammation around the eyes due to seasonal allergies, get to the root of the allergy. If you are itchy, it is especially important not to rub your eyes as this will lead to dark circles. Instead, apply a cool compress or cool chamomile tea bags to the area.
- exercise regularly – increased blood flow delivers nutrients and removes waste build up and supports renewal.
- get plenty of sleep – this is when it all happens. Your body needs a break to regenerate and repair.
- eat whole foods – Processed foods with chemicals make you inflamed, bloated, and it shows with puffy eyes.
- protect – wear sunglasses and an under-eye sunscreen. UV radiation is #1 cause of collagen breakdown and thin eye skin is especially susceptible.
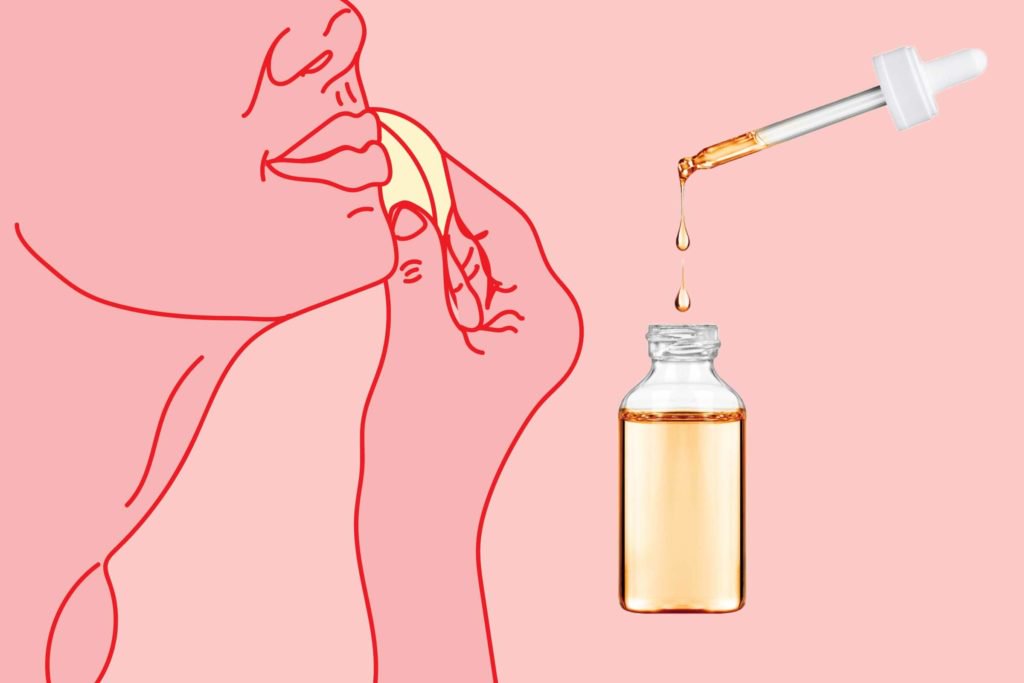
- use a nightly eye cream – nourish your skin from the inside AND from the outside.
All of the above tips are wonderful for overall under-eye health, but there’s even more we can do to treat this delicate area of the face! Weekly eye masks can help target different under-eye needs, from locking in moisture to de-puffing.
PUFFY EYE MASKS:
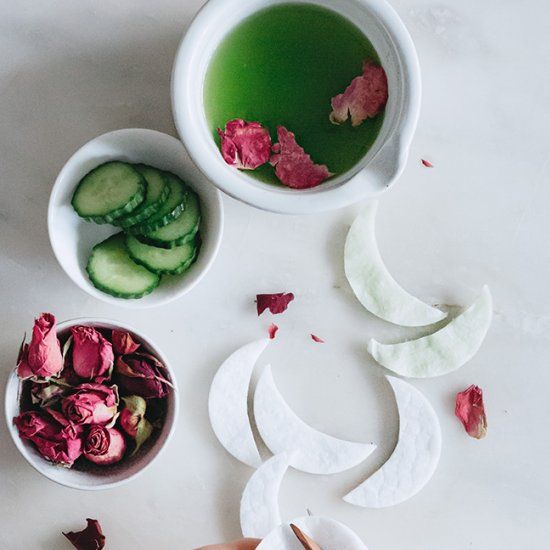
Rose + Cucumber Eye Mask
Ever wonder why sliced cucumbers are common additions in photos, television and movie scenes featuring face and eye masks? Rich in ascorbic acid and phytochemicals, cucumbers help tighten and soothe skin.
But instead of placing cucumber slices over your closed eyelids, this blended mask will reach the inner and outer corners of the eyes with concentrated vitamins and minerals.
Ingredients:
- Half cucumber
- 1 ounce rose water
- Blender
- Cotton rounds
Cut your cotton rounds into two half moon shapes. This mask should make quite a few pairs, so cut more than you think you’ll need.
In a blender, puree the cucumber and rose water until liquified. Transfer to a bowl, then soak the cotton rounds in the mixture, squeezing out excess and then re-soaking for optimal absorption. Store the extra soaked cotton rounds in a Ziploc bag in the freezer for future use.
Thaw the eye pads for about 10 minutes before you use them, but make sure they are still cool as the temperature will also help with reducing puffiness. To apply, place the half moon eye pad underneath the eye, making sure to apply close to the bottom lash line. Leave on for 10-15 minutes.

Coffee Mask
For a morning wake-me-up, in addition to coffee in your mug, try it under your eyes as well! For an easy mask, combine coffee grounds with the vitamins and proteins of egg white, which tighten and firm skin. Puffy eyes and pesky crow’s feet, be gone!
- 1 egg white
- 2 teaspoons unused coffee grounds
Beat mixture together with a fork until frothy, about 1 minute. With clean hands or a brush, apply the mask around and under the eyes. Let sit for 10 minutes. Use a soft, wet towel to gently clean off the mask. Follow with a caffeine-infused eye cream.

Soothing Chamomile Eye Mask
You can make chamomile tea anywhere, even in a hotel, as kettles are usually available in every room. Simply apply the tea bags to your tired eyes and enjoy a soothing warm mug before bed.
- 2 chamomile tea bags
- mug
- hot water
- wash cloth
Steep two tea bags for 3 minutes in hot water, remove and set aside to cool to room temperature and then place over your eyes for 15 minutes. You can layer a cool washcloth over your eyes to keep the tea bags wet. Remove and follow with your moisturizer and eye oil.
WRINKLE & CROW’S FEET EYE MASKS
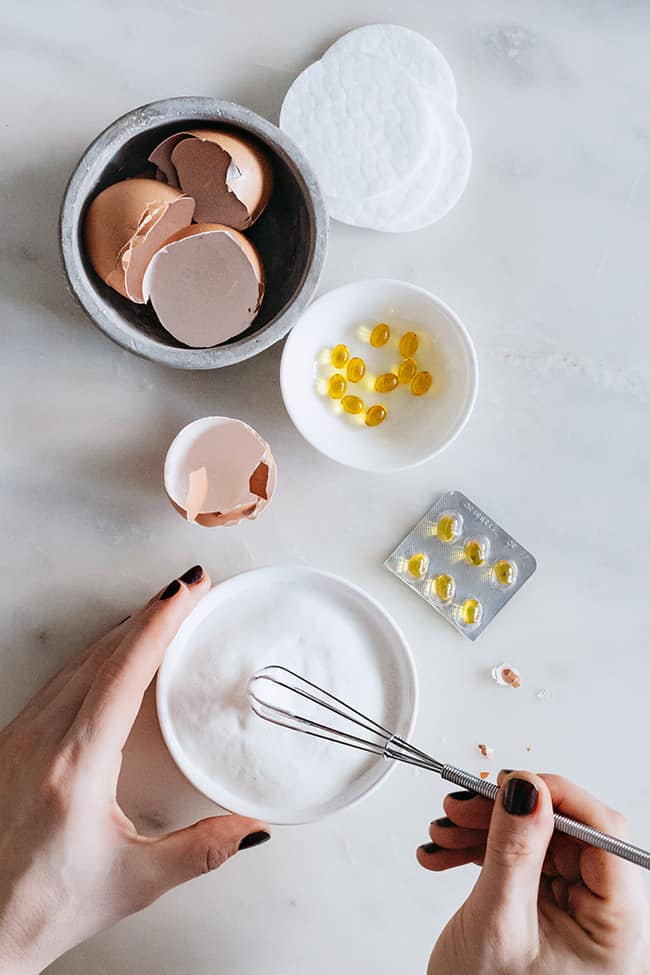
Egg White Eye Mask
You’ll find egg whites in many anti-wrinkle masks for the face, and the eye area is no exception. Egg whites have been known to reduce the appearance of fine lines, while antioxidant rich vitamin E fights free radicals.
Vitamin E is extremely hydrating and often is used to treat eczema or psoriasis, thus a great ingredient for the dryer area around the eyes. Vitamin E can be extracted from vitamin E capsules or purchase a separate vitamin E oil for the following eye mask recipe.
- 2 egg whites separated from the yolk
- 1 capsule or 5 drops of vitamin E
Beat the egg whites until they’re frothy and then mix in the vitamin E oil. Apply the mixture with your fingertips or a makeup brush to the under-eye area, careful not ignore the outer edges of the eyes where expression and squint lines form. Leave on for 10 minutes.
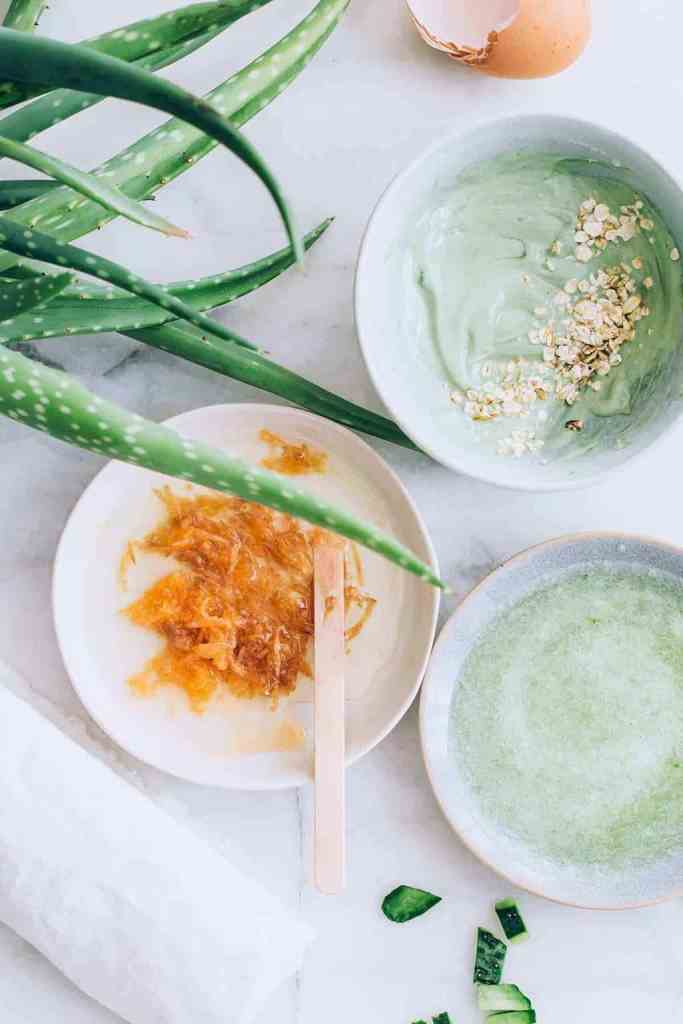
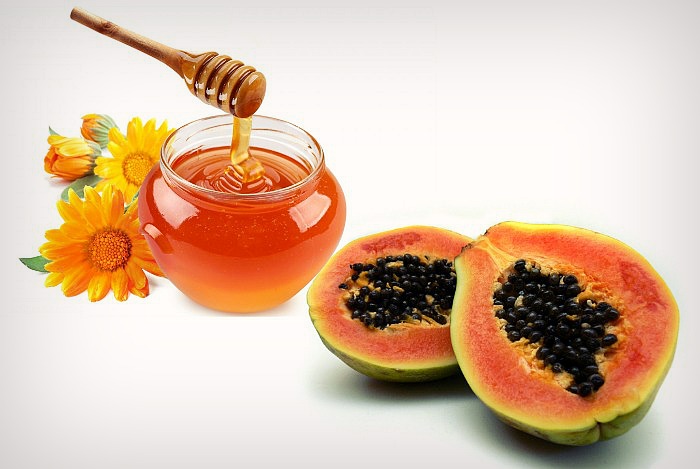
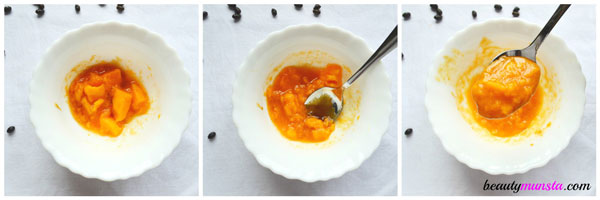
Carrot Eye Mask
This wrinkle-fighting eye mask uses carrots, egg white and aloe vera, which makes it a power combo of retinol, vitamins, and protein. All the fancy ingredients you would find in an expensive eye cream, but completely natural, and definitely on the cheap side. You can apply this mask to the rest of your face as well, or you can use it as part of a multi-masking combination.
- 1 egg white
- 1 tablespoon finely shredded regular carrot.
- 1 teaspoon aloe vera
Combine egg white, carrot and aloe vera in a small bowl and whisk with a fork until frothy (about 1 minute). Let the mask dry for at least 15 minutes or up to 30 minutes. Use a soft, wet towel to gently clean off the mask. Finish with moisturizer.

Mega Moisturizing DIY Eye Mask
This mega moisturizing eye mask is made with coconut oil and vitamin E, to visibly smooth fine wrinkles and cool tired eyes right away. A trick for the long term is to avoid exposing your eyes directly to the daytime sun, by wearing sunglasses and hats, and applying SPF cream.
- 2 tablespoons of coconut oil, melted if needed
- 1 capsule vitamin E oil
Combine ingredients in a bowl. Cut cotton pads to fit the under-eye area. Soak cotton pads in solution and freeze for a few minutes until icy cold. Apply to eye area and place eye cotton pad on top. Let sit for 15 minutes and remove. Follow with eye cream.
DARK CIRCLE EYE MASKS
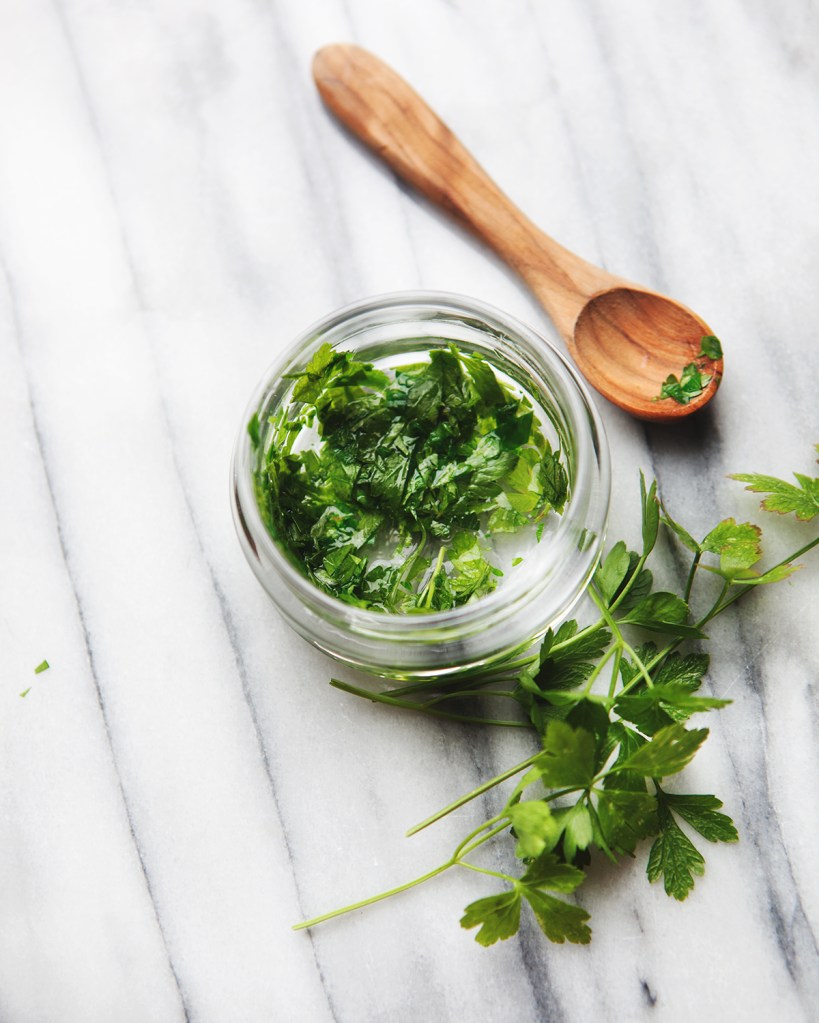
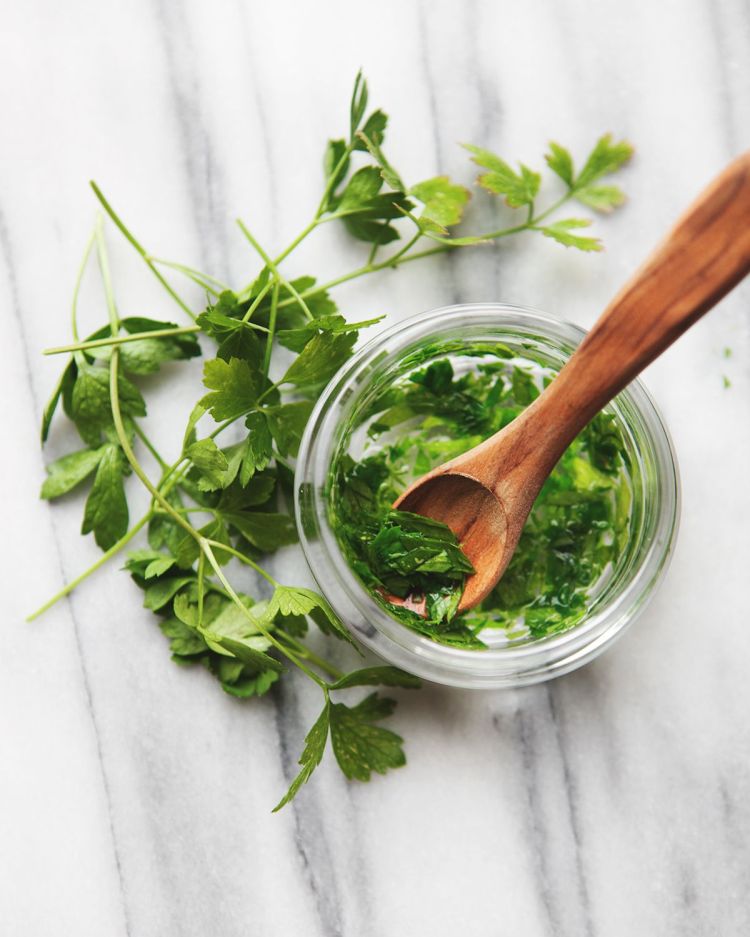
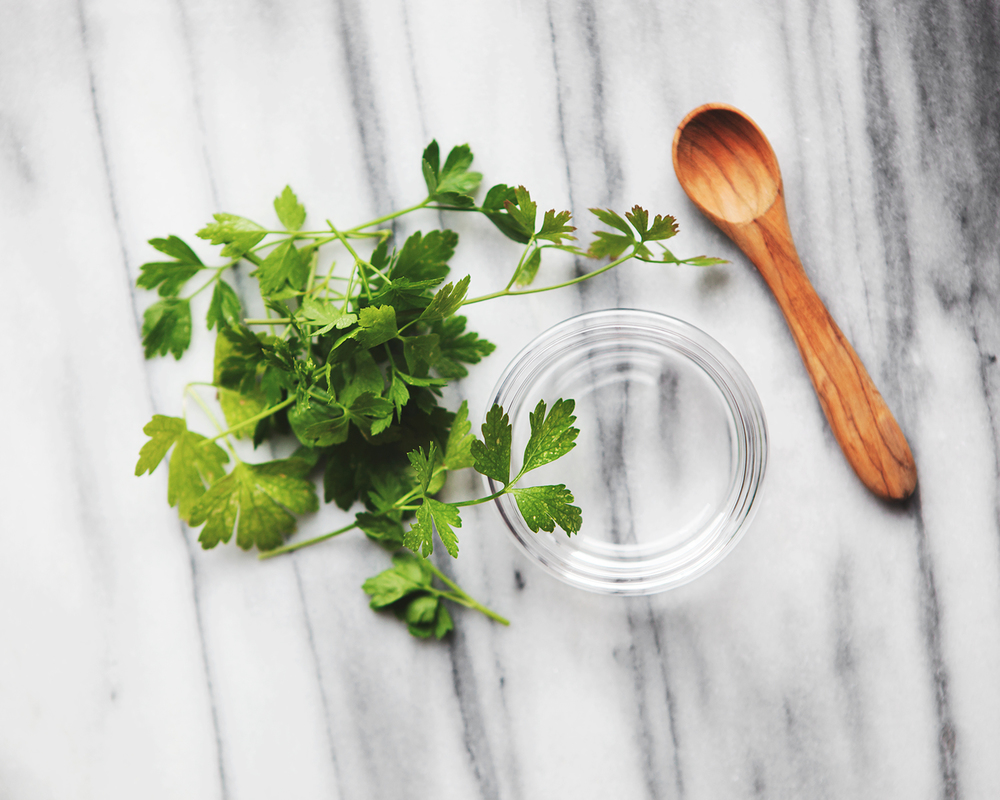
A cure for dark circles that only costs 99 cents? Sold! Vitamin C, chlorophyll and vitamin K in parsley help lighten skin discoloration, diminish age spots and reduce puffiness. So go ahead and add that bunch of parsley to your shopping cart, even if you’re not planning on making soup any time soon.
- Handful of fresh, organic parsley
- 1 tablespoon yogurt
Roughly chop parsley then grind with a wooden spoon until the leaves release their juice. Add yogurt and stir. Apply with fingers or cotton balls and let mask sit for 10-15 minutes. Repeat twice a week to reduce discoloration.

Milk & Turmeric Eye Mask
Turmeric masks are excellent for brightening complexions and evening out skin tone, and they even work on pesky dark circles. Combine with milk for a bit of gentle exfoliation.
- 1 tablespoon turmeric
- 1 tablespoon milk or buttermilk
Mix ingredients together in a small bowl and then use a brush to paint onto your under-eye area (avoiding the eyes). Leave on for 15 minutes and then carefully wipe off the mask.

Potato slices
Potato slices offer the same effect as cucumber—the cooling of the skin can reduce the vascular congestion to improve the appearance of this area, according to Dr. Ilyas. Her only concern surrounding the application of potatoes on the skin is that they may contain catecholase, which can actually darken the skin. “Catecholase is an enzyme that can promote melanin production,” she says.
What home remedies to you use for your eyes? We’d love to hear your tips and tricks!
Tweet