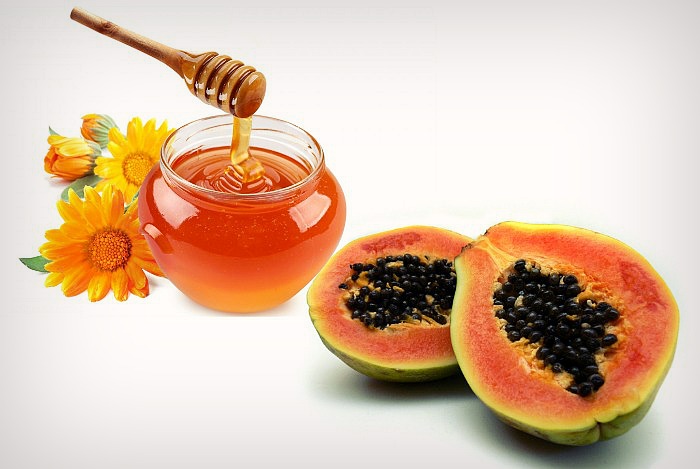
I’m obsessed with DIYs and always have been since I was a teenager. This papaya and honey DIY mask is one of my all-time faves as it brightens, hydrates, improves tone and texture, and most importantly leaves your skin glowy AF. It’s also great for acne-prone skin as it can help reduce inflammation and fight acne-bacteria, which is perfect for me right now as my skin broke out recently and I needed something to bring it back to life. Plus, this mask takes less than five minutes to make!
Why this Papaya & Honey DIY Mask is the BOMB!
Papaya is the hero ingredient in this mask, and papaya contains the enzyme papain, which gently buffs away dead skin that can cause your skin to look dull and block your pores. It also helps hydrate and brighten the skin as papaya is a plentiful source of potassium, while it’s also rich in antioxidants like vitamin C, vitamin E, and beta-carotene, which help fight against aging free radicals. It’ll also work to improve the overall tone and texture of your skin… Like we said, hero!
Benefits of Papaya for Skin
Papaya contains anti-inflammatory, anti-aging, anti-oxidant, anti-bacterial, exfoliating and skin lightening & whitening properties that protect the skin from damage. Here are the benefits of papaya for skin listed down:
♡ Whitens skin due to its natural bleaching properties ♡ Fades away acne scars, blemishes & dark spots
♡ Firms, tones & tightens skin ♡ Shrinks large pores
♡ Prevents & heals acne ♡ Exfoliates skin due to its natural chemicals that dissolve & break down dead cells
♡ Soothes acne and skin inflammation ♡ Slows fine lines & wrinkles
Posts You’ll Love:


Onto the next miracle ingredient: Honey! I always use honey in my DIYs as it has so many amazing properties. It’s a natural humectant, so it draws in moisture to hydrate the skin. It also has anti-bacterial and anti-inflammatory properties, so it can help to reduce redness and swelling and fight bacteria. It’s important to use raw honey, as it’s unprocessed and retains all its natural goodness – processed honey is often boiled, which means many of the natural benefits are destroyed.
Benefits of Honey for Skin
Honey is a natural humectant which means it draws moisture from the surroundings and helps plump up dry skin. It is rich in powerful anti-oxidants that will stave off pro-aging free radicals. Honey is antiseptic and will treat acne and prevent more acne. Check out more benefits of honey for skin:
♡ Deep cleanses skin ♡ Fights free radicals ♡ Promotes youthful skin
♡ Shrinks large pores ♡ Hydrates & moisturizes skin ♡ Lightens acne scars, blemishes & dark marks
Ingredients
2 or 3 slices of papaya
1 tablespoon of raw honey
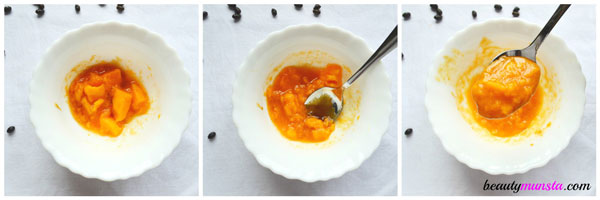
Chop ¼ a small papaya into 3 little pieces. Place them into a bowl and add ½ teaspoon of honey. Blend the papaya until it creates a smooth mixture, then add the honey in a bowl and mix well. Apply the mask onto cleansed skin and leave it on for 10 minutes. Wash with warm water and follow with your fave moisture.
How to Apply the Papaya and Honey Face Mask
+ Start with a clean dry face. Using your fingers/ a face mask brush, apply the papaya and honey face mask mixture onto your face. Avoid the eye and mouth areas as skin here is thin and when stretched by the mask, can create fine lines.
+ Wait for the face mask to sink in and dry up for about 10 minutes.
+ When the time is up, rinse thoroughly with tepid water.
+ Pat dry with a clean towel and moisturize.
Finally, remember to always be careful when you’re doing treatments on your skin. If you have sensitive skin, we always recommend doing a patch test first to be extra safe.
For more bomb DIYs, check out our fave DIY mask.