That’s right. Today we are going to introduce you to a little trick that skincare gurus are OBSESSED with. Sonya Dakar taught me this. She’s a celebrity skincare expert with her line (which is amazing) & recently she discussed how to keep your youthful skin & hot celeb beauty secrets.
Pores are so pesky & annoying. They can get so big, especially if your skin is dirty. After much research, it turns out that milk ice cubes do shrink your pores. These are going to brighten the skin & you are all dewy & glassy AF.
In this post, you’ll find out how to turn some simple, milky ice cubes into your new favorite skincare step. Keep on reading…
Advertisements
The Benefits of Using Milk Ice Cubes on Your Face:
♡ helps with acne.
♡ shrinks pores.
♡ helps keep the skin hydrated.
♡ brightens the skin.
♡ reduce the look of dark spots & circles.
♡ keeps your skin tone oh so even.
♡ helps with fine lines and signs of aging.
♡ helps reduce puffy eyes and dark circles.
♡ can remove spray tan from your face (this could be a pro or a con).
♡ increase blood circulation on the face.
♡ soothes inflammation.
♡ reduces acne and dark spots.
Advertisements
So How The Fuck Do you Make Milk Ice Cubes?
Well, EASY.
Take a big bowl & mix a cup of cow’s milk and a cup of coconut milk. Milk has lactic acid that removes dead skin cells and provides a natural glow to the skin. Mix it well then pour it into a cute ice cube tray & freeze it overnight. So basically, it’s milk ice cubes.
In the morning, wake up & enjoy a refreshing icy situation. We feel a healthy glow. You guys know we love ice on my face so it’s no surprise we’ve done this a million times.
You can also do this any time before bed. Cleanse, applying an ice cube on your face in a circular motion until it’s used up, rinse it off with water & your skin is tight & ready to go. We are a big fan of heating up to cool down, so we’ll use the Dr. Dennis Gross steamer and then cool our skin down with a milk ice cube.
Advertisements
If a milk cube isn’t for you, you can use aloe vera or green tea – or just use a plain ice cube. Rub an ice cube on your skin. Ice cube rapidly constricts blood vessels, so you’ll still get tons of pore shrinking & glowing skin benefits. It’s the key to product absorption & your makeup will loook flawless if you give yourself a little ice cube facial before you apply foundation.
And of course, if you love tools, you can never go wrong with an ice roller. We hope this skincare post brings you value & you try these milk ice cubes on your face.
Last year we were all at home so much, and some of us still are, & so we think it’s a good time to experiment with some DIY stuff.
Bring on homemade body wash.
This is one that we found online & researched & it’s great if you have sensitive skin (just make sure it’s diluted!).
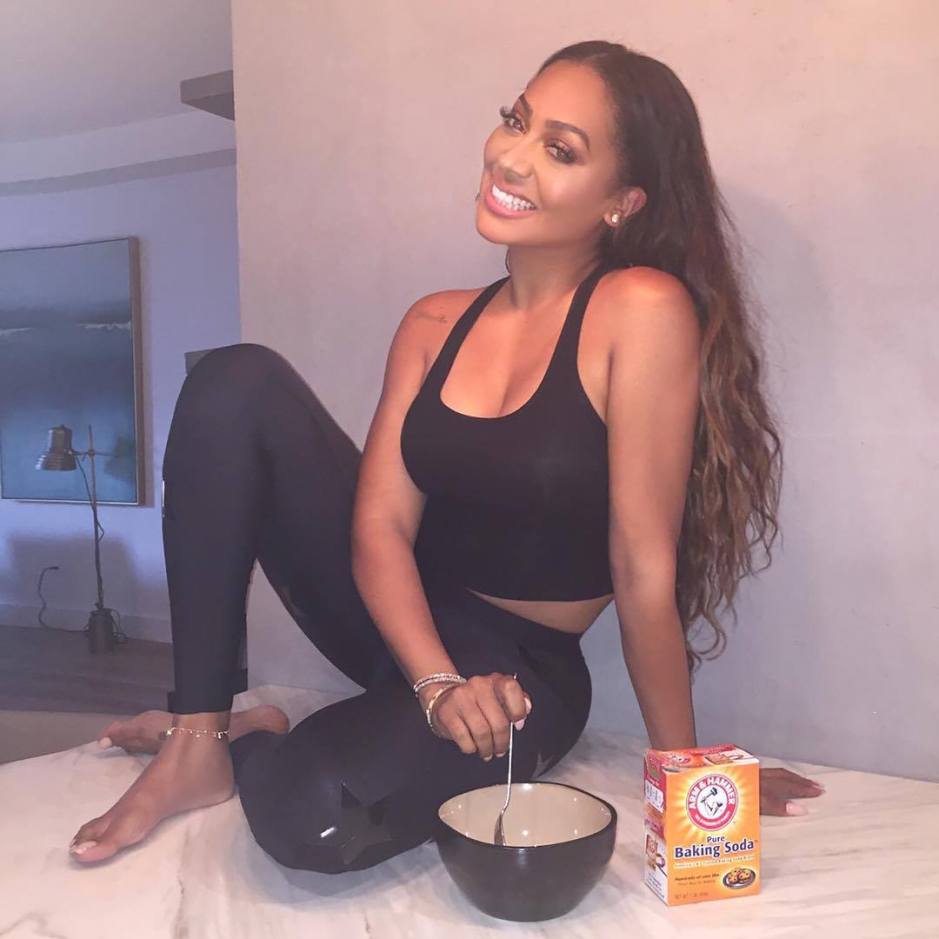
Liv Taylor told Into the Gloss that takes a couple of baths a week & uses a whole box of Epsom salts & a pack of baking soda (or hydrogen peroxide).
She says that it makes you sweat out all the toxins & junk in your cells. She said this natural pediatrician told her about it for when kids get sick. Amazing.
So, we had to dig deeper. Is baking soda in the bath a thing?
It turns out it is.
After Liv’s interview on Into the Gloss, they dug deep & spoke to James Hardwick on his holistic approach to self-care products:
“First, let’s talk about using baking soda as an exfoliant for your face and body. Whole Foods sells a little box for less than a buck. Places like Target and CVS sell boxes of Arm & Hammer Baking Soda, too, but I’m not sure if it’s as refined or as pure as the stuff you’ll find at natural food stores.
You can taste the difference if you brush your teeth with it—which I highly recommend (I’ll come back to this). In the shower, I pour a pile of baking soda into my hands and scrub everything—my face, my hair, my body, and the actual shower— with it. It’s a little rough, but it feels good… And maybe I’ve just been lucky, but my skin is happier when I wash it with something simple like baking soda.
It doesn’t seem to dehydrate my skin or strip away healthy oils, and baking soda is pretty stress-free—it’s no big deal if you accidentally swallow some, waste it (it’s so inexpensive), plus it’s environmentally safe! On top of that, baking soda is an odor neutralizer, and it’s good for cleaning produce (not something I do in the shower). See? Multi-purpose, simple, and cheap.”
After digging a bit deeper ourselves, we found a recipe & gave it a try.
Advertisements
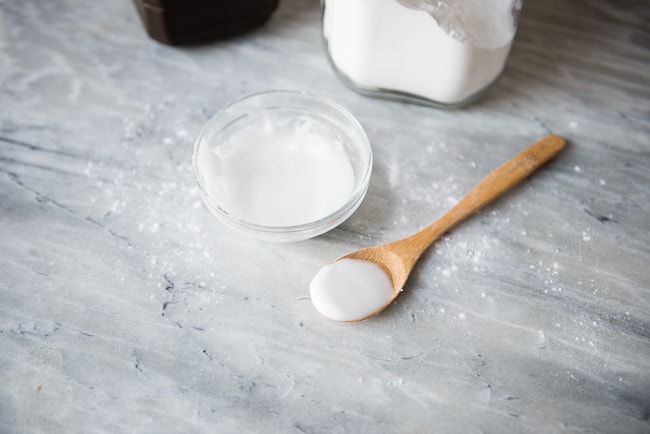
A DIY Baking Soda Body Scrub
WHAT YOU’LL NEED:
♡ a container (anything works but these look super cute in a bathroom)
♡ baking soda (apparently Bob’s Red Mill is clean & doesn’t contain aluminum)
♡ water
♡ a spoon
♡ optional: few drops of essential oil (we like lavender because it winds us down)
Advertisements
DIRECTIONS:
♡ fill half your container with baking soda.
♡ slowly add water.
♡ put a few drops of your essential oil in & stir.
♡ gently stir & add more water or baking soda depending on the consistency you have. (You want it to be a paste).
♡ keep adding water & baking soda until your container is full & the paste has formed.
Advertisements
HOW TO USE IT:
♡ scoop some up with your hand & rub it on your body in the shower.
Advertisements
You should know that baking soda is exfoliating so it’ll feel a bit rough. If you use it on your face, rub gently!
This is a little trick that is so inexpensive, effective, quick, easy, AND good for the environment.
As we mentioned, we love lavender essential oil in this because it promotes relaxation.
Setting our bathroom up with a salt rock night light, eucalyptus hanging, & our DIY lavender scrub makes us feel like we are at a spa. Then we crawl into bed with our CBD pen from stnrcreations. One puff & we are relaxed.
Do you guys have any DIY self-care products you love? Tell us below. So, into this right now.
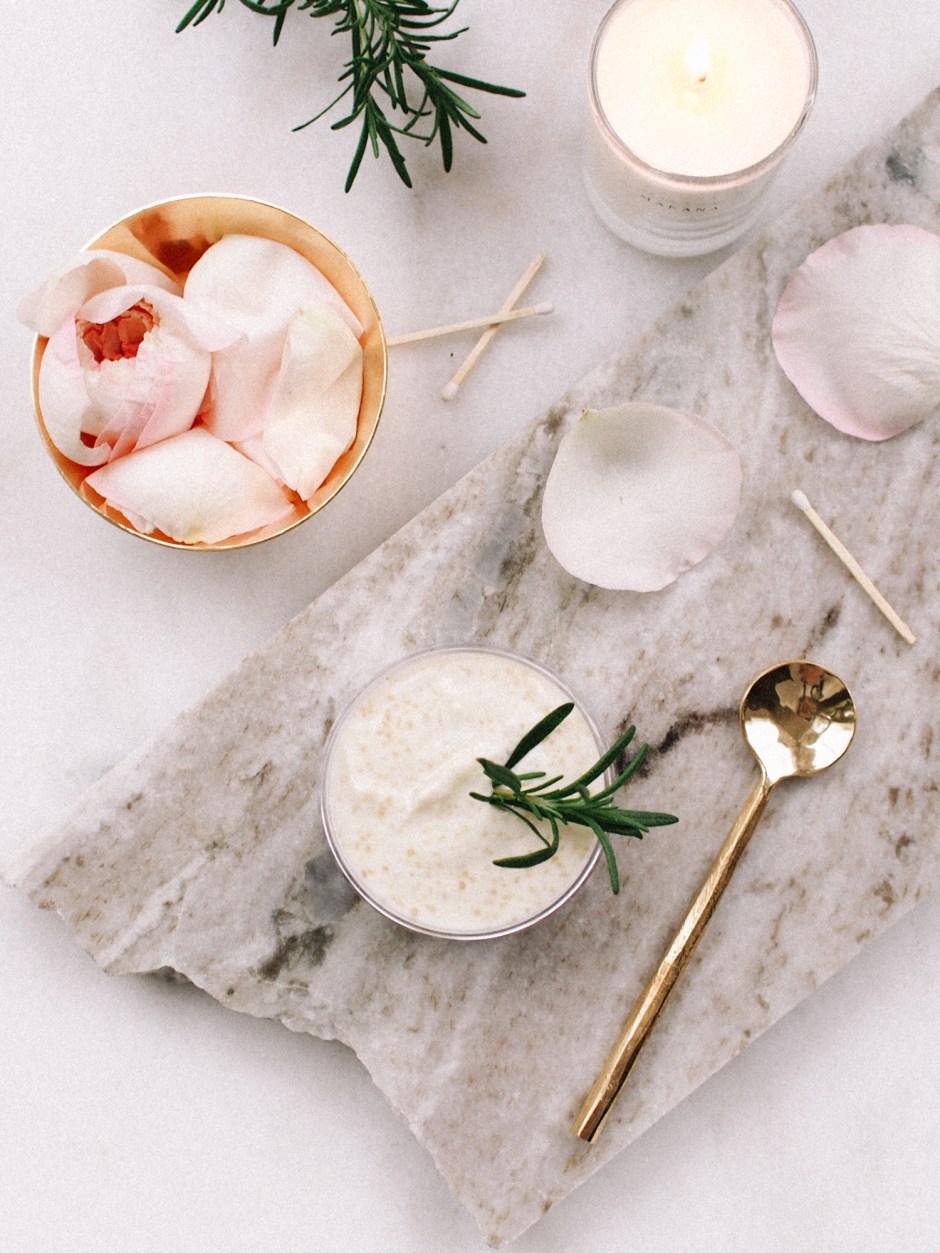
New year, new you right? Ya Ya, we’ve heard it (and said it) all before. And while we all have goals and things, we want to do to better ourselves, we also understand that it doesn’t all happen at once. Let’s take our beauty routines for example. Refreshed and glowing skin is always at the top of our lists. But honestly, after the holidays who has $$$ to spend on new masks and serums and creams and whatever else we need? That’s why we did a bit of research and made our mask instead. It checks off a few boxes on our list of being better humans. Self-care? Check. Save money? Check. Take care of our skin? Check.
And guess what? You can probably make this with items already in your kitchen leftover from breakfast. It’s 4 simple ingredients with a few steps to a refreshing mask that you’ll want to make a daily habit (if we all had the luxury of time to treat ourselves to a mask a day!). We love it while we’re listening to our favorite podcast, reading a chapter in a new book, or even during a girls’ night in with a little rosé.
Advertisements
Rich in nutrients including iron, calcium, vitamins, and antioxidants, rosemary in various forms —rosemary extract, rosemary oil, and rosemarinic acid —is effective for many skin types and is found in skincare cleansers, soaps, face masks, toners, and creams. This herb is used widely in aromatherapy as its stimulant properties refresh, rejuvenate and help you feel energized.
Rosemary is a potent antioxidant; it protects the skin and prevents signs of premature aging. Aside from its anti-aging properties, it’s great for acne, dry skin, and eczema. Not to mention you can also use this mask as a hair mask.
When massaged into the face, rosemary oil can help lightens dark spots and blemishes on the skin resulting in an improved skin complexion. The anti-inflammatory properties of rosemary extract help to reduce swelling and puffiness of the skin. It also helps to heal burns and soothe the skin.
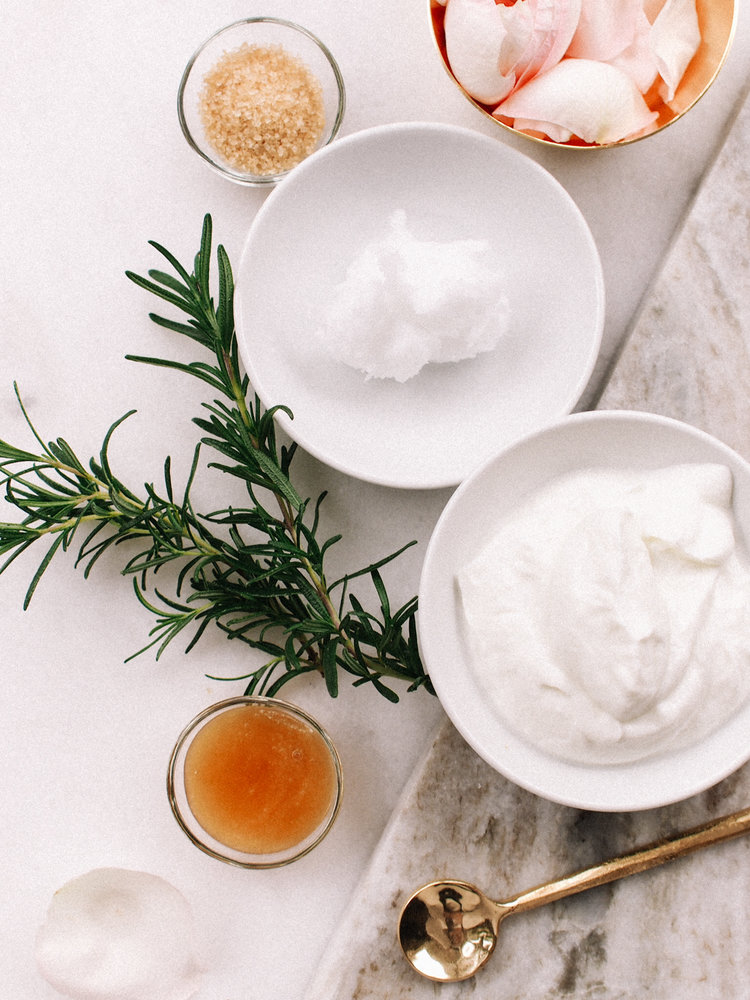
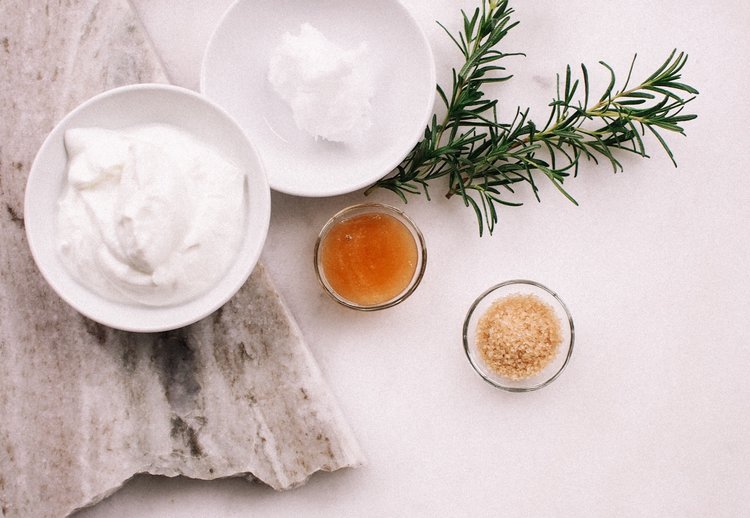
Ingredients:
1 tbsp. coconut oil
1 sprig of rosemary (finally putting my garden to use!)
4-5 tbsp. Greek yogurt (more for a thicker consistency)
1 tbsp. honey
sugar (optional)
Instructions:
Roughly chop rosemary
Melt coconut oil in a small saucepan and mix in the rosemary
Simmer this mixture for 8-10 minutes, rosemary will begin to lose its color
Remove from heat and strain rosemary pieces from the mixture. Discard rosemary
Add oil to a mixing bowl and let cool slightly
Before oil has solidified but has had time to cool, mix in Greek yogurt + honey. The paste should be smooth so take your time mixing!
Refrigerate for 10 minutes to ensure your mixture is cold
Finally, mix in the sugar (use sugar if you are using it immediately, it will act as an exfoliant. if you are saving for later, don’t add until you are ready to use)
Store in the refrigerator for 1-2 weeks (we’d recommend using this mask 1-2 times per week if you love it!)
* Makes 3-4 masks *
Why am I putting this on my face?
Rosemary oil helps stimulate cell renewal, promoting healthy healing, while moisturizing and improving skin circulation.
Greek yogurt is full of lactic acid that helps smooth dry, rough skin and dissolves dead skin that clogs pores. Its anti-bacterial properties are great for acne-prone skin.
Honey can almost do it all. It promotes collagen building, it’s moisturizing, and its antioxidants nourish the skin which can assist in the healing of acne scars.
Sugar, as explained above, will act as an exfoliant if you are using your mask right away. When applying, lightly massage the mask onto your skin. If you are saving your mask for later use, do not add the sugar as it will dissolve. You can add if you decide to right before use.
Coconut oil contains vitamin E and saturated fats which moisturize, repair, and restore quickly as it is rapidly absorbed into the epidermis.
How to use it?
After you have washed your face, remove the mask from the refrigerator. Apply a generous amount all over the face, avoiding the eye area. Wait about 30 minutes or until the mask feels dry and rinse. We recommend following up with your favorite serum and/or moisturizer.
How did it work for us?
After this mask, we noticed that our dark spots looked more faded and our skin looked even, vibrant, moisturized, and was glowing. The skin felt so soft that we thought we were in heaven. Didn’t even need to add any moisturizer because the skin was already soft and hydrated! It’s going to be a go-to for a quick weekday refresh!
Warning: Always do an allergy patch test before applying anything to the face. What works for us may not work for you!
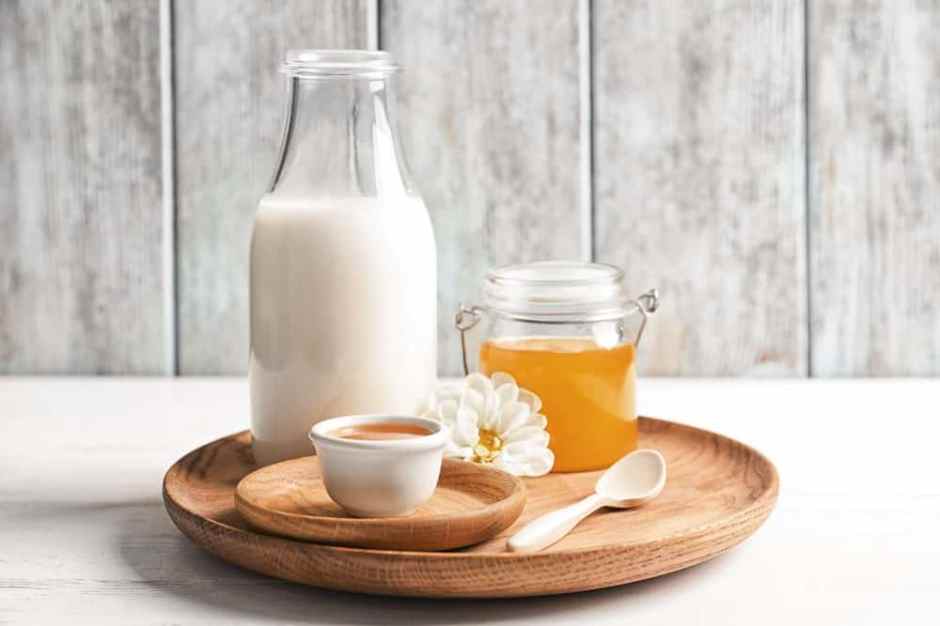
If you are looking for the ultimate home remedy to keep your skin hydrated and glowing, we have a solution. Try milk and honey. The DIY milk and honey mask benefit your skin in numerous ways.
Scroll through this article to understand how they may help and learn ways to use milk and honey to keep your skin happy.
Advertisements
Milk And Honey for Face: What Are the Benefits?
Milk and honey can have age-defying effects on your skin. According to the legend, Cleopatra used to bathe in milk every day to keep her skin young, radiant, and clear. This combination can have certain benefits as stated below:
Advertisements
Help Moisturize Your Skin
Lactic acid is one of the naturals AHA (alpha-hydroxy acids) found in sour milk that acts as an excellent moisturizer. It is a part of the natural moisturizing complex of your skin (1). Honey is an emollient and a humectant that can bind moisture to your skin and keep it soft and moisturized (2). For these very reasons, most skincare products use milk and honey in their formulas.
Advertisements
Milk Keeps the Skin Firm and Smooth
A study found that 12% of topical lactic acid can help improve skin appearance by reducing fine lines and wrinkles. It also makes the skin firm and smooth (3). Milk has a mild exfoliating effect. Applying it to your face can have similar results.
Honey Maintains Skin pH
Maintaining skin pH is crucial to prevent breakouts and rashes. An imbalance in skin pH disturbs the natural barrier of your skin. This can lead to skin irritation. Honey helps regulate skin pH levels (2).
Honey Can Heal Wounds
Honey’s antimicrobial properties and methylglyoxal (one of the active compounds) can help heal your wounds effectively. It is also suitable for healing burn wounds and other skin issues such as psoriasis, dandruff, diaper rash, seborrhea, and tinea (2).
Honey Treats Acne
A study found that applying honey to acne lesions can promote faster healing. Honey can also inhibit the growth of both P. acnes and S. aureus bacteria (4).
Both milk and honey have a lot to offer to your skin. In the next section, we will explore the different ways you can use this combination on your face.
Advertisements
How To Use Milk and Honey on Face
1. Milk and Honey as a Face Wash
Both honey and milk can moisturize the skin and inhibit acne-causing bacteria. This way, they can help keep your facial skin healthy and clear.
You Will Need
1 tablespoon of raw honey (you may use Manuka honey)
2 tablespoons of milk
1 bowl
1 cotton pad
Method
Mix the two ingredients in the bowl till you achieve a cream-like consistency.
Dip the cotton pad into the mixture and apply it to your face in circular motions.
Let the mixture sit on your face for 10 minutes.
Wash your face with cool water and massage gently.
You may follow up with a gentle cleanser if desired.
Pat your skin dry and follow up with a toner and a moisturizer.
Advertisements
2. Milk and Honey as a Face Mask
This face mask helps soothe your skin. Both the ingredients have moisturizing properties, making this face mask especially beneficial for dry skin. However, the mask is suitable for all skin types.
You Will Need
1 tablespoon of raw Honey
1 tablespoon of milk
1 microwave-safe bowl
Method
Mix the honey and milk in the bowl until you have a thick consistency.
Put the bowl into the microwave and heat for a few seconds. Ensure the mixture is warm to the touch and not too hot.
Use a brush (or your fingers) to spread the mask on your skin.
Let the mask stay for at least 15 minutes.
Wash your face with cool water. You may use a gentle cleanser as well.
Follow up with a toner and a moisturizer.
Advertisements
3. Milk and Honey as a Scrub
Oats, Fuller’s earth and ground almonds have a coarse texture. These work excellently well in exfoliating your skin without causing damage. The milk and honey in the scrub keep your skin hydrated.
You Will Need
1 teaspoon of raw honey
1 teaspoon of milk
1 tablespoon of ground oats/Fuller’s earth/ground almonds
1 bowl
Note: If you have sensitive skin, use oats. If you have oily skin, use Fuller’s earth. If you have normal skin, you may use any of the three options.
Method
Mix the milk and honey in the bowl.
Add ground oats or Fuller’s earth or ground almonds.
Adjust the quantity of milk (especially if you are using Fuller’s earth) to get a desired paste-like consistency.
Apply the mixture to your face and gently massage, avoiding the area around your eyes.
After massaging for 5 minutes, wash with cool water.
Pat your skin dry and follow up with a toner and a moisturizer.
Advertisements
These are some effective ways to use milk and honey for improving your skin health. If you already use DIY face masks, you can try introducing this combination as well. However, before using honey, do a patch test to check for any allergies. Raw honey may contain pollen and can cause allergic reactions in some individuals.
Frequently AskedQuestions
Q:Is it good to drink milk with honey?
A: Yes, drinking milk with honey could promote health. The best way to do so is to let the milk cool down and then add honey to it. Ayurveda doesn’t recommend consuming warm honey (mixed in any warm beverage or food) as it is considered to harm health. However, studies in this regard are inconclusive.
Q: How long should I leave milk on my face?
A: You may leave milk on your face for 5-10 minutes.
Q: Can milk and honey be applied to the whole body?
A: Yes, you can apply the combination to your whole body. You may prepare a bathtub-soak with honey and milk. Soak in it for 15-20 minutes.
Advertisements
Sources
Articles on BeautyLeeBar are backed by verified information from peer-reviewed and academic research papers, reputed organizations, research institutions, and medical associations to ensure accuracy and relevance. Check out our editorial policy for further details.