I have always been a fan of gold mask treatments and knew the benefits. But, truthfully, I just started using gold masks around March of this year. If you follow me @beautyleebar then you know I am a firm believer in self care which sometimes include me trying on different face masks.
Discriminating against beauty products based on the suggested retail price isn’t in our DNA. From drugstore steals to luxury splurges — and everything in between — we have more than enough room in our hearts (and medicine cabinets) to embrace beauty products from all over the price-point spectrum. The luxurious 24K gold face masks is very trendy with celebrities at the moment. I can definitely confirm MissSpa Gold Face Mask is the truth at a affordable price range that still gives you that rich luxurious vibe.
I decided to cook up a at-home recipe for Gold Mask.
Ingredients:
Your favorite moisturizer
Gold leaf sheets
Directions:
I order a package of 24K gold leaves from Etsy.com ($30). The gold is food-grade and comes from Thailand, so it takes awhile to arrive in Florida. Because of that, I always make sure to order more before I run out.
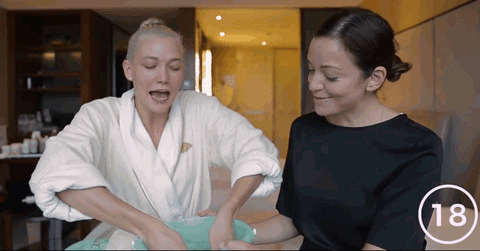
Then, I simply wash my face as I normally would, making sure to get every last bit of makeup off. I cleanse two or three times, usually starting with a micellar water makeup remover, then doing 2 rounds of Clarisonic with a cleanser. I want my face to be REALLY clean.
Next, I apply a liberal amount of my favorite moisturizer, Ren Evercalm Global Protection Day Cream ($50) or TATCHA Creams. This is part of what helps the gold stick to my face, so I am very generous with the amount.
I then place the tiny squares of gold all over my T-zone, nose and cheeks, and wait. Sometimes 20 minutes, sometimes an hour. However long I can hang out with a face covered in gold. Then, simply rub it in with (clean) fingertips. (Don’t wash it off! Let the gold absorb into the skin for maximum results.)
I find that this mask makes my skin plump and radiant. It’s not a mask that will magically transform your skin in one use; this is more of a special occasion treat, for when you want that extra bit of glow. In other words, less treatment, more treat.
My favorite part of this discovery is that for $30 and a little patience and DIY, I get a brilliant mask that makes my skin look nearly perfect without makeup. Many luxury brands charge hundreds of dollars for “gold-infused” products, but I feel that I’m getting a superior experience at a relatively inexpensive price point. One package of 100 sheets of gold allows me to do about 5 face masks, which works out to $6 per mask. Luxury at a bargain!
Also, Cleopatra was rumored to do this every night. If it’s good enough for her, it’s good enough for me!